Brief:
To research and explore traditional indigo dyeing methods of Nigeria and the different techniques used in this craft in whichever way you want. This could be either by experimenting with it yourself by dyeing and designing fabrics or items of your choice (seeing yourself as more of a textile designer), or by collecting writings/photographs/artworks related to this topic/area.
Year: 2023
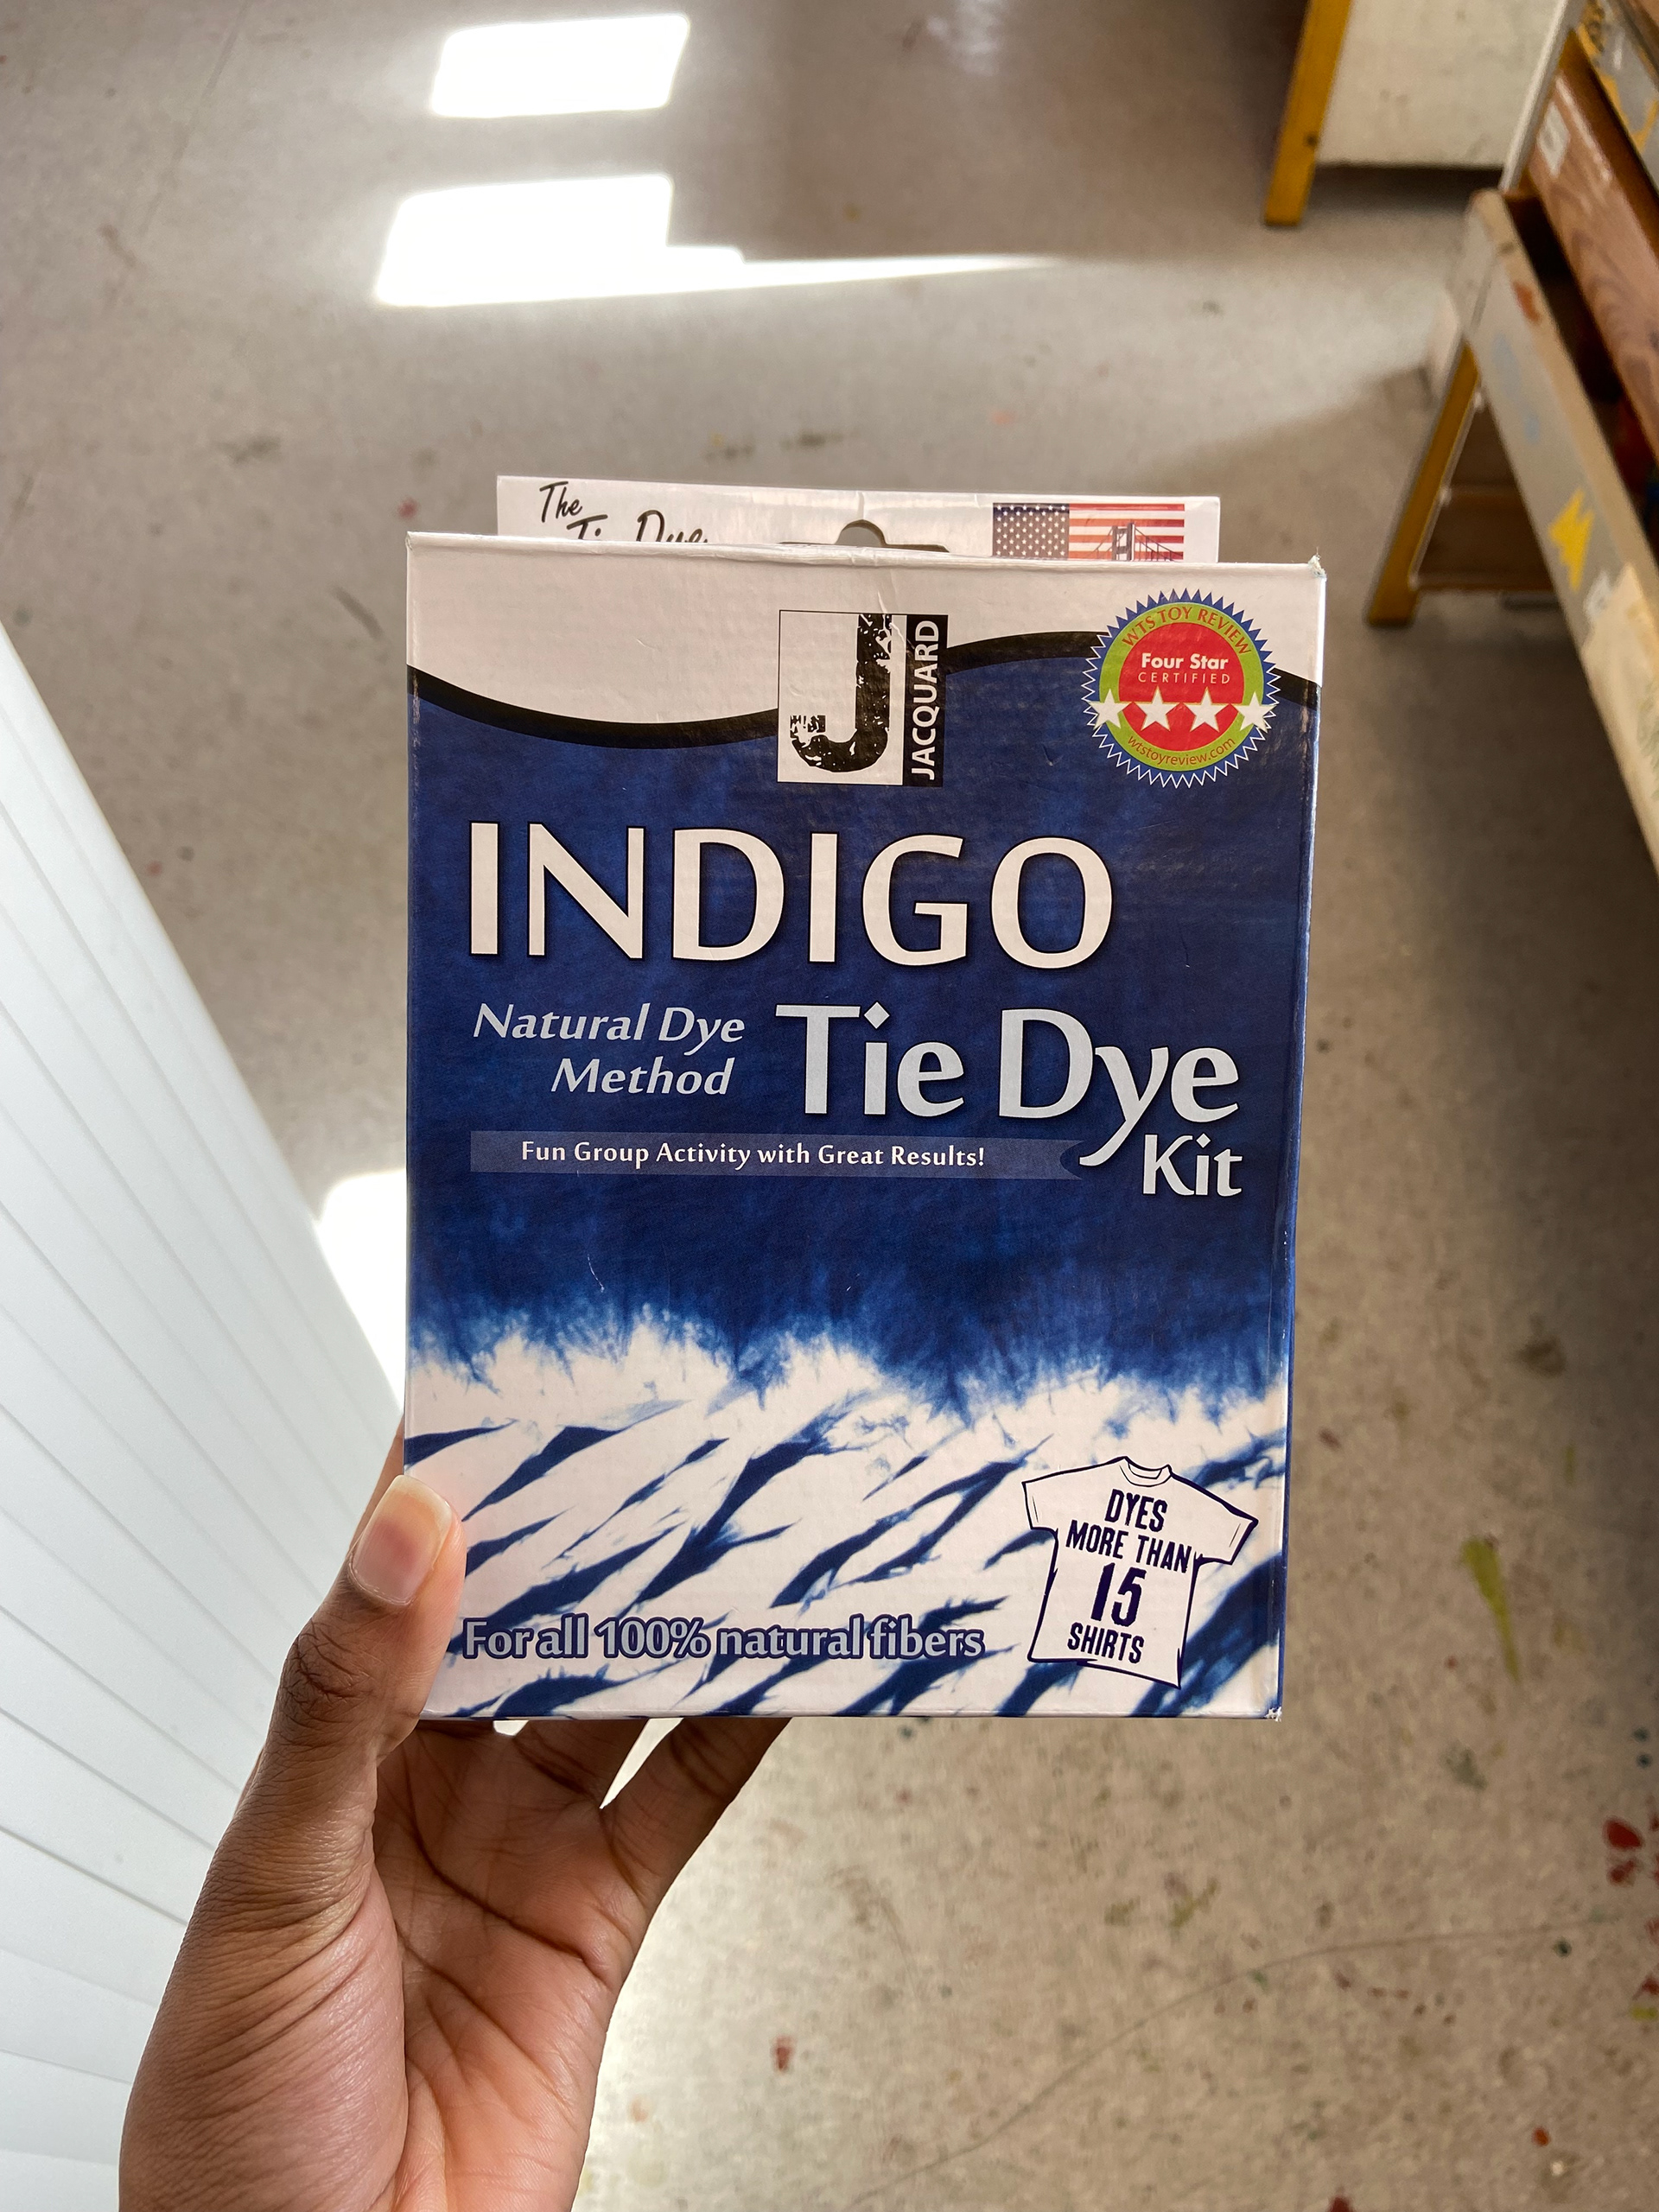
Jacquard Indigo Tie Dye Kit
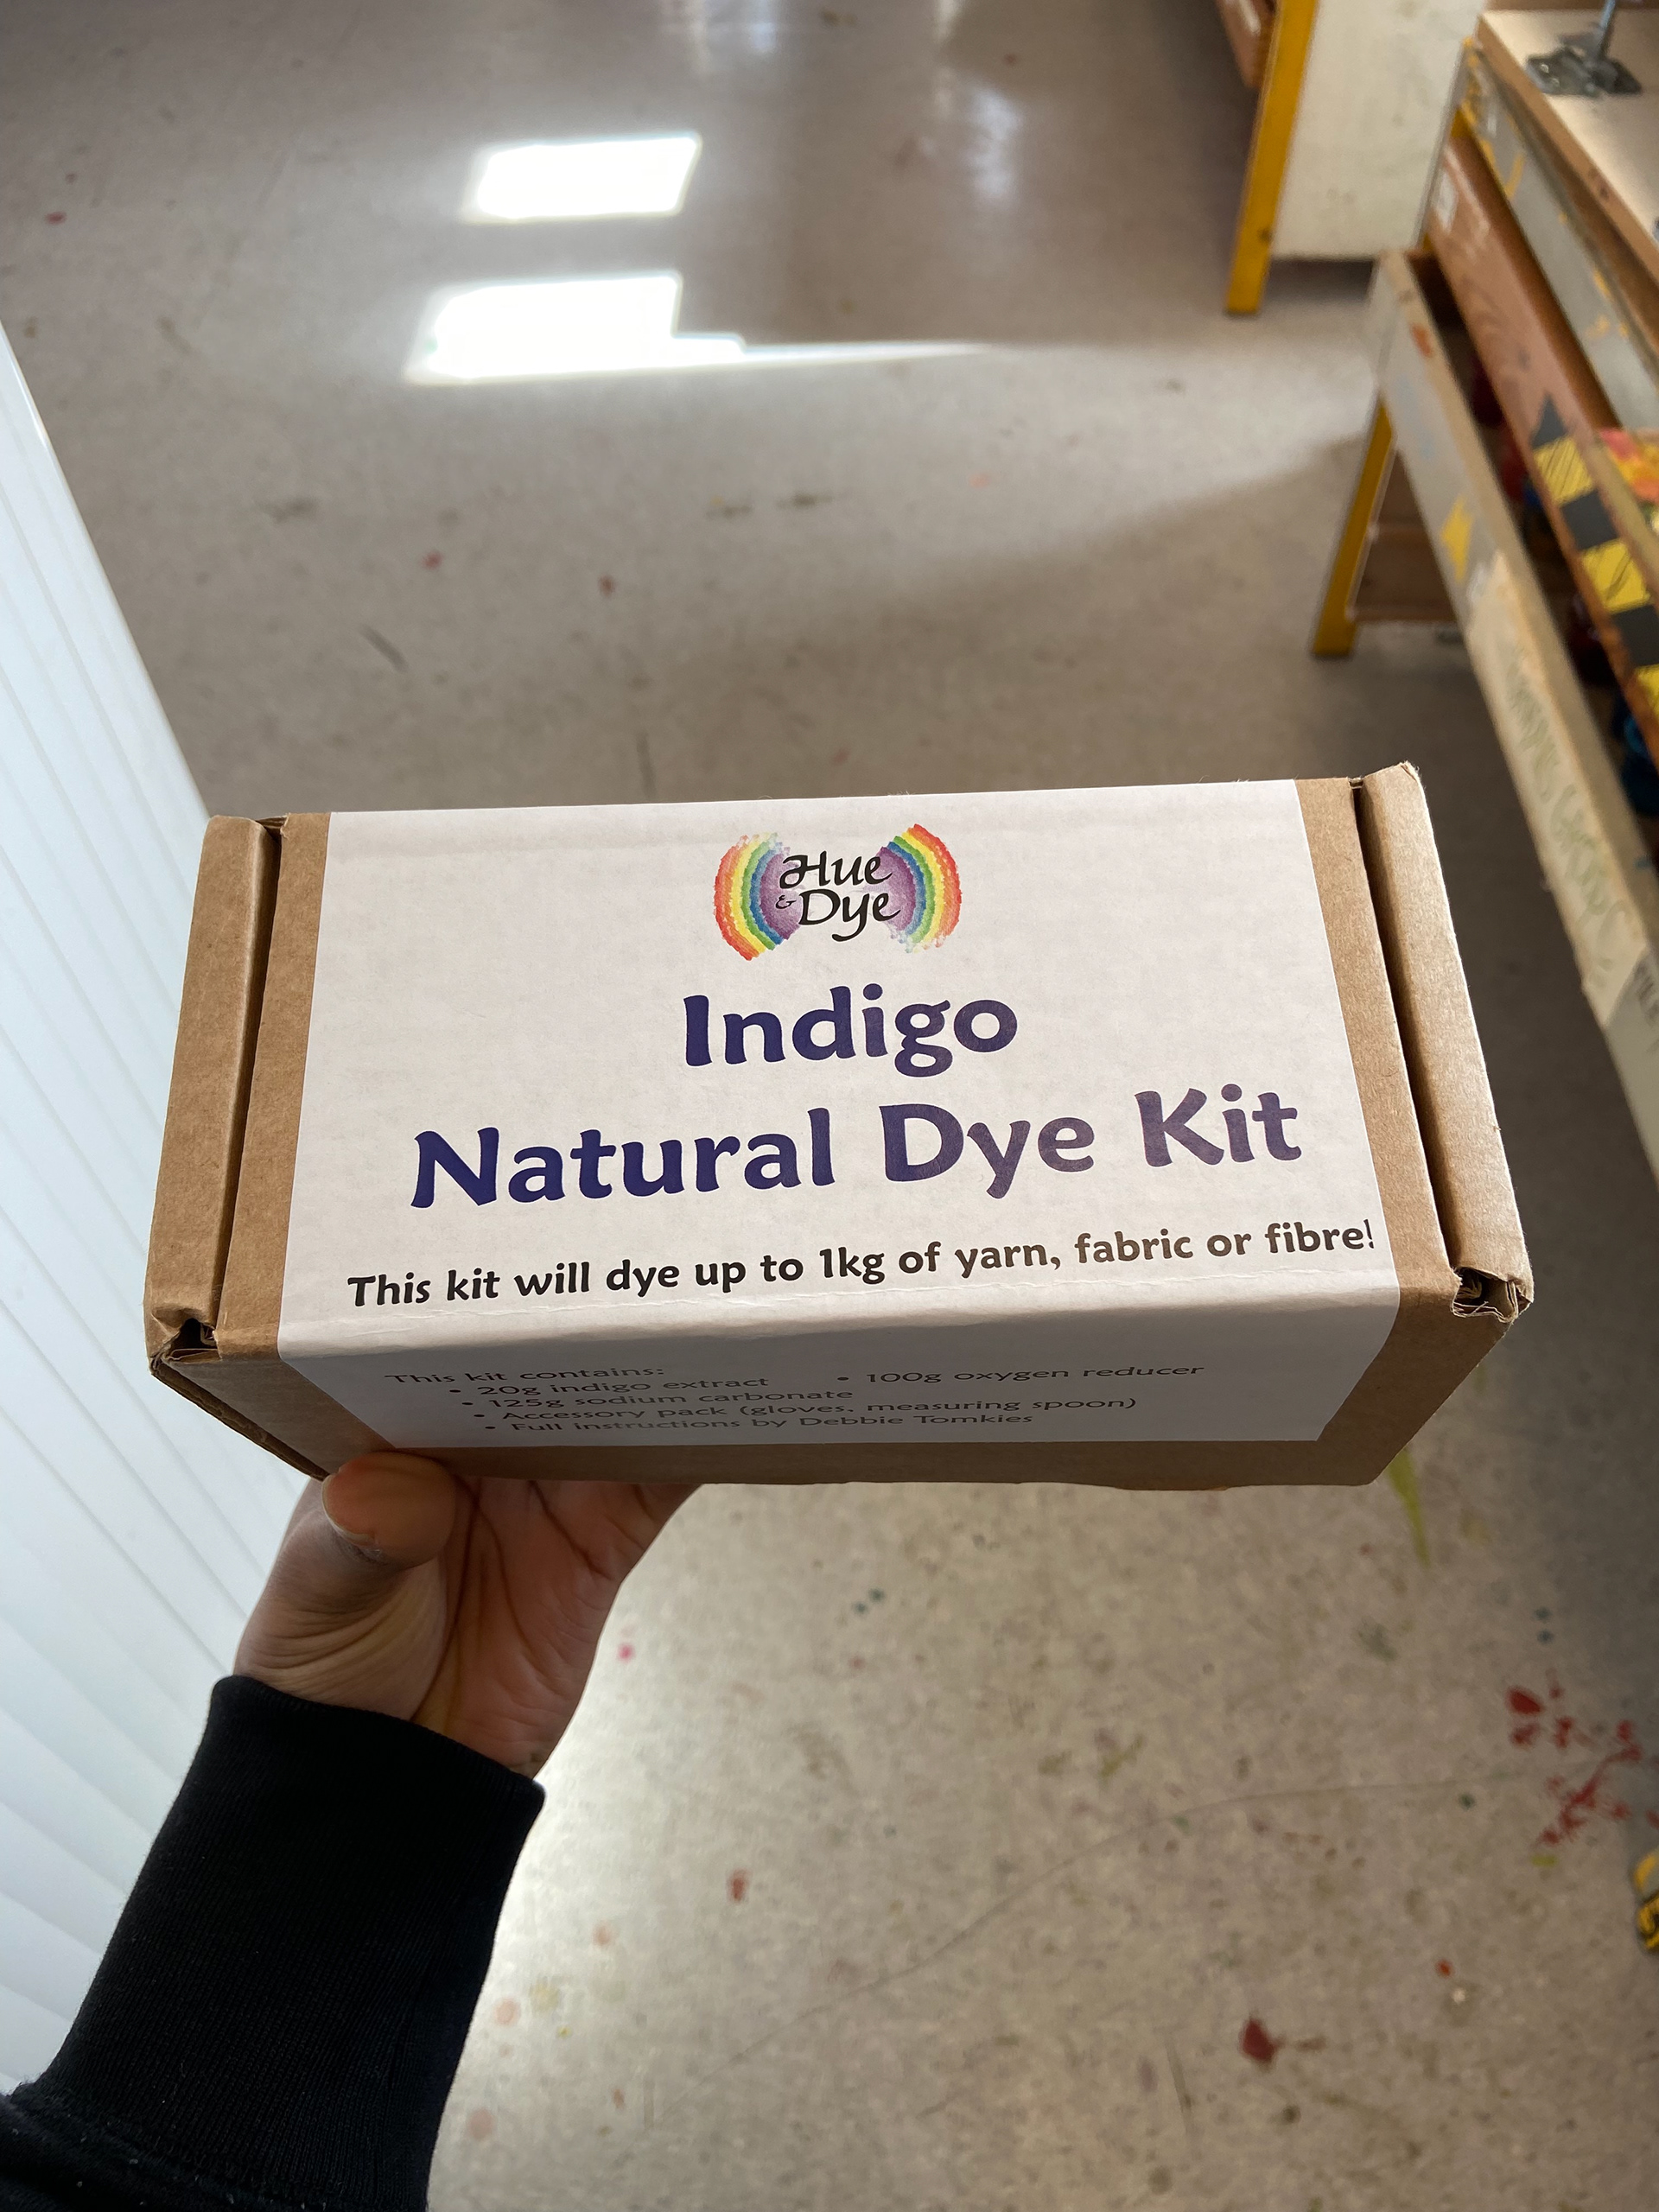
Hye Dye Indigo Natural Dye Kit
The original art form in Nigeria acquires the indigo dye from a plant called 'Indigofera Tinctoria'. In addition to that, it requires a large vat to hold the solution and several days for the ingredients to ferment. To save time and to make up for the lack of tools and ingredients I instead opted to use dye kits.
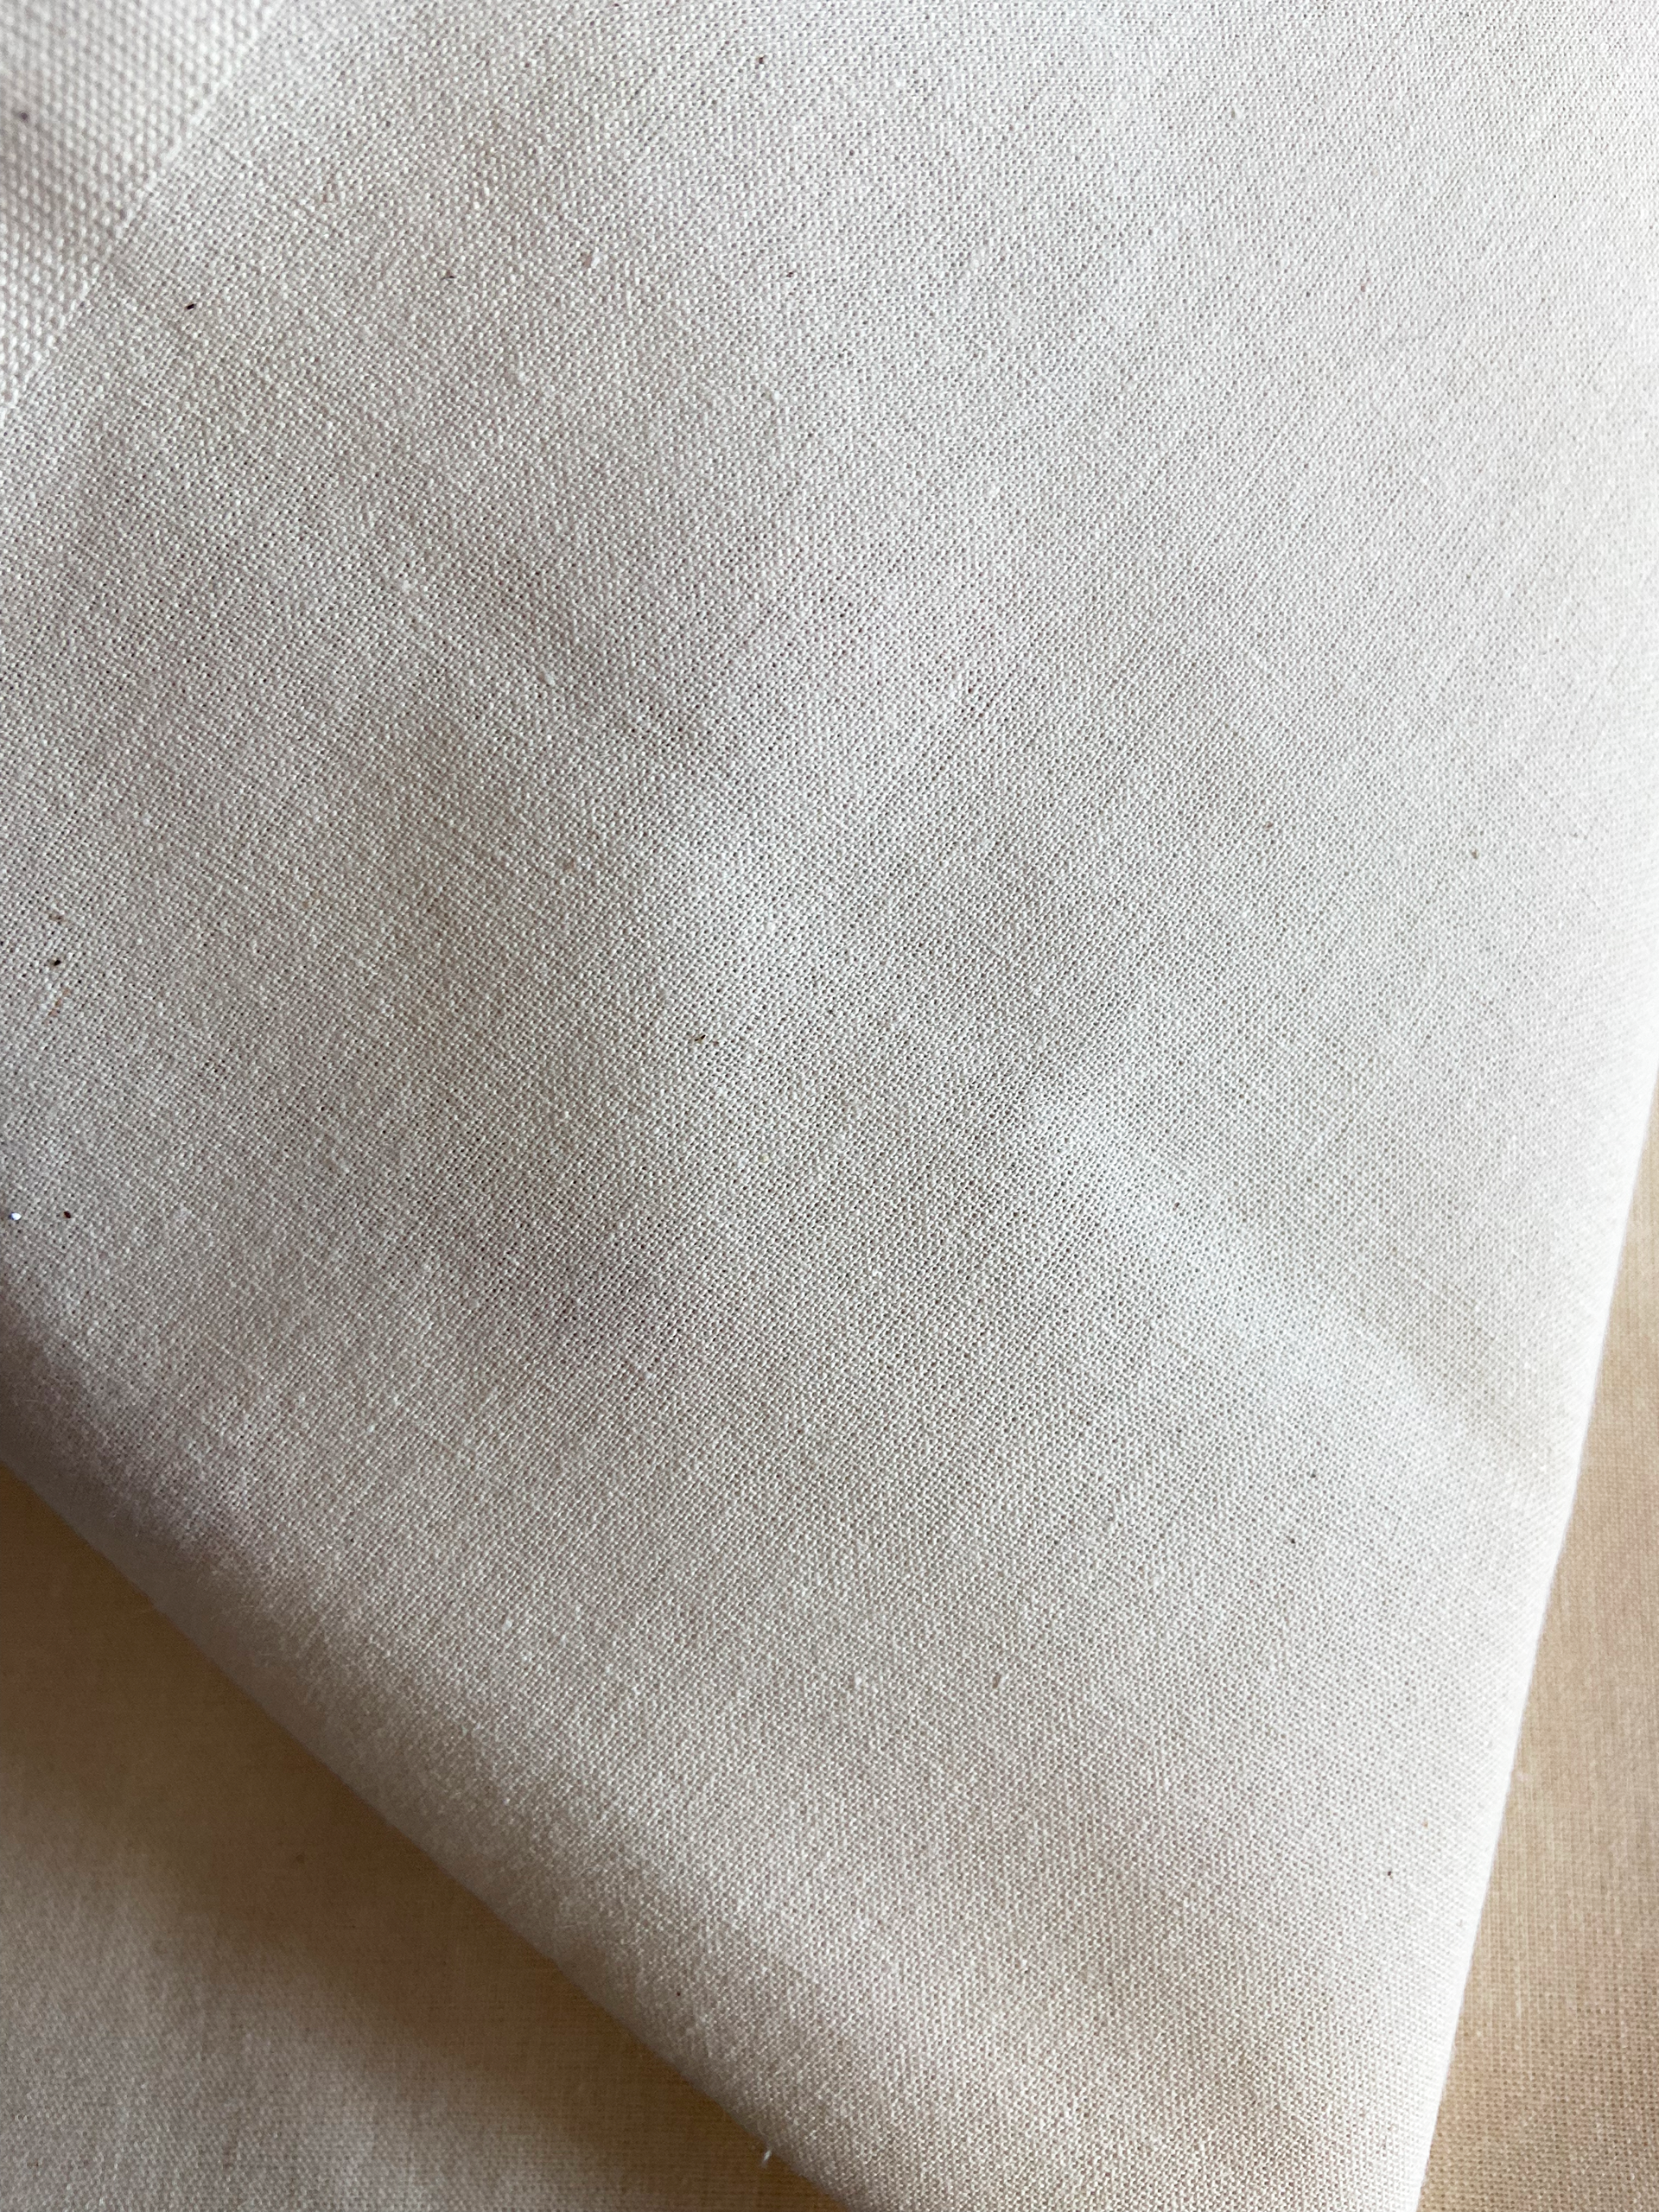
Cotton
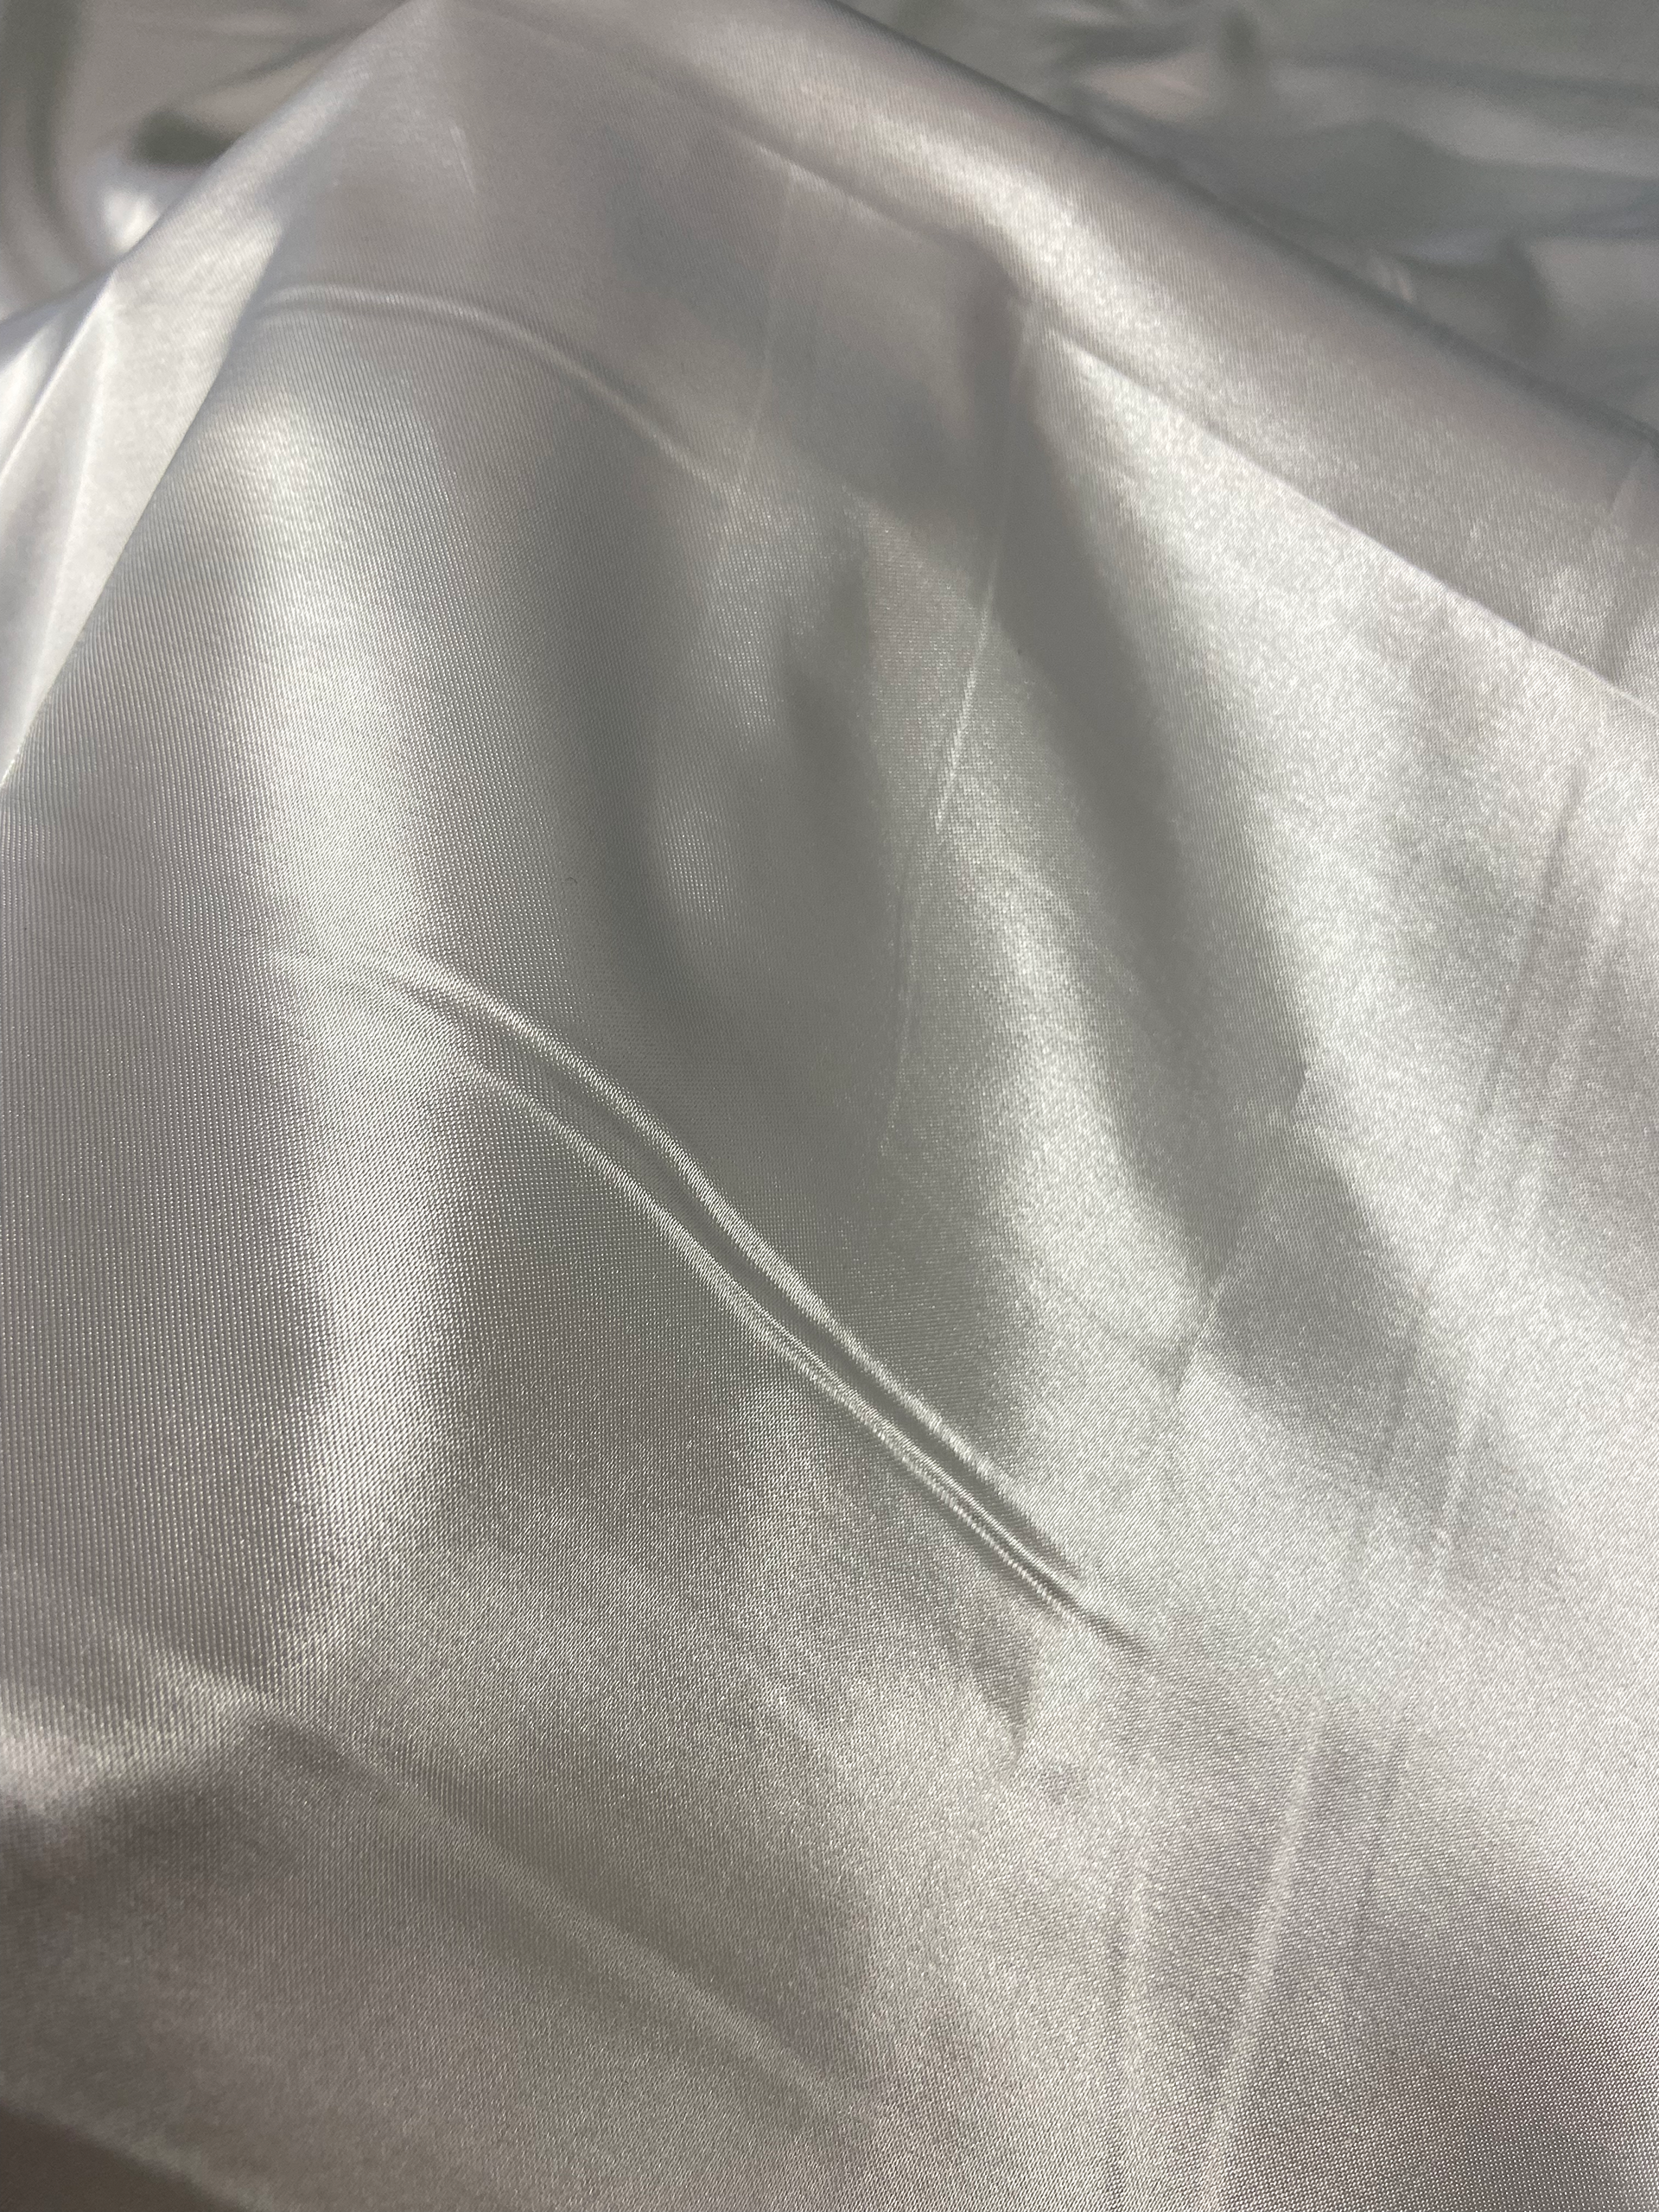
Silk
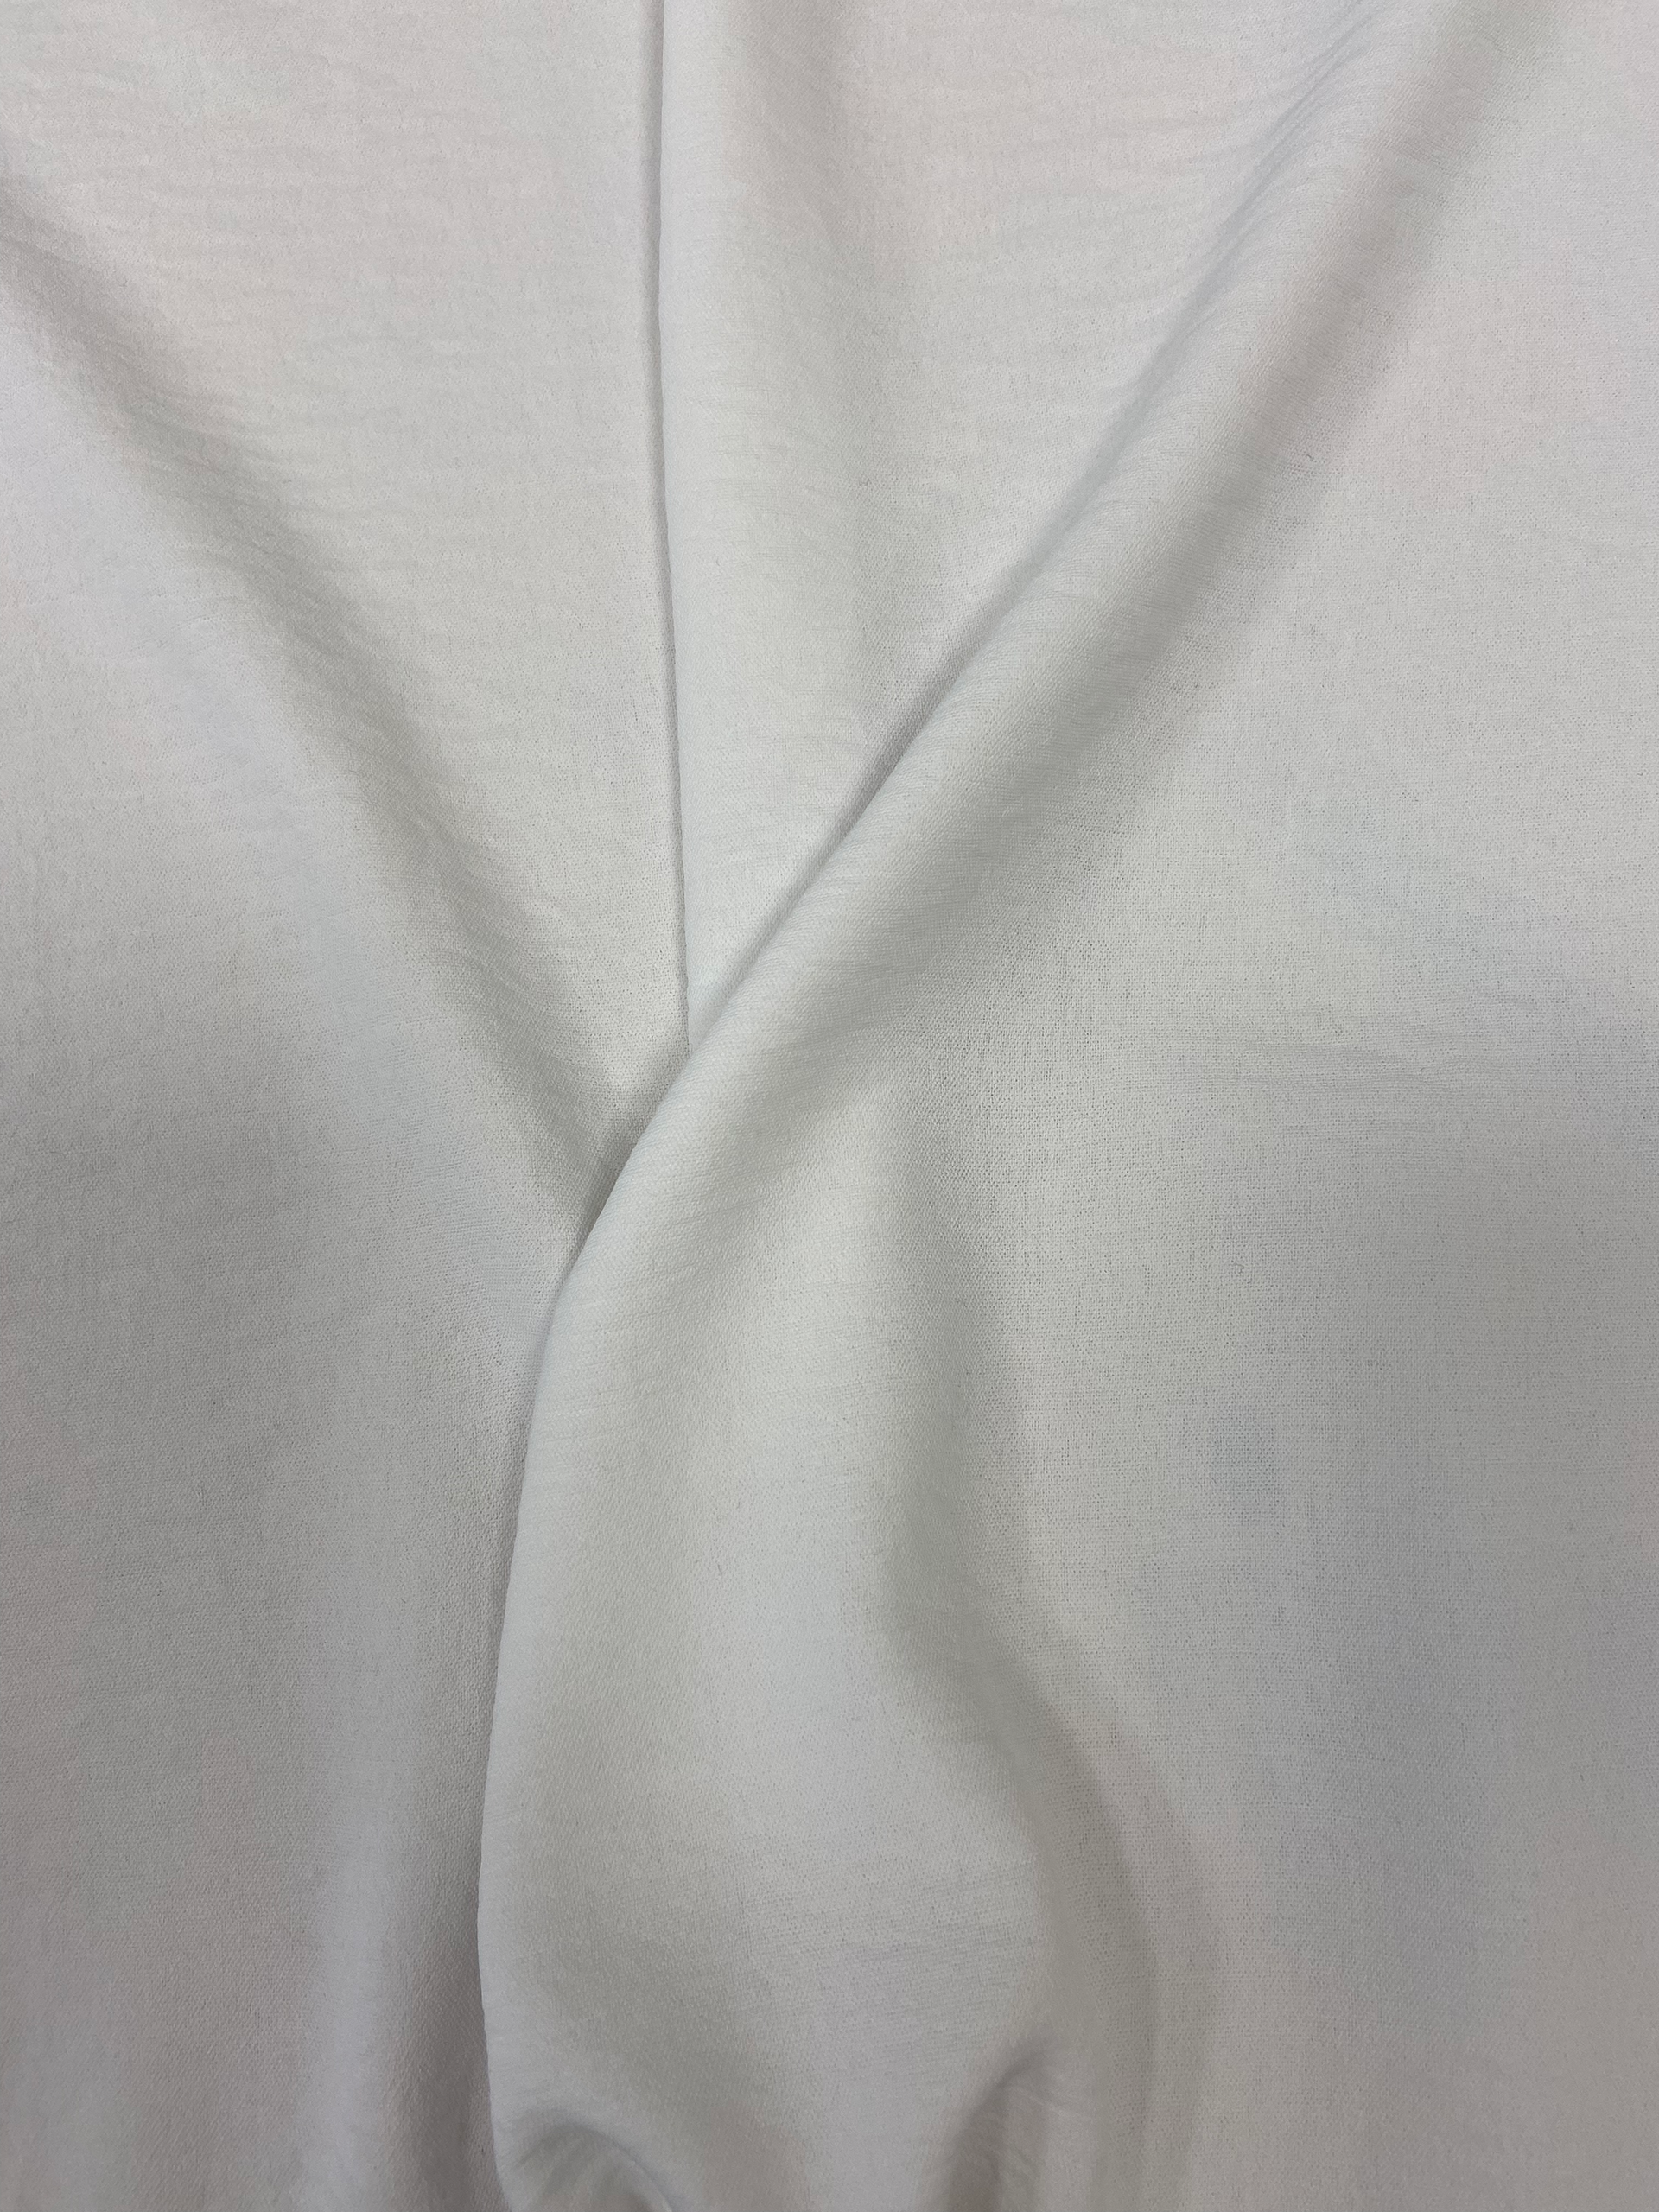
Linen
Since this art form is used on cloth I decided to do the same. For the fabrics, I experimented on cotton, silk and linen to see which one worked better with the dye or maybe even use them together.
First dye kit:
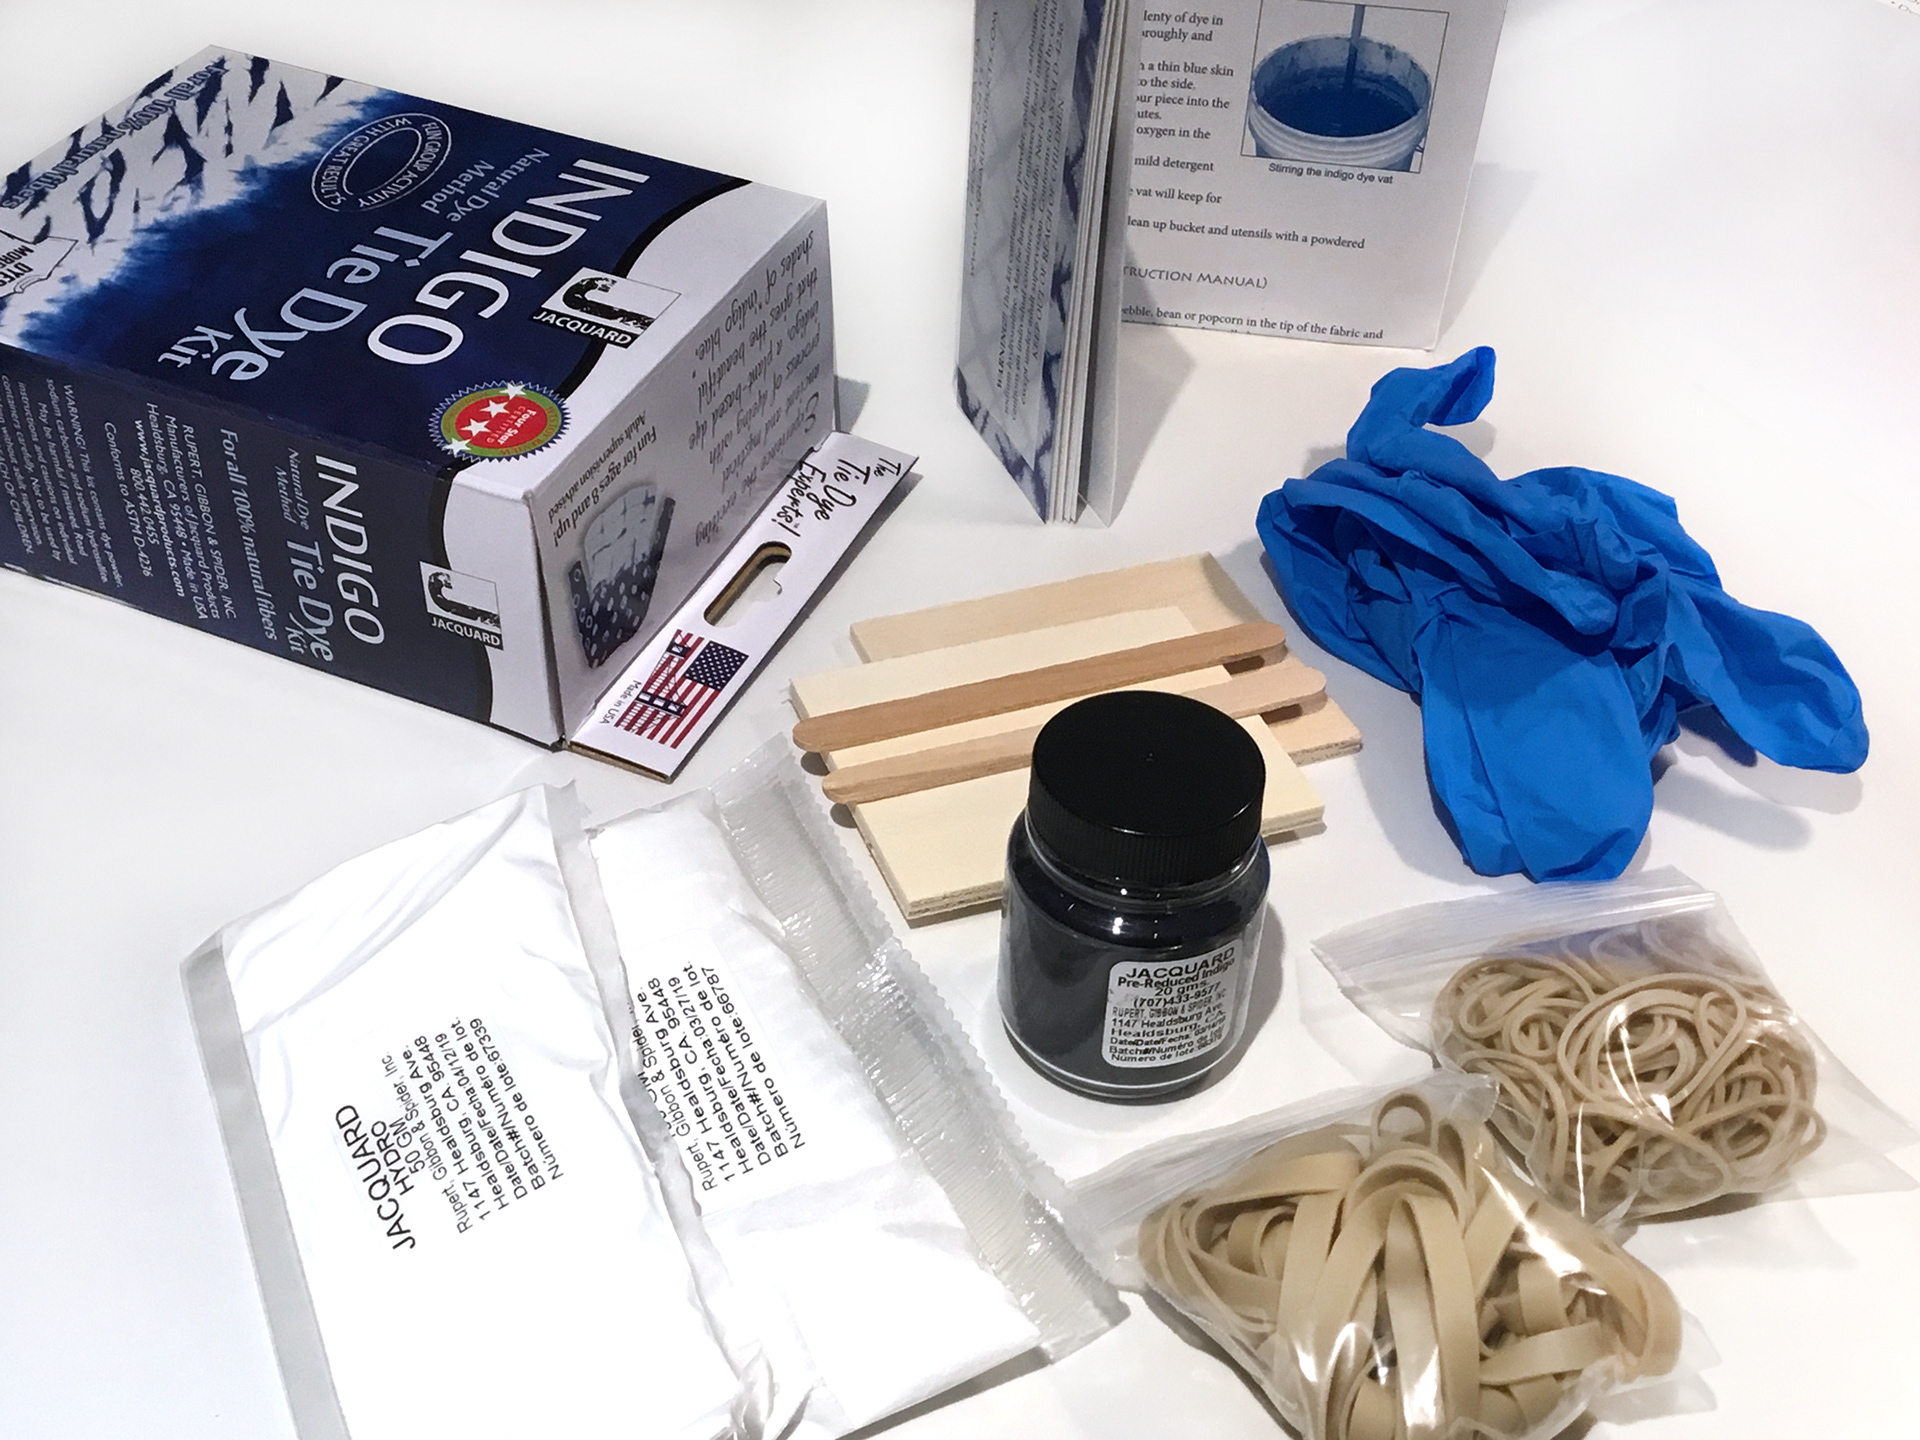
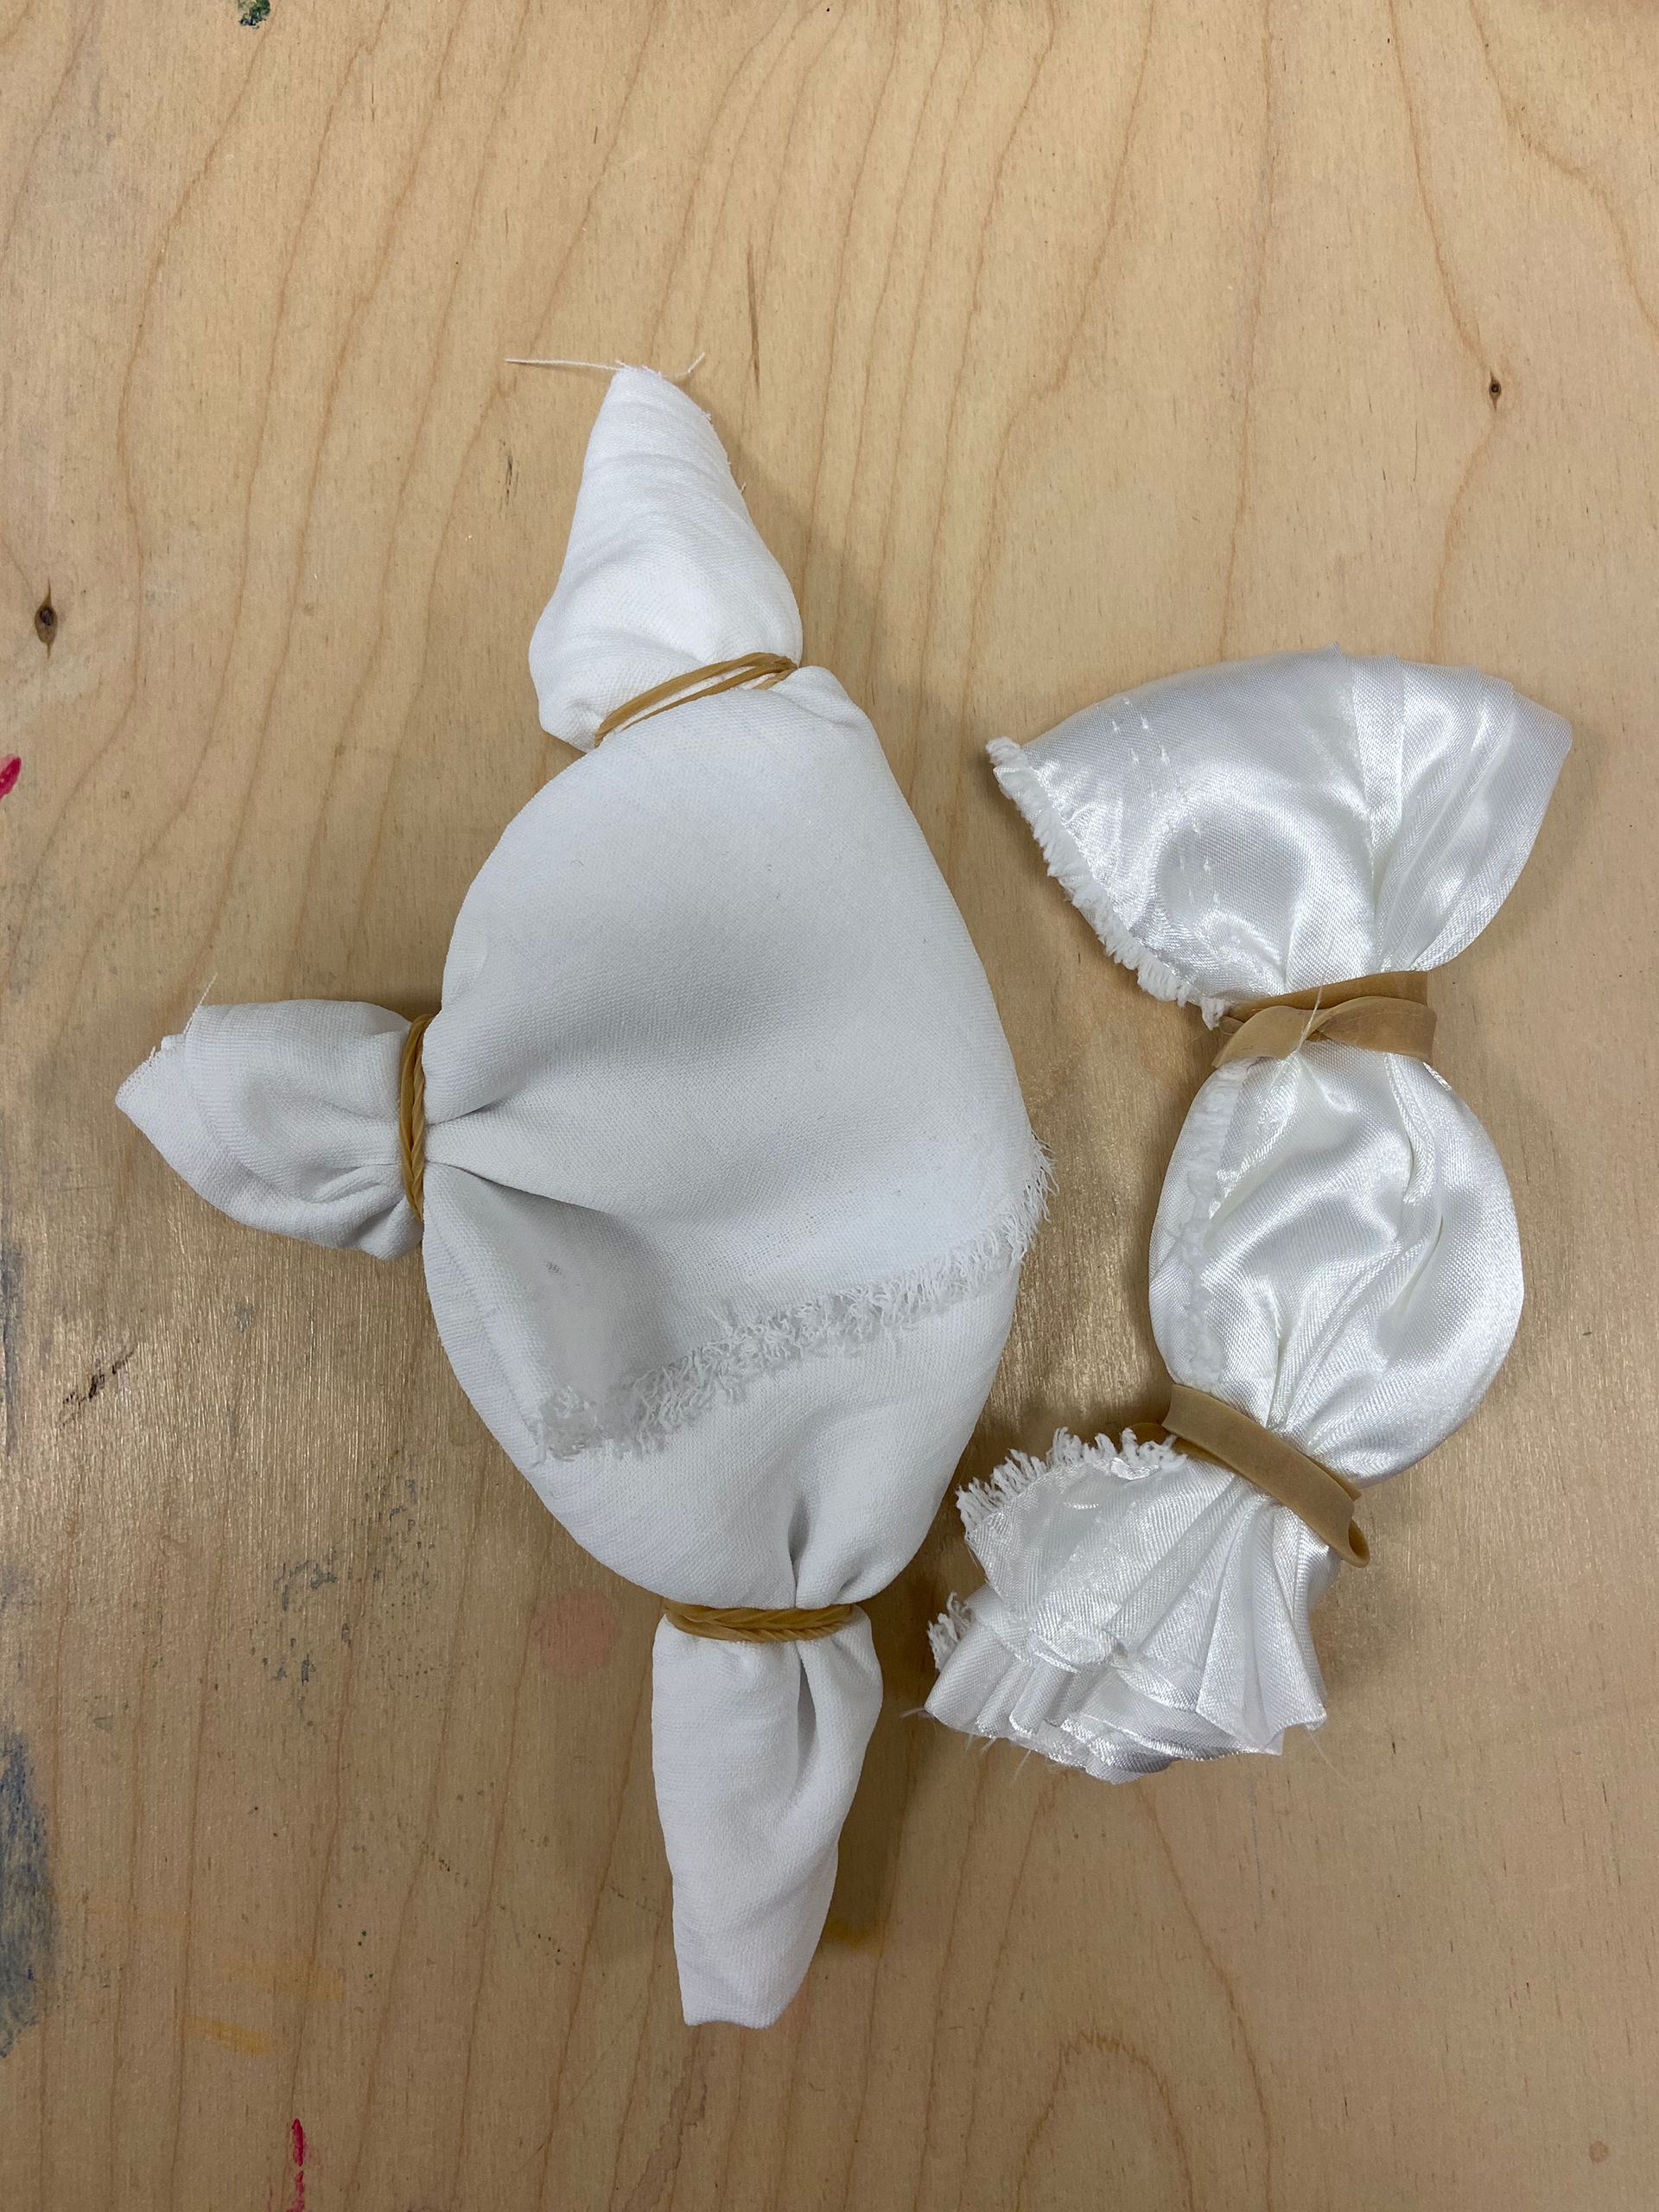
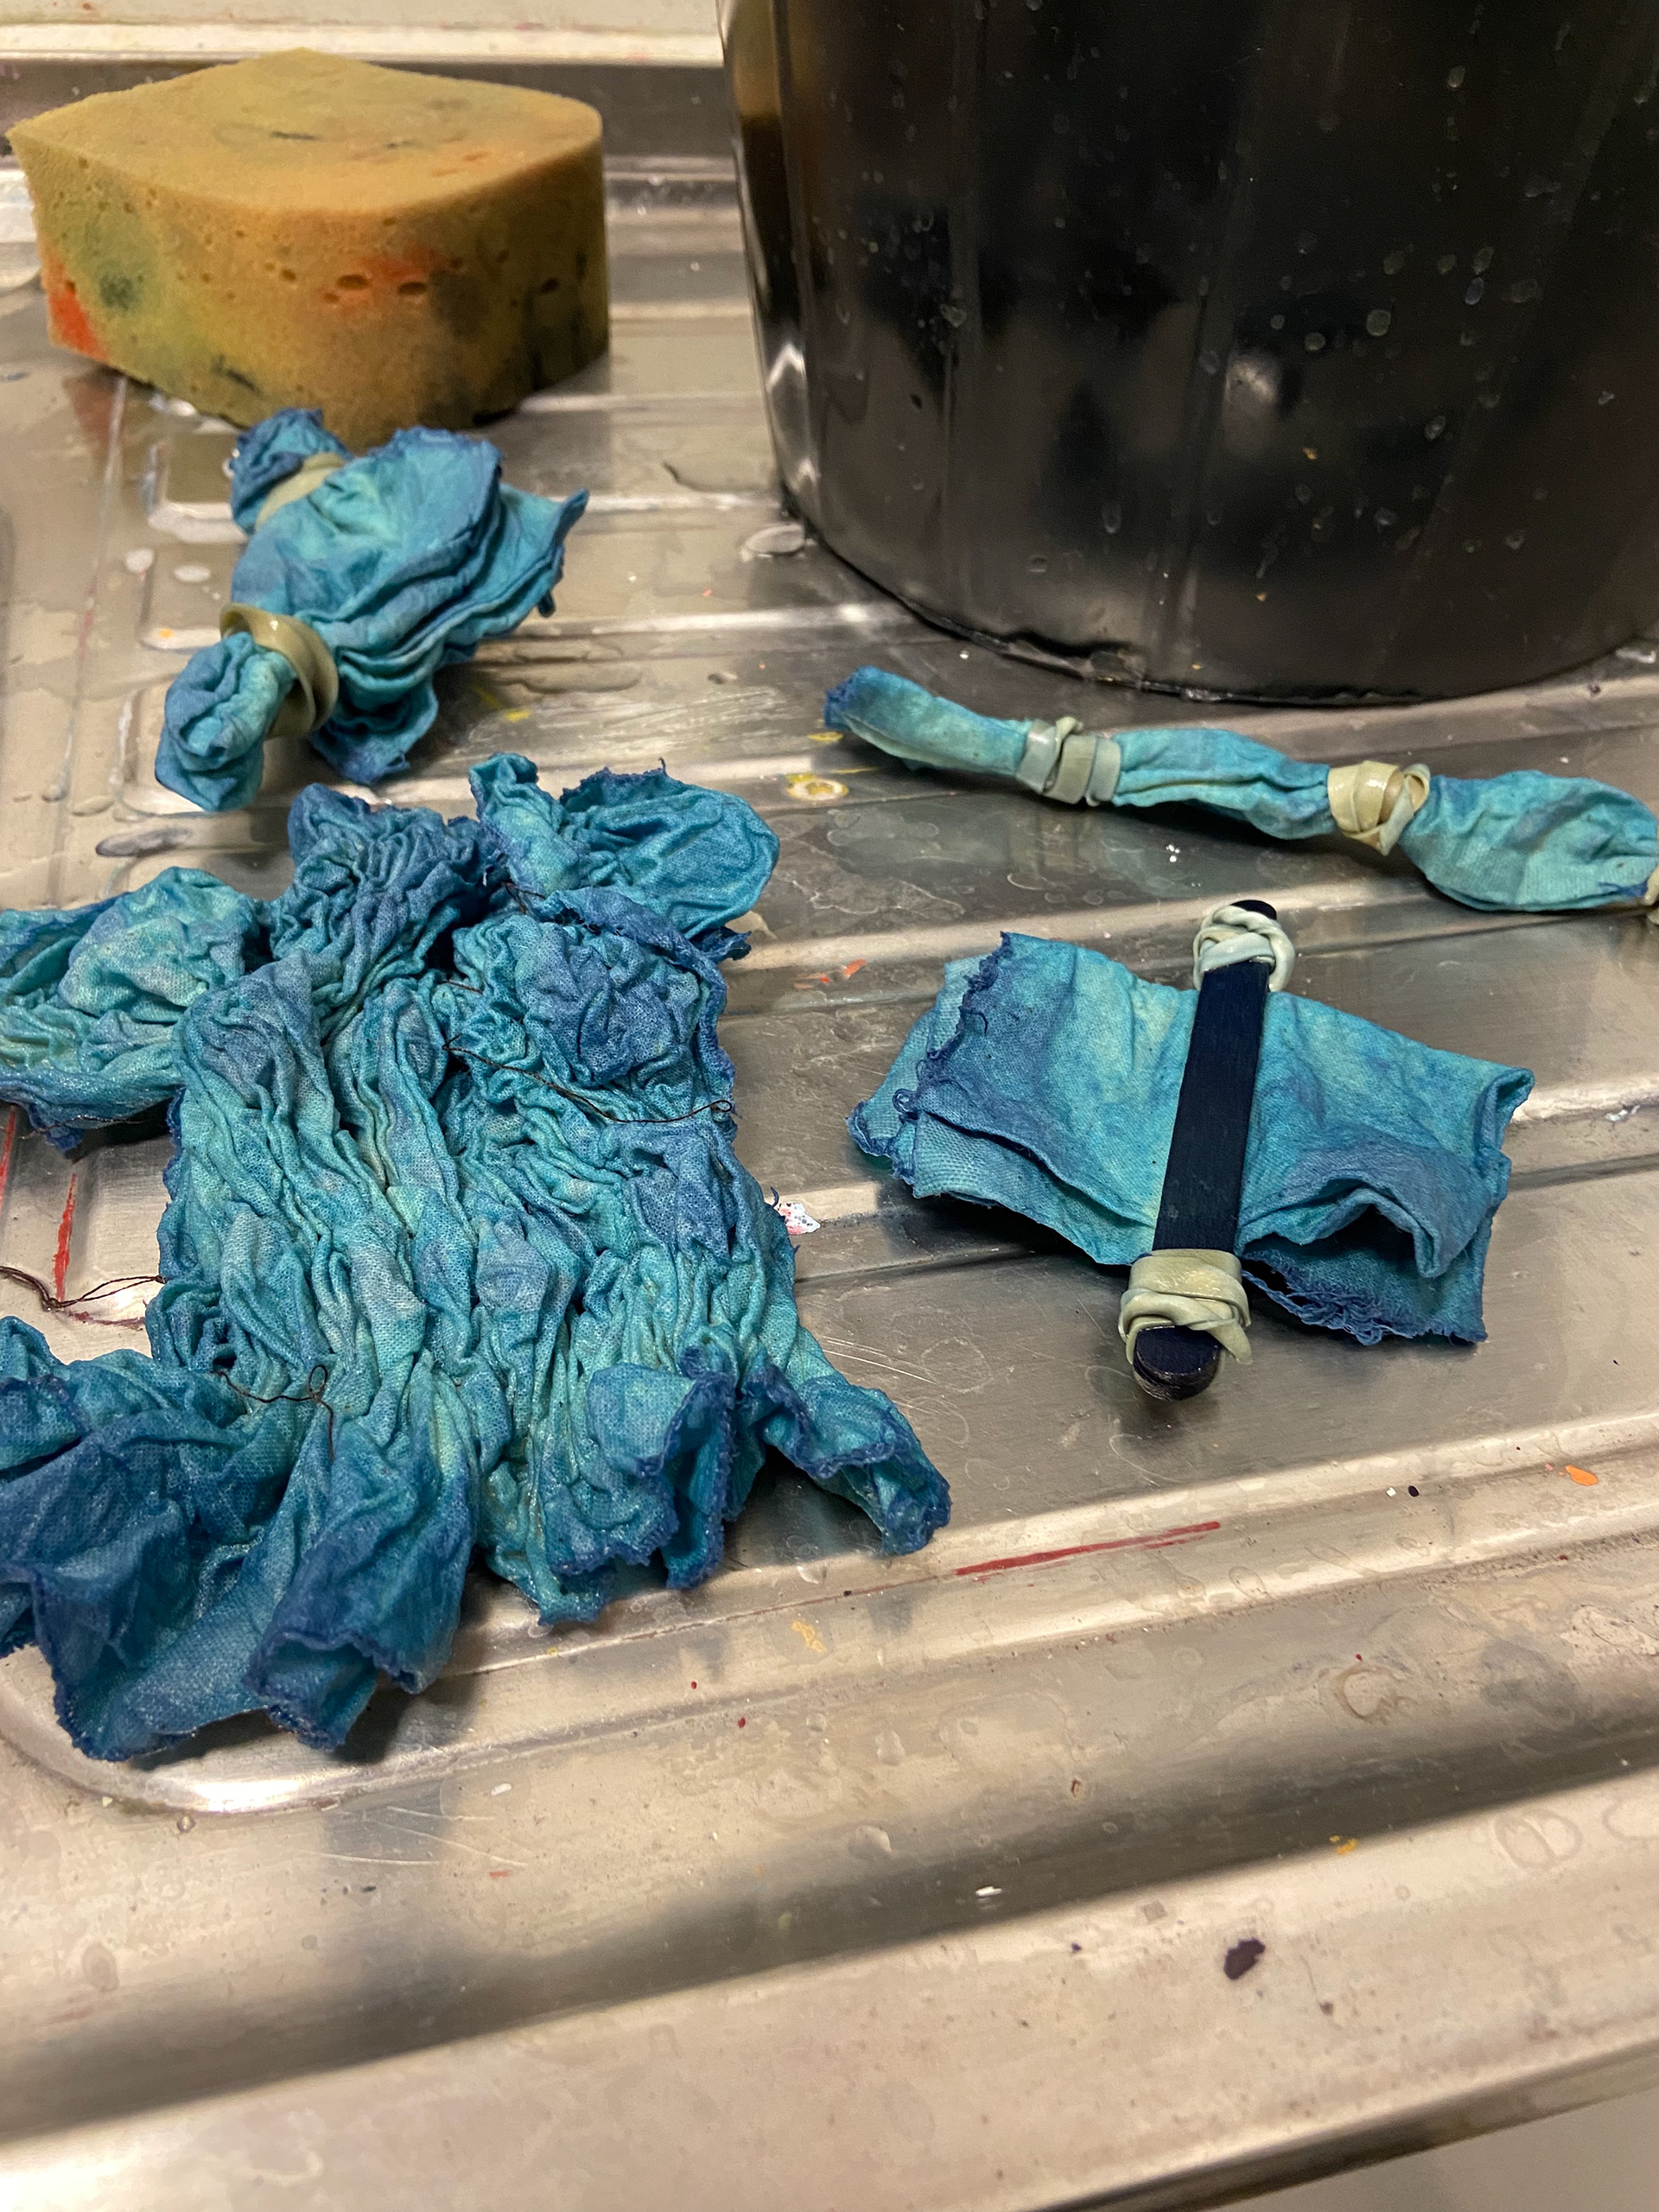
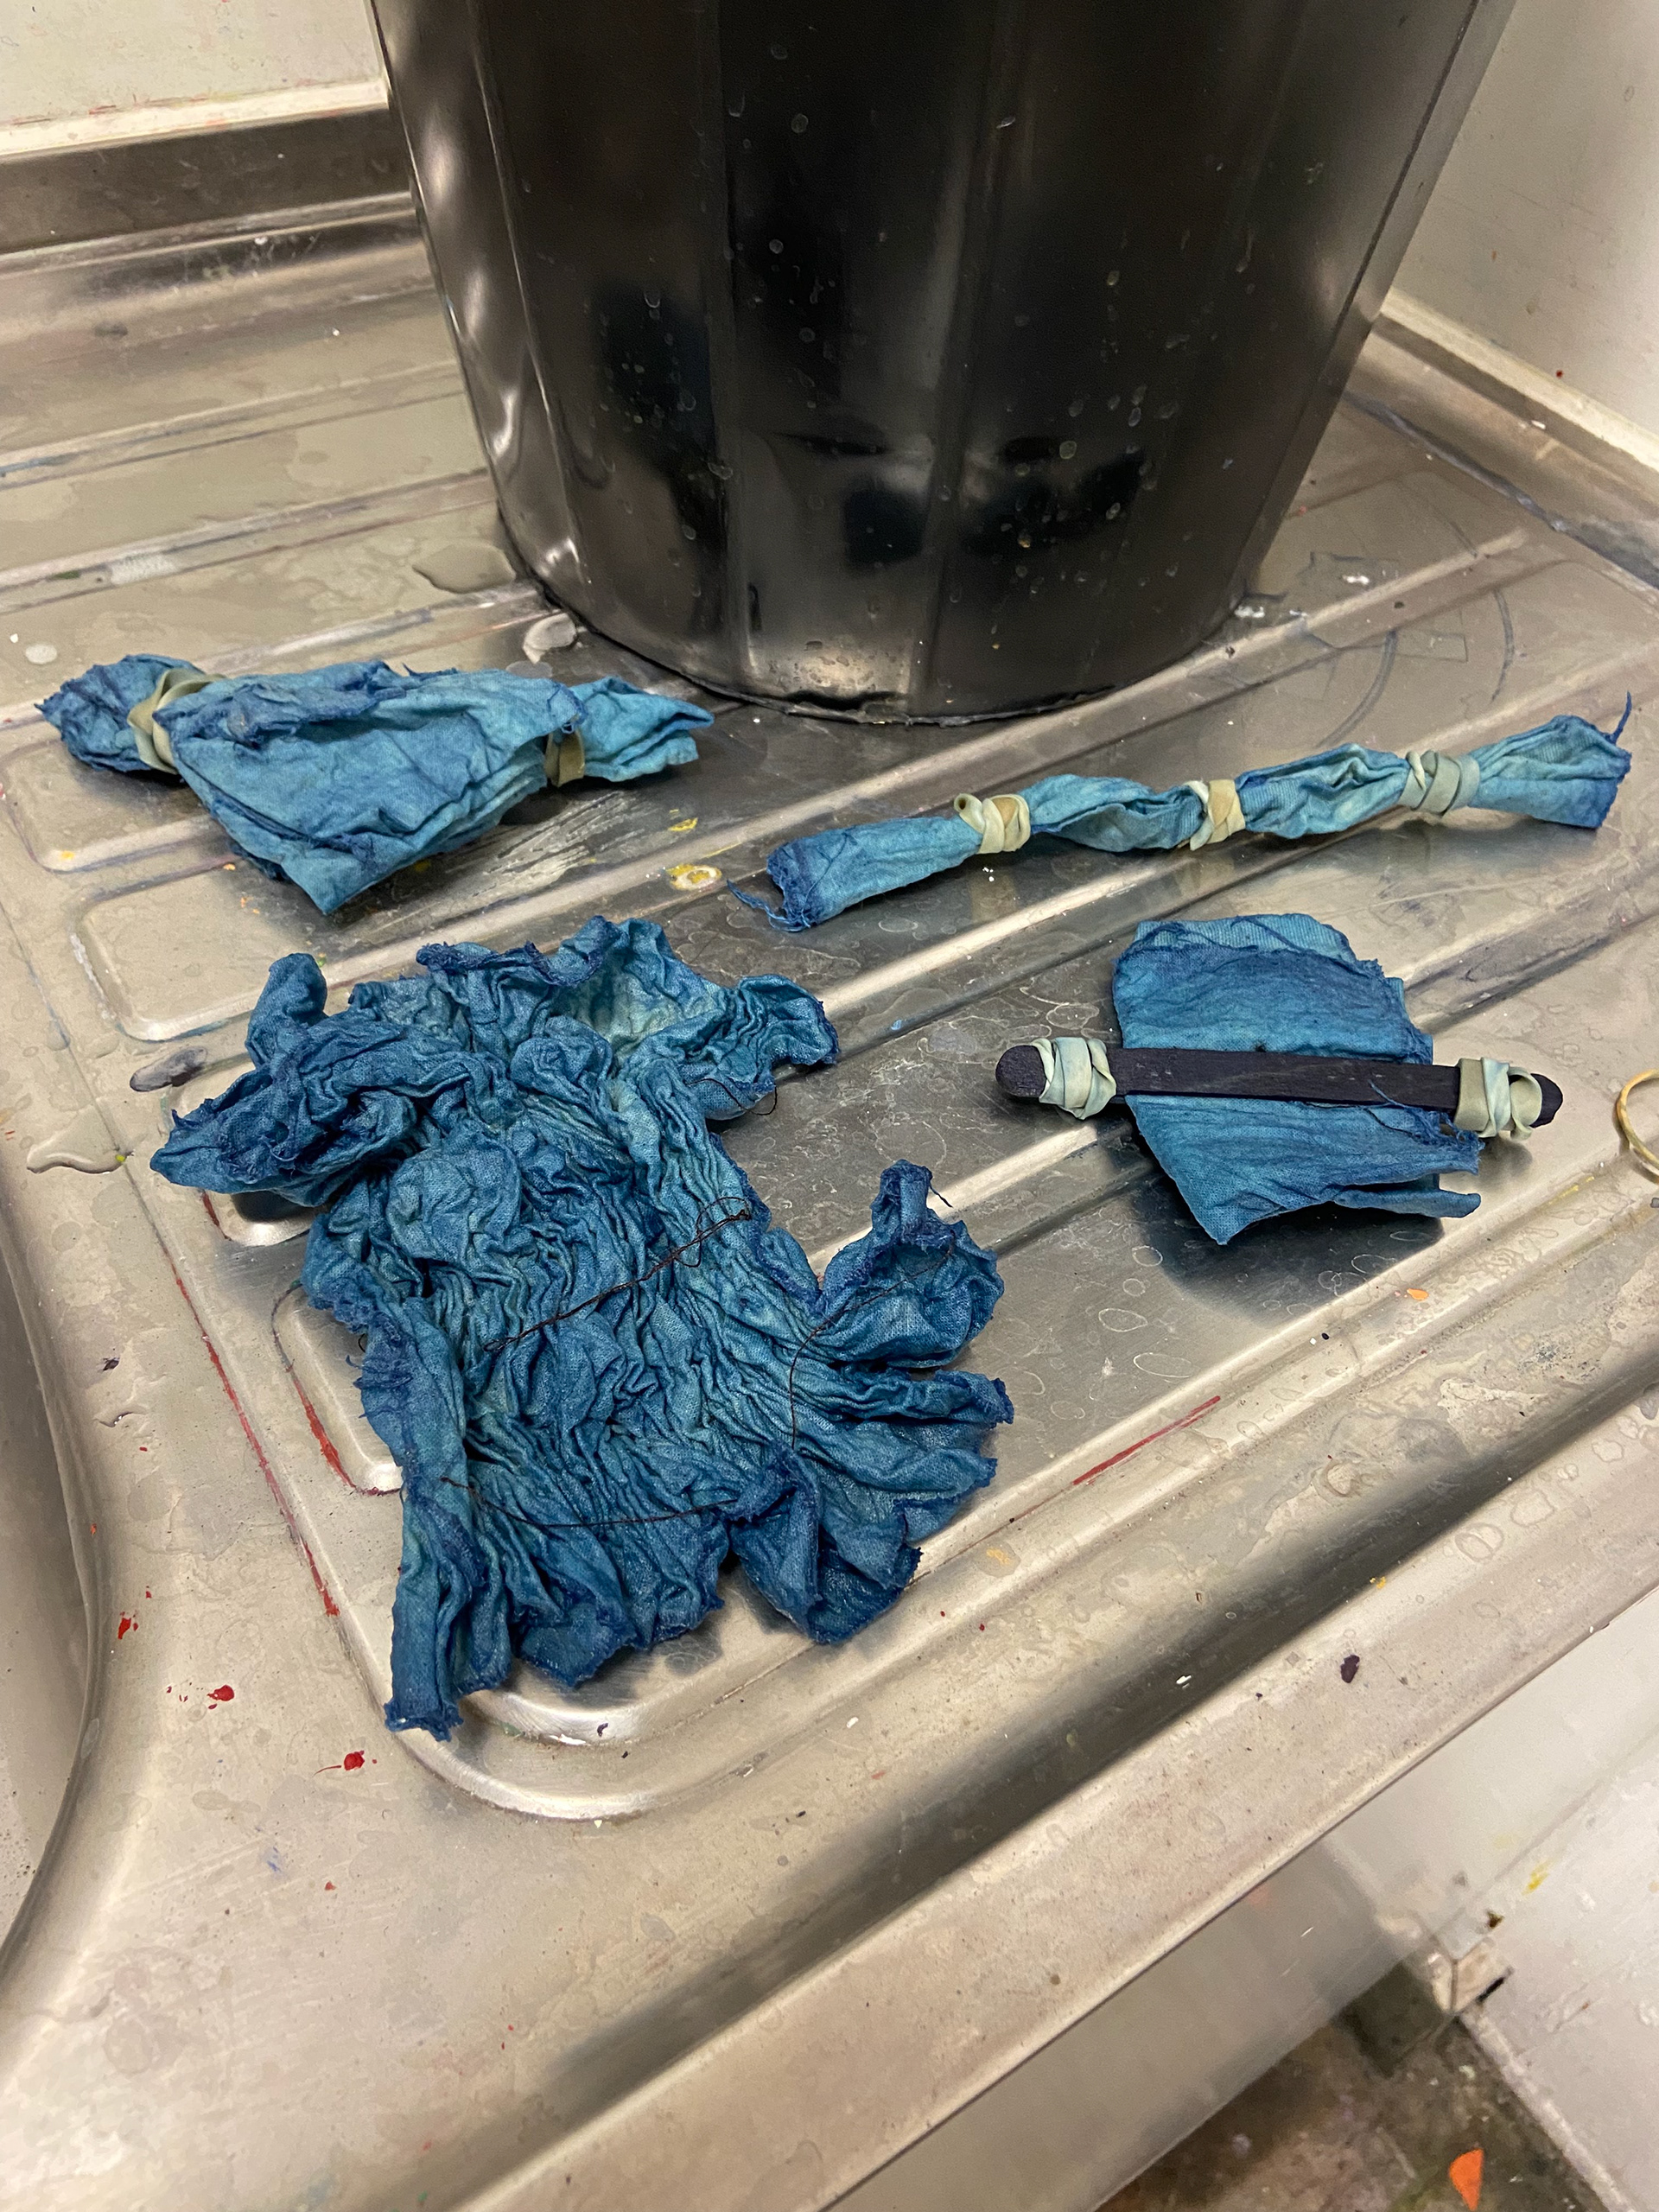
The first dye kit that I experimented was the Jacquard kit, I filled a bucket with 3L of warm water and added all of the ingredients to it. The kit also had rubber bands, popsicle sticks and wooden blocks which I used to bind the fabric before dipping it into the dye to create patterns.
The first kit contained:
•Pre-reduced indigo dye
•Sodium Hydrosulfite
•Soda Ash
•Gloves
•Wood blocks
•Wooden sticks
•Rubber bands
•A booklet with the instructions
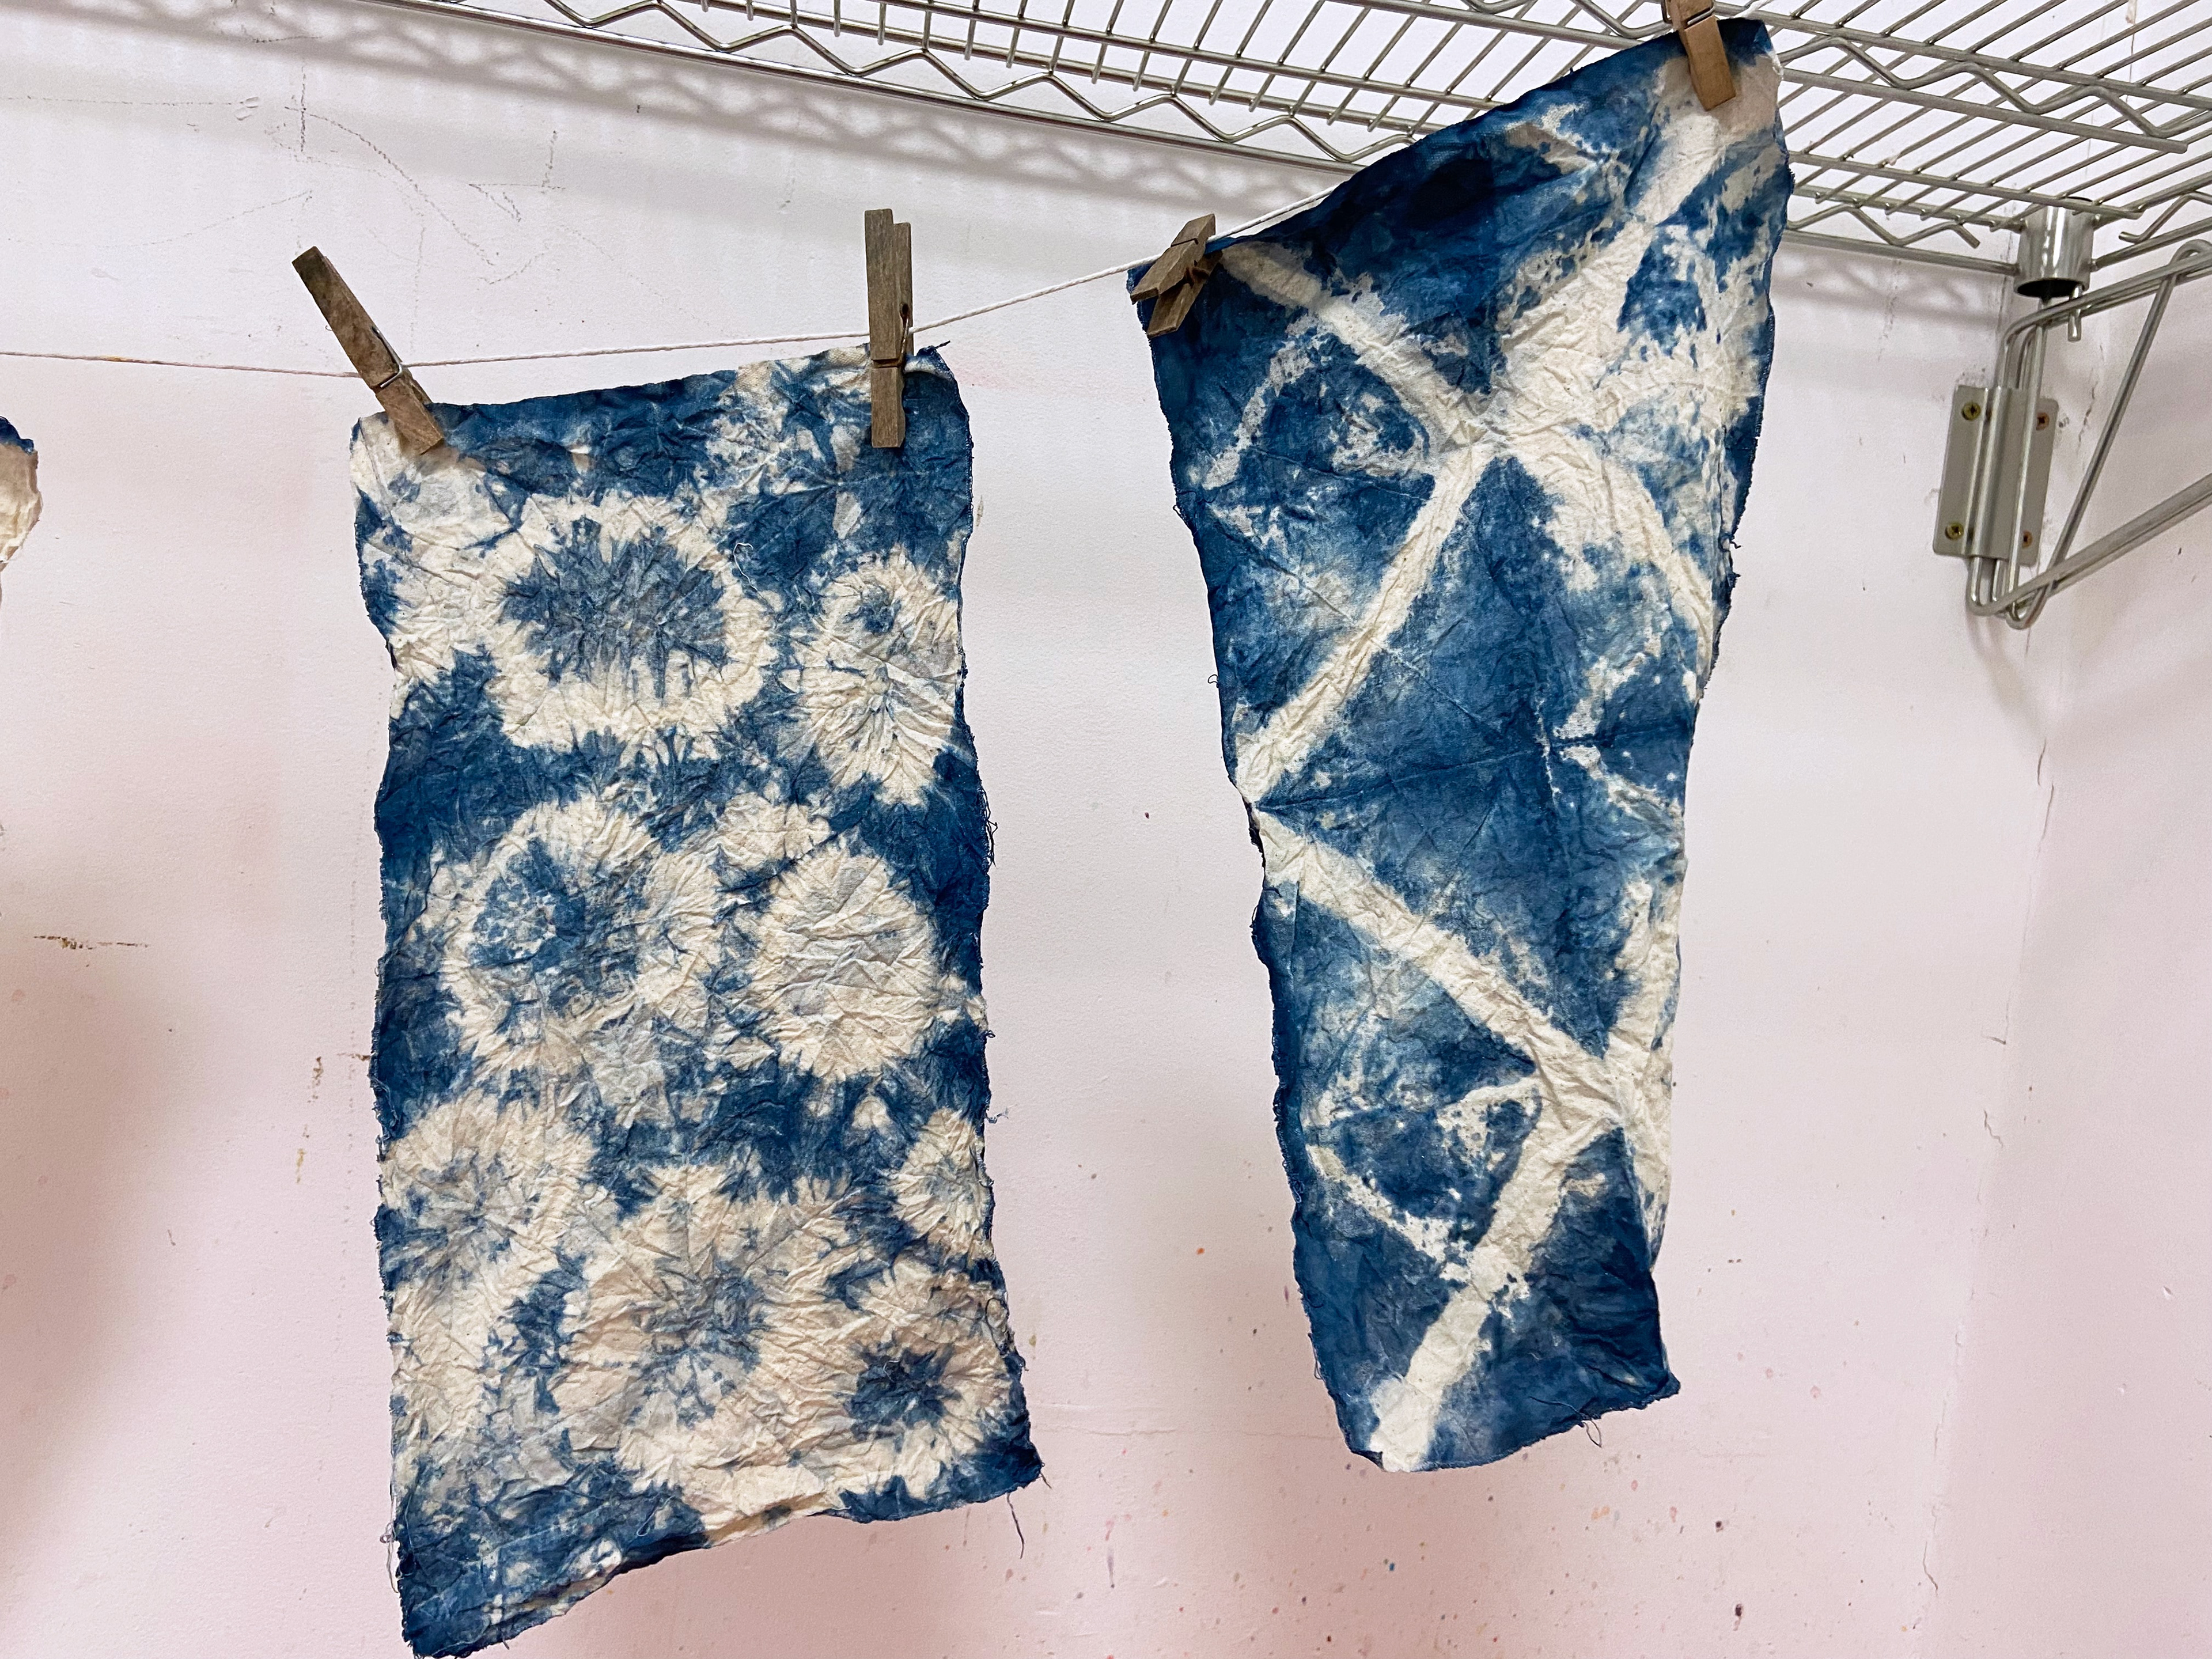
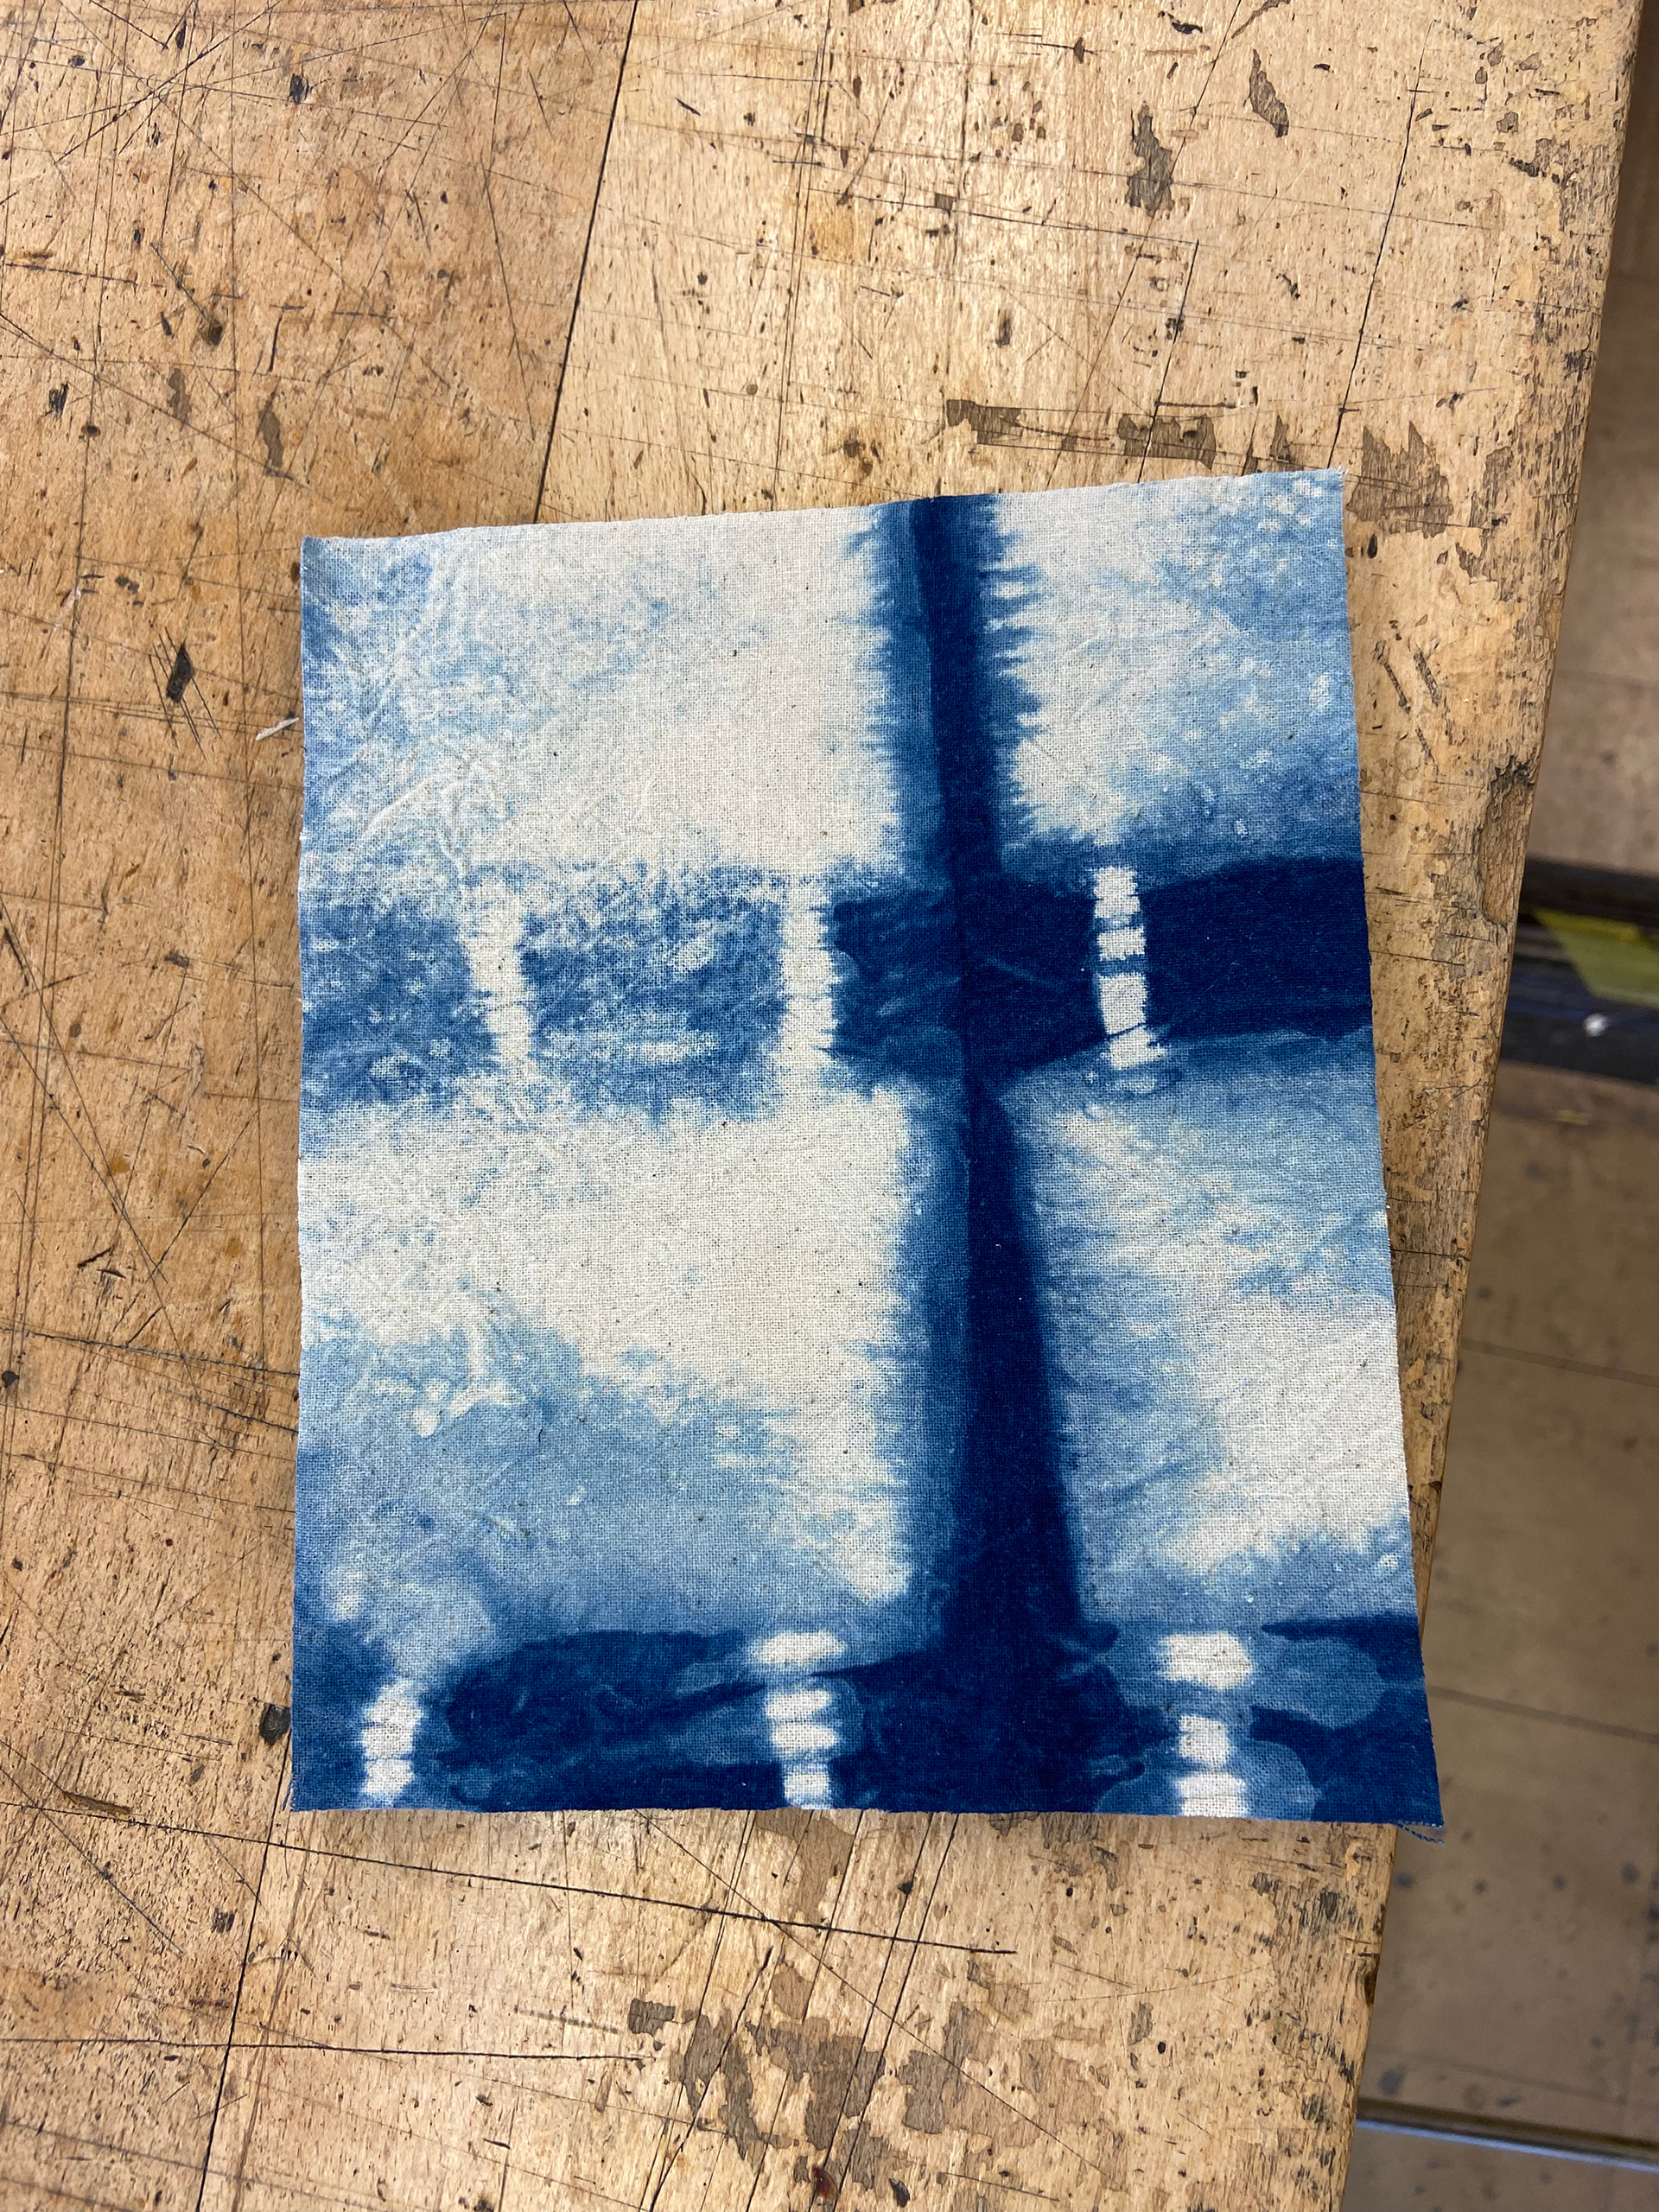
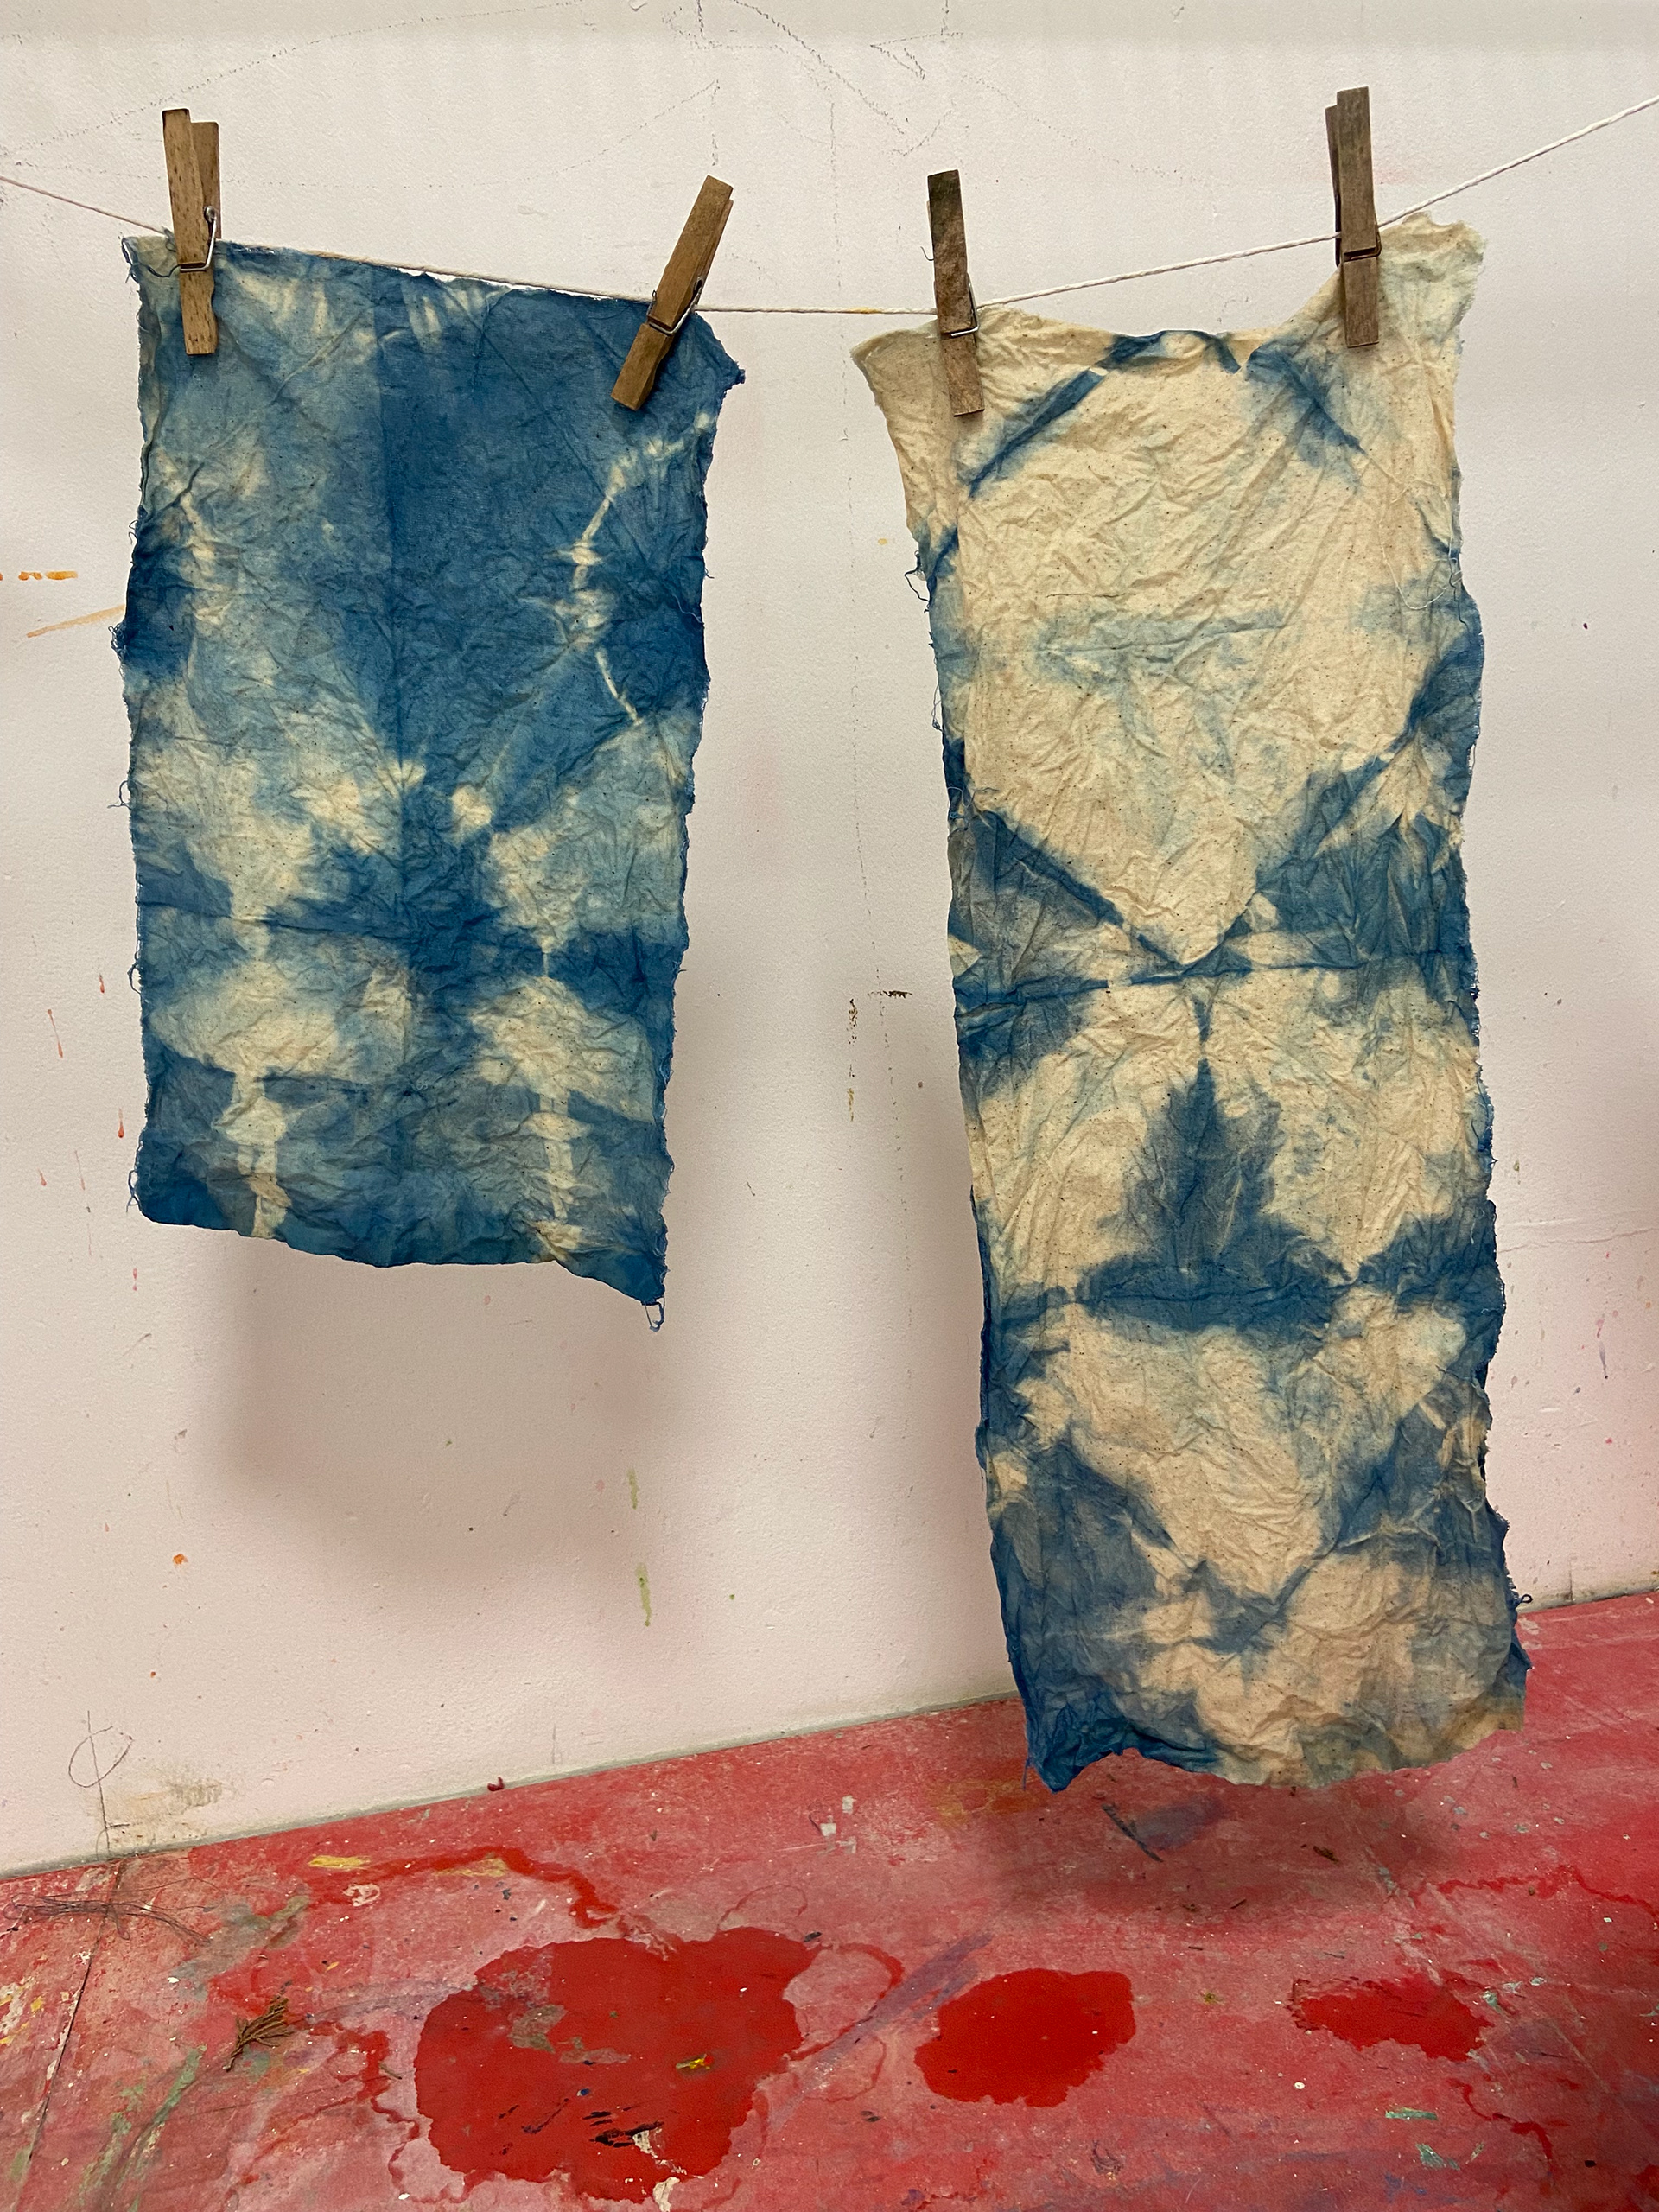
This is how the dye looked on cotton fabric. The rubber bands created circular patterns on the fabric while the wooden blocks and popsicle sticks created more geometric patterns.
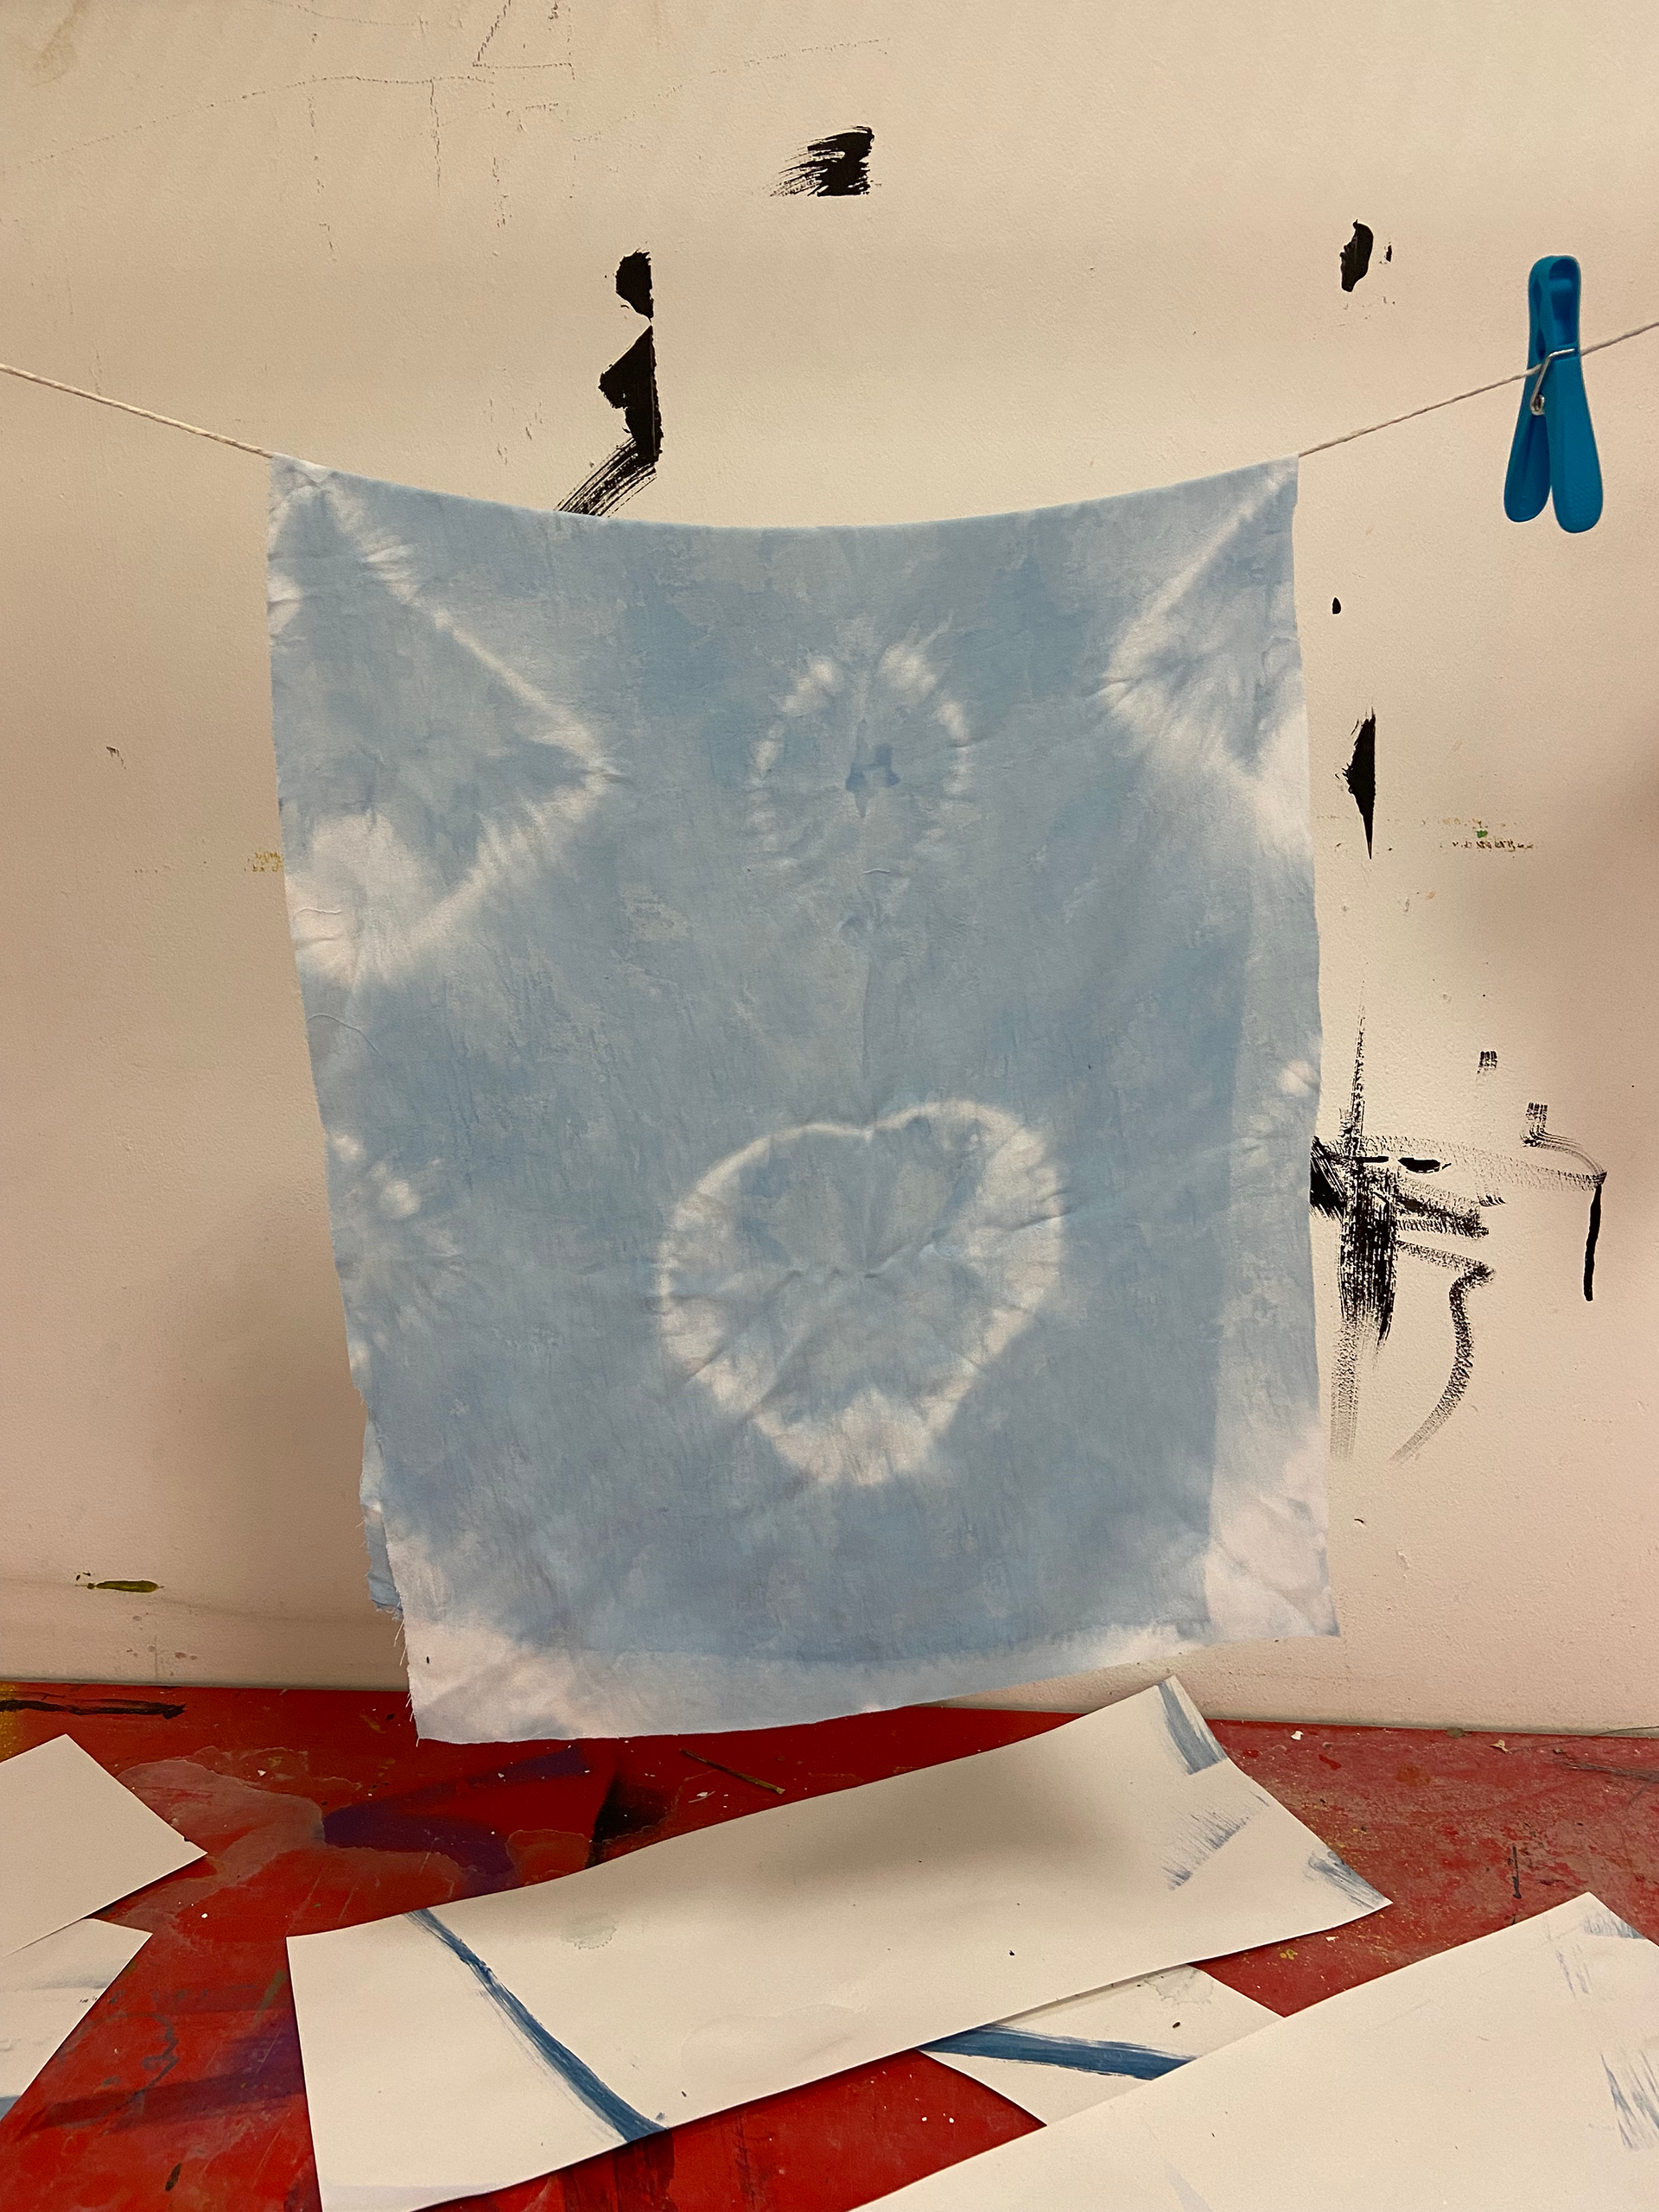
I also experimented on silk and linen fabrics, however, they do not absorb the dye that well and since they're not as rough as the cotton cloth, they do not create patterns that well. Because of this, I decided to stick with the cotton.
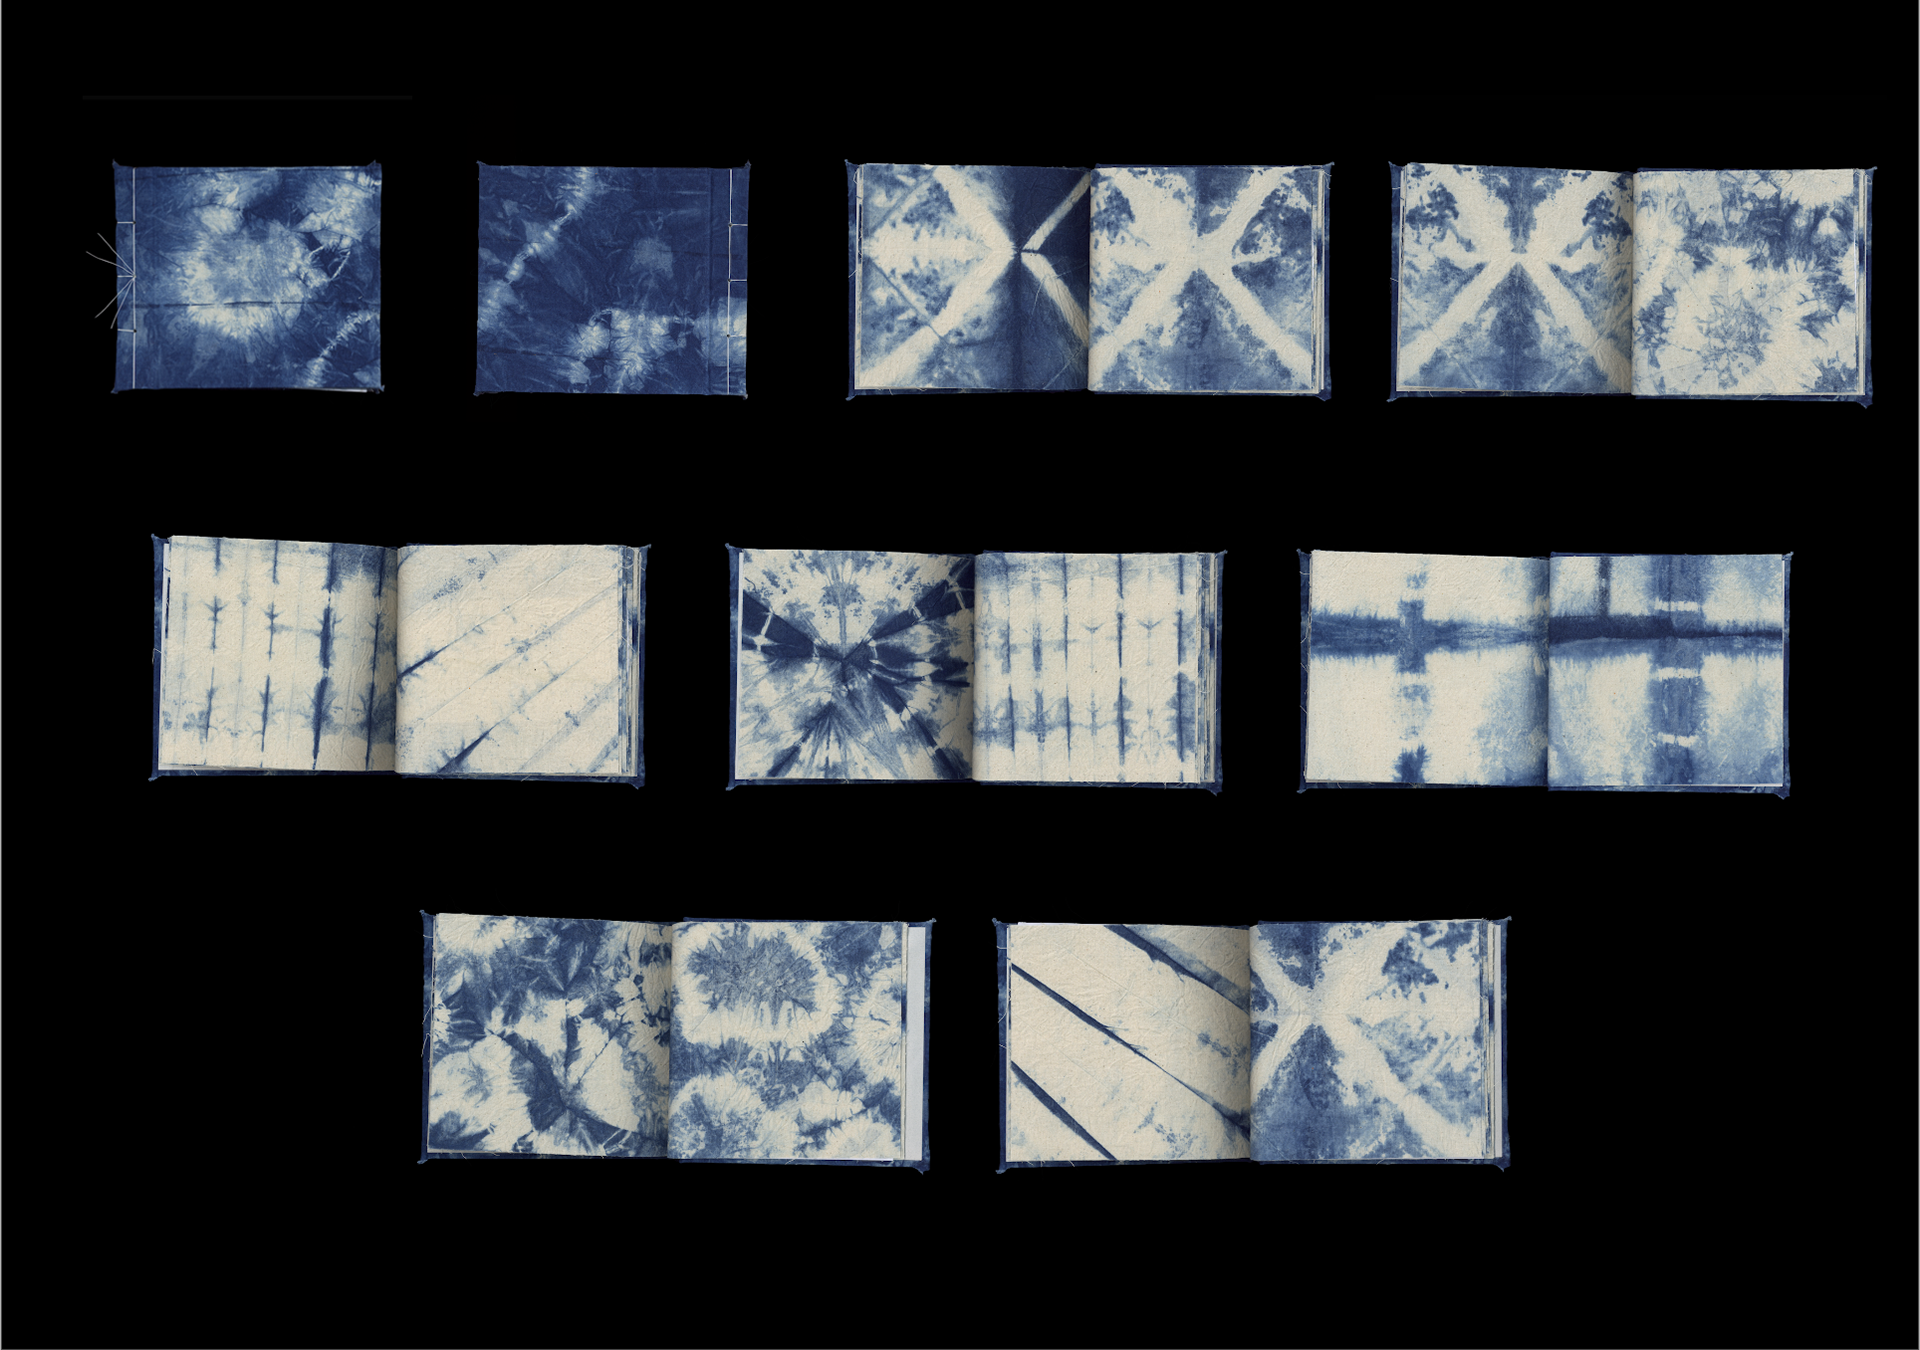
At first, I was not sure what I could do with the dyed fabric pieces but later I thought that it could be a good idea to make a book with them. I cut up the pieces, used two of them to make hard covers to give structure to the book and then bound the fabrics using Japanese binding.
Size: 157 x 187 mm
Second dye kit:
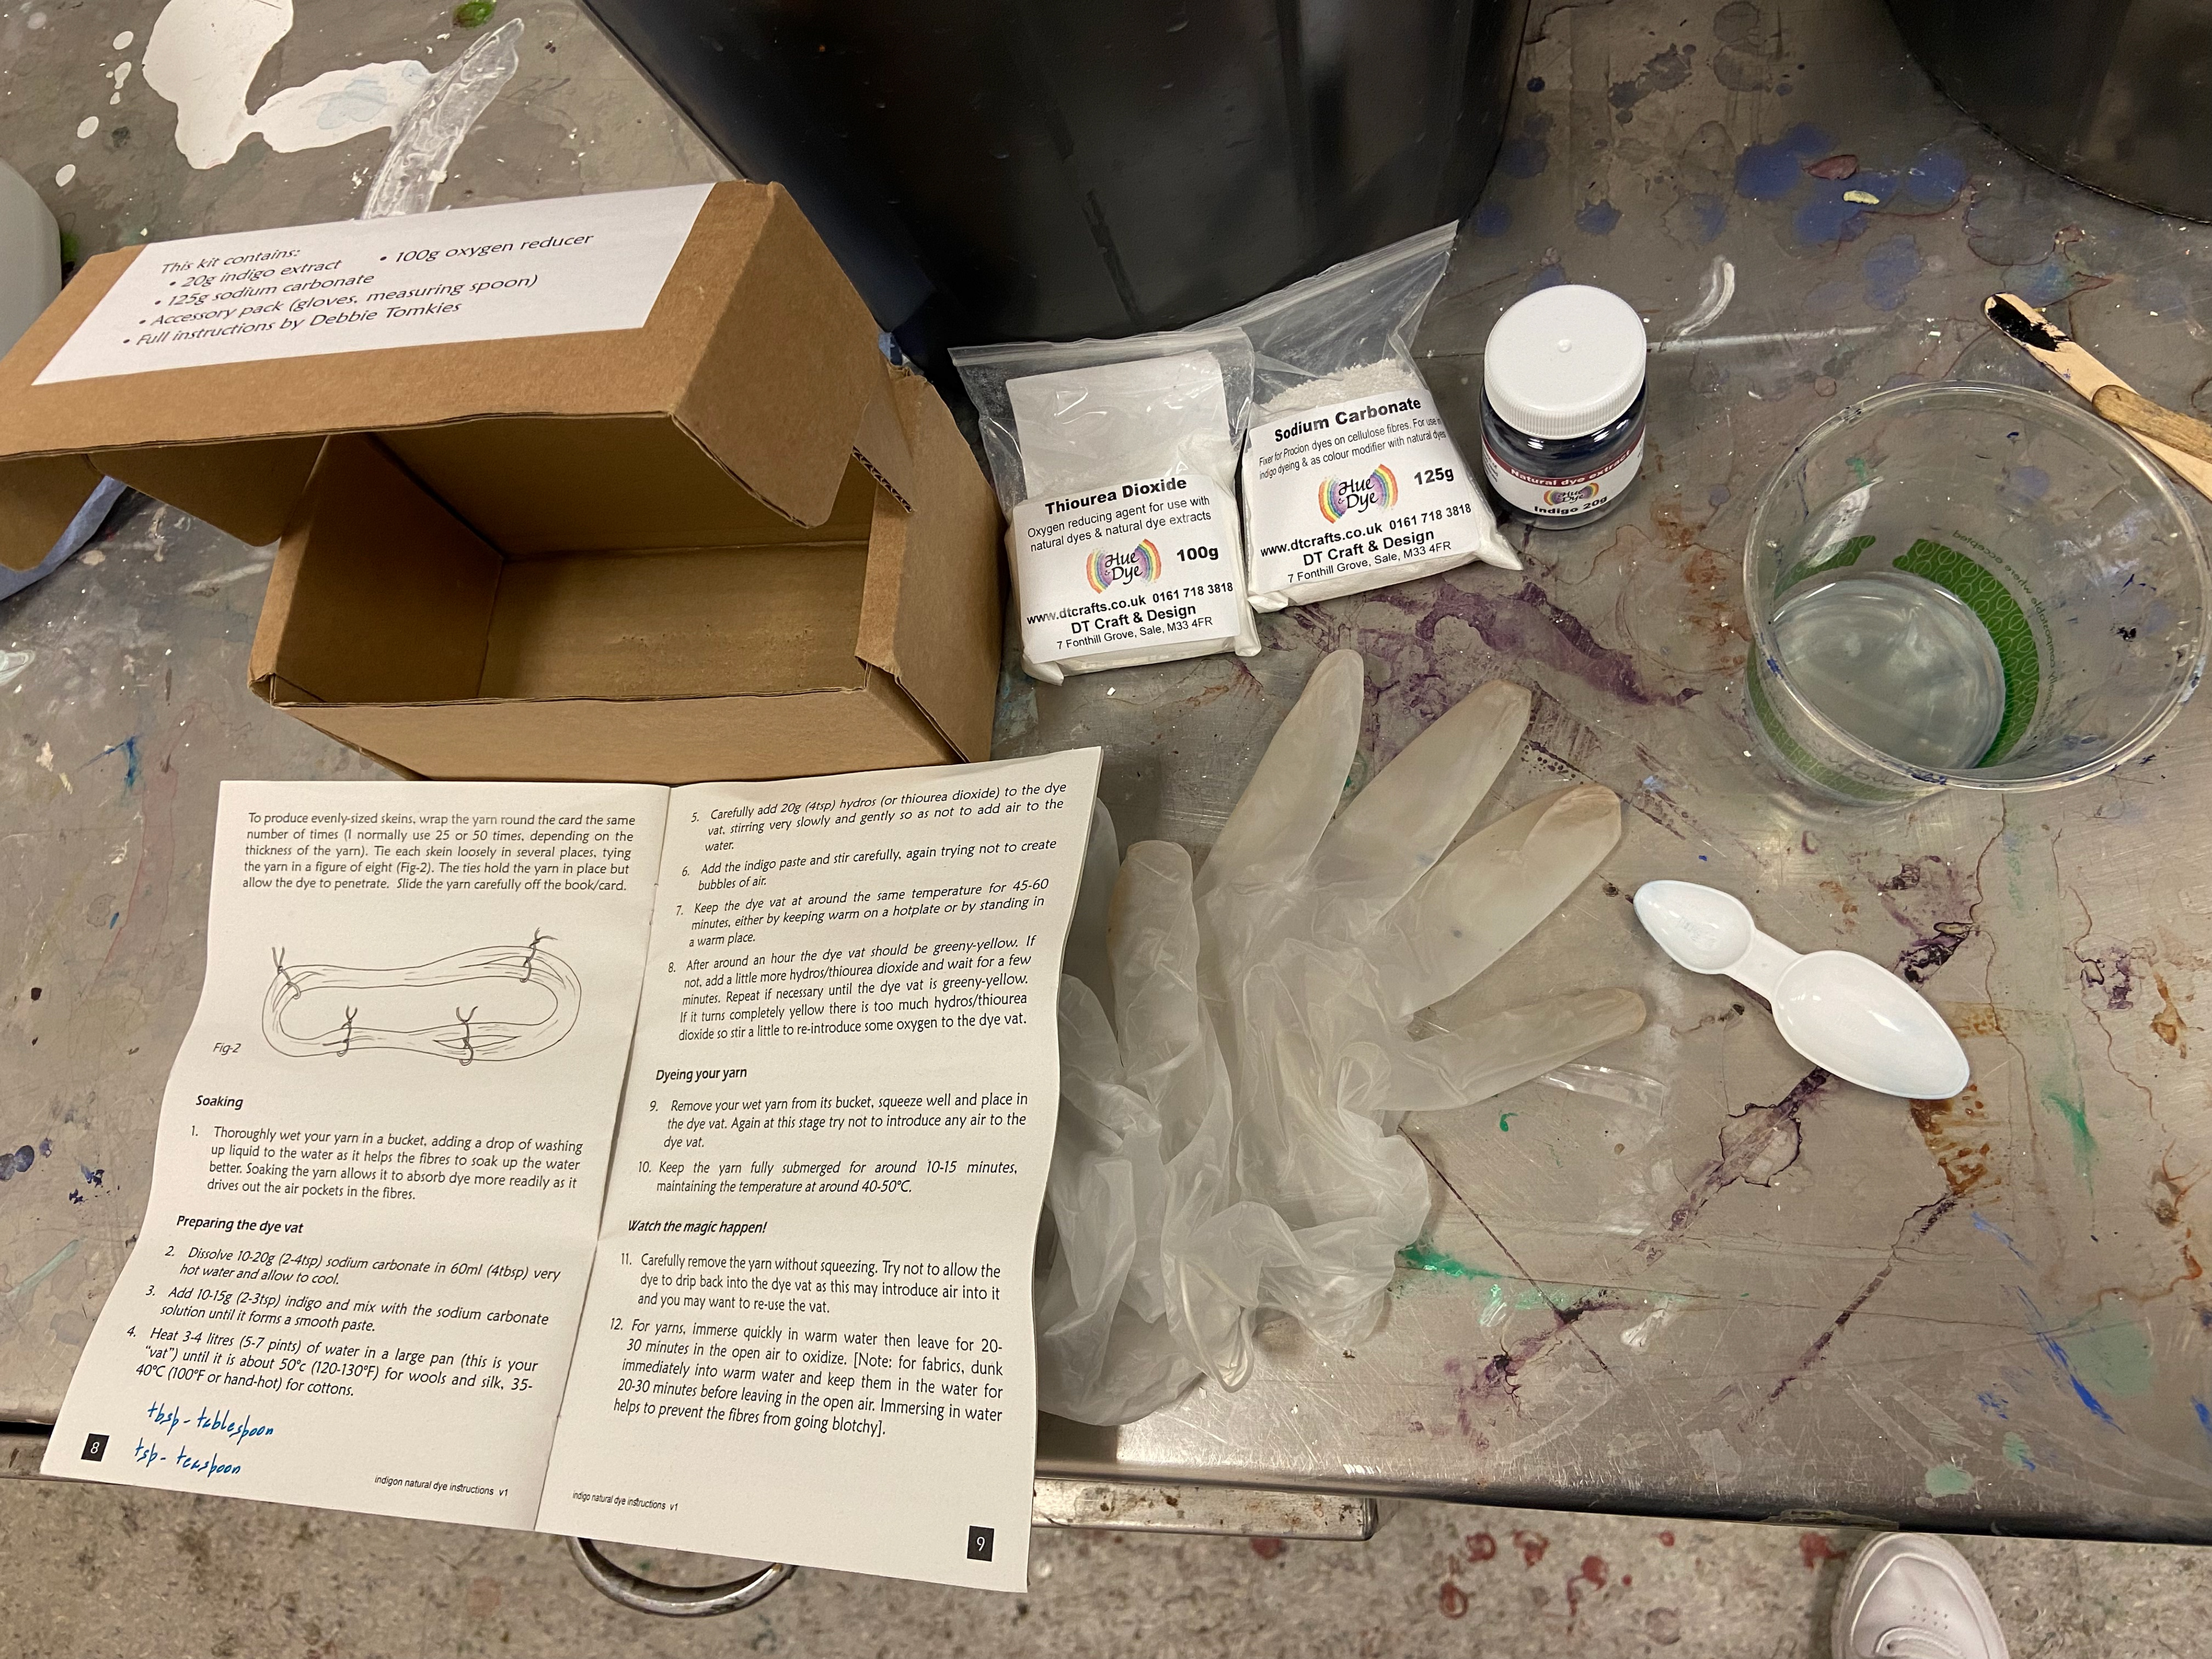
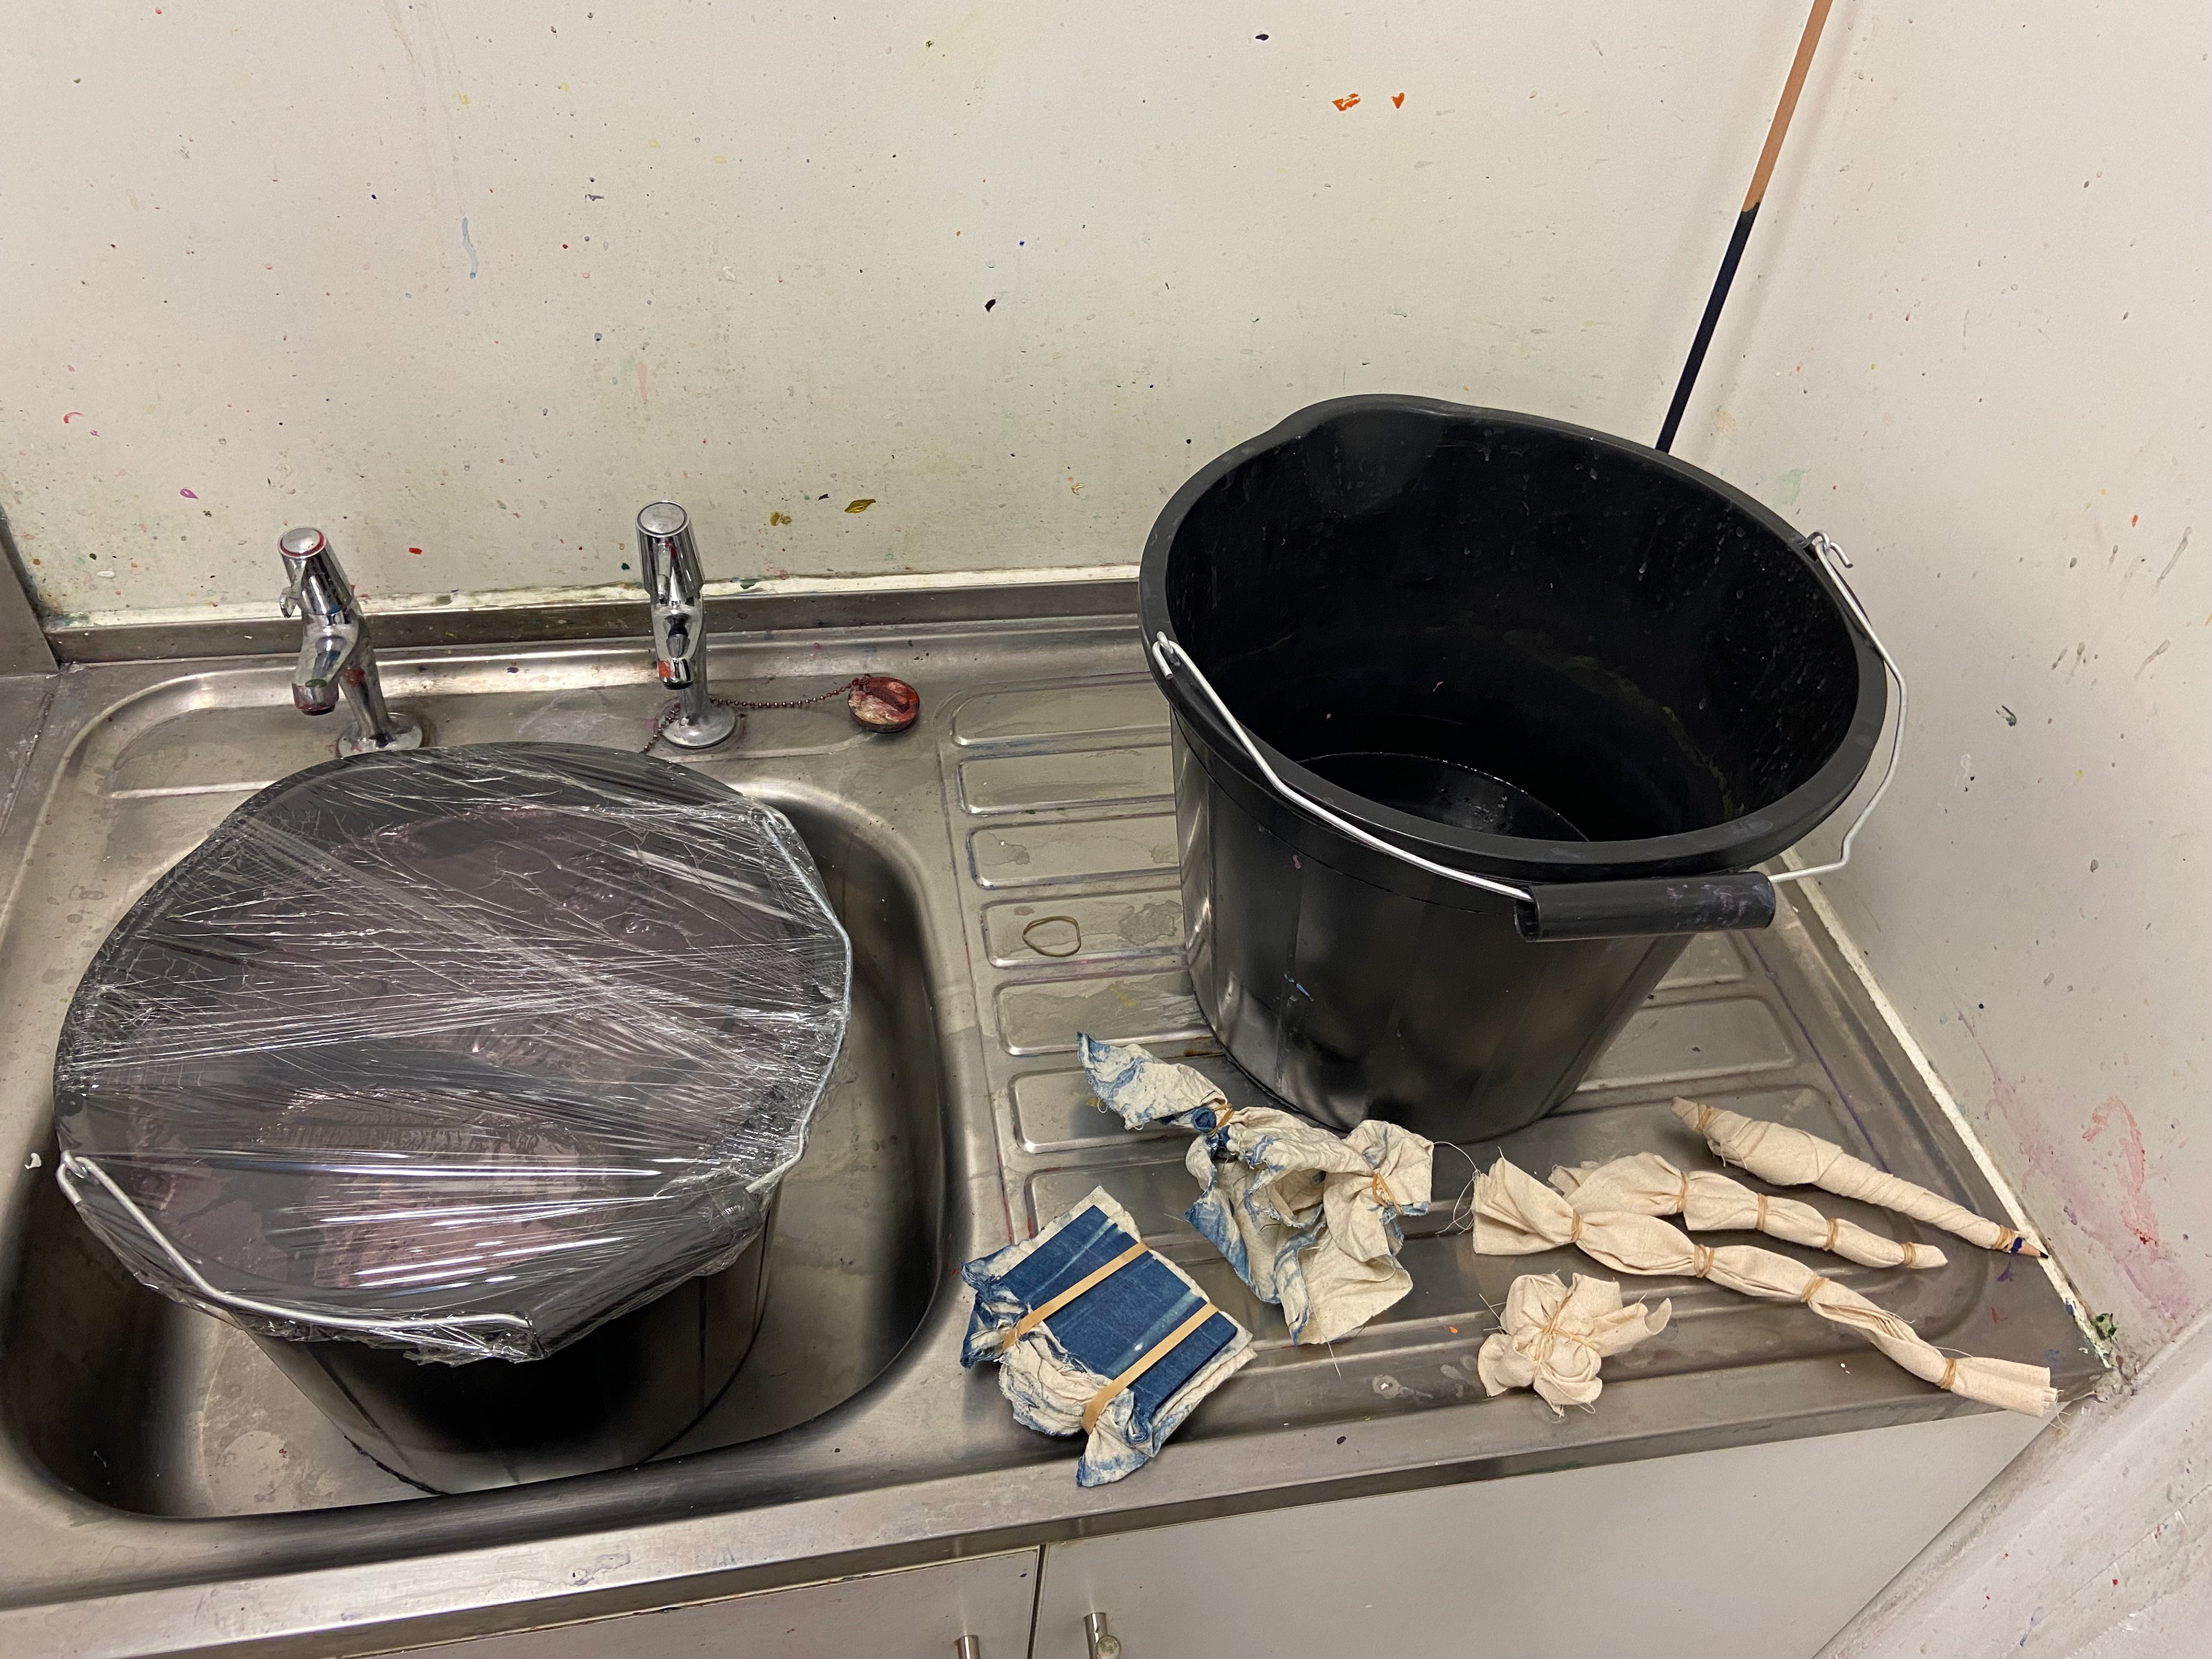
After a few days, the first dye mix expired so I prepared another vat with the second kit. This one was more complex process when compared to the first one because instead of just adding all of the ingredients into water and dipping the fabric, I had to follow specific instructions to achieve the results that I wanted.
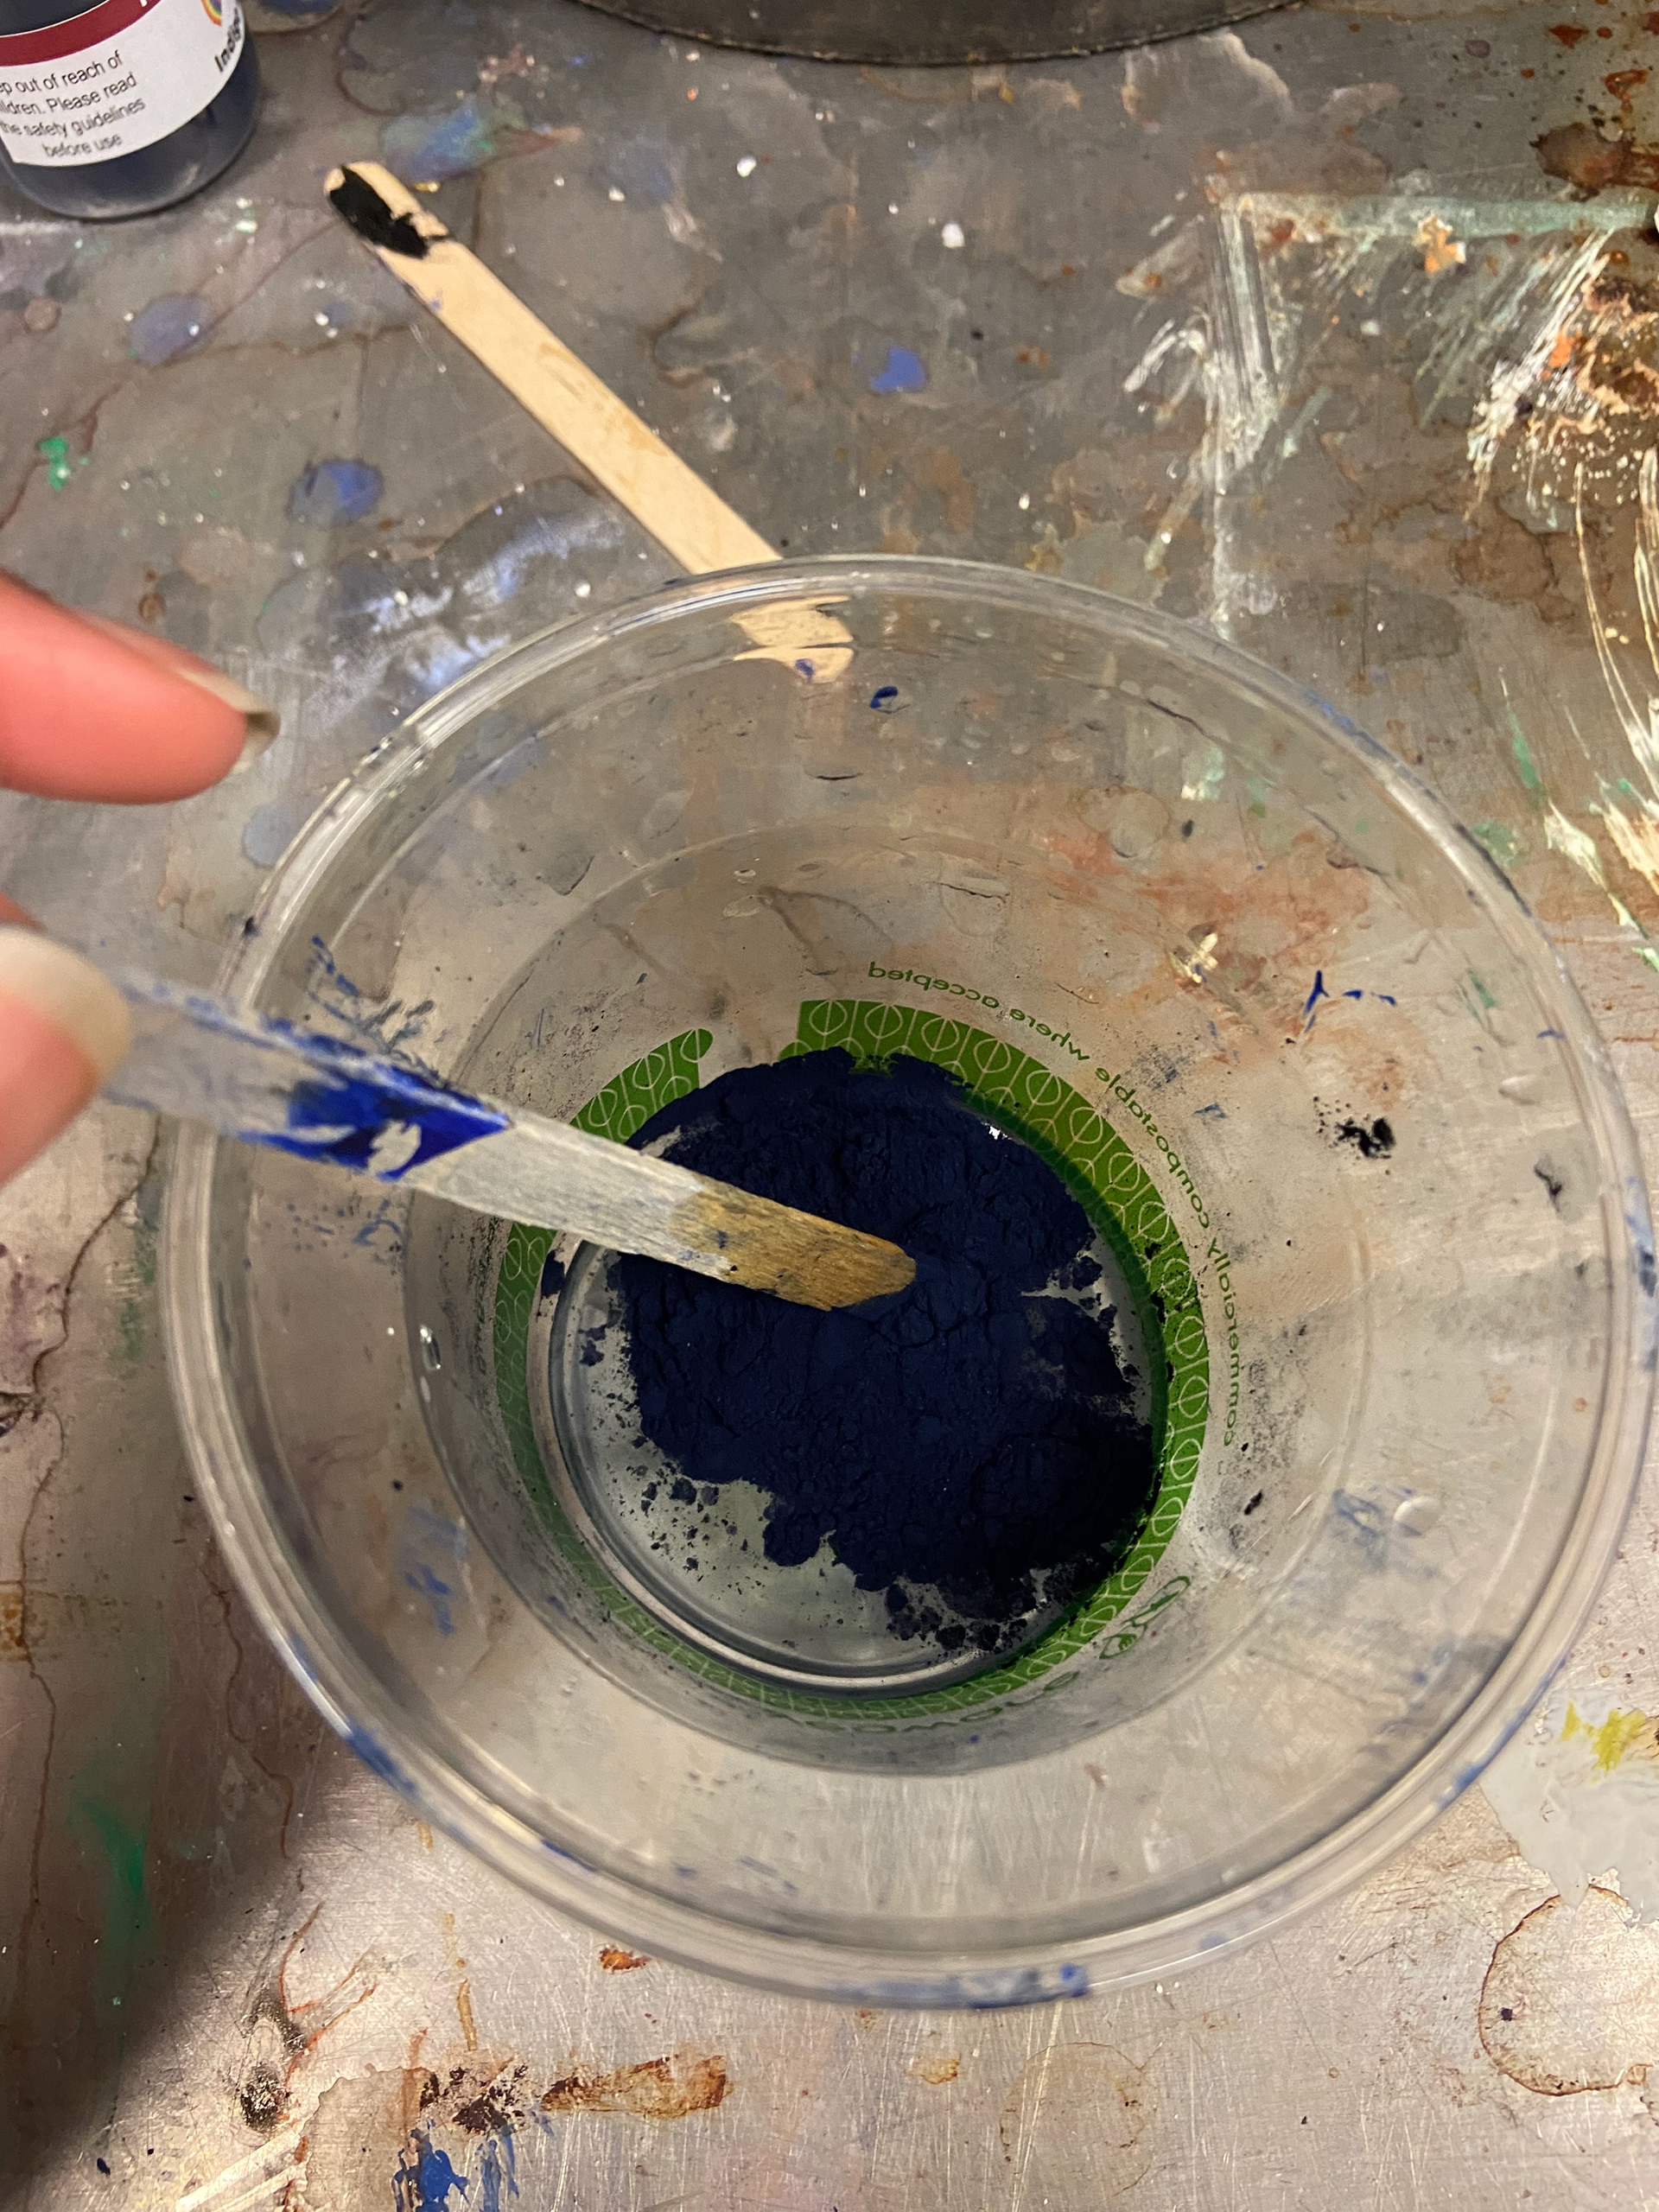
1. Add 4 teaspoons of sodium carbonate to 60ml of hot water. Afterwards add 3 teaspoons of indigo extract.
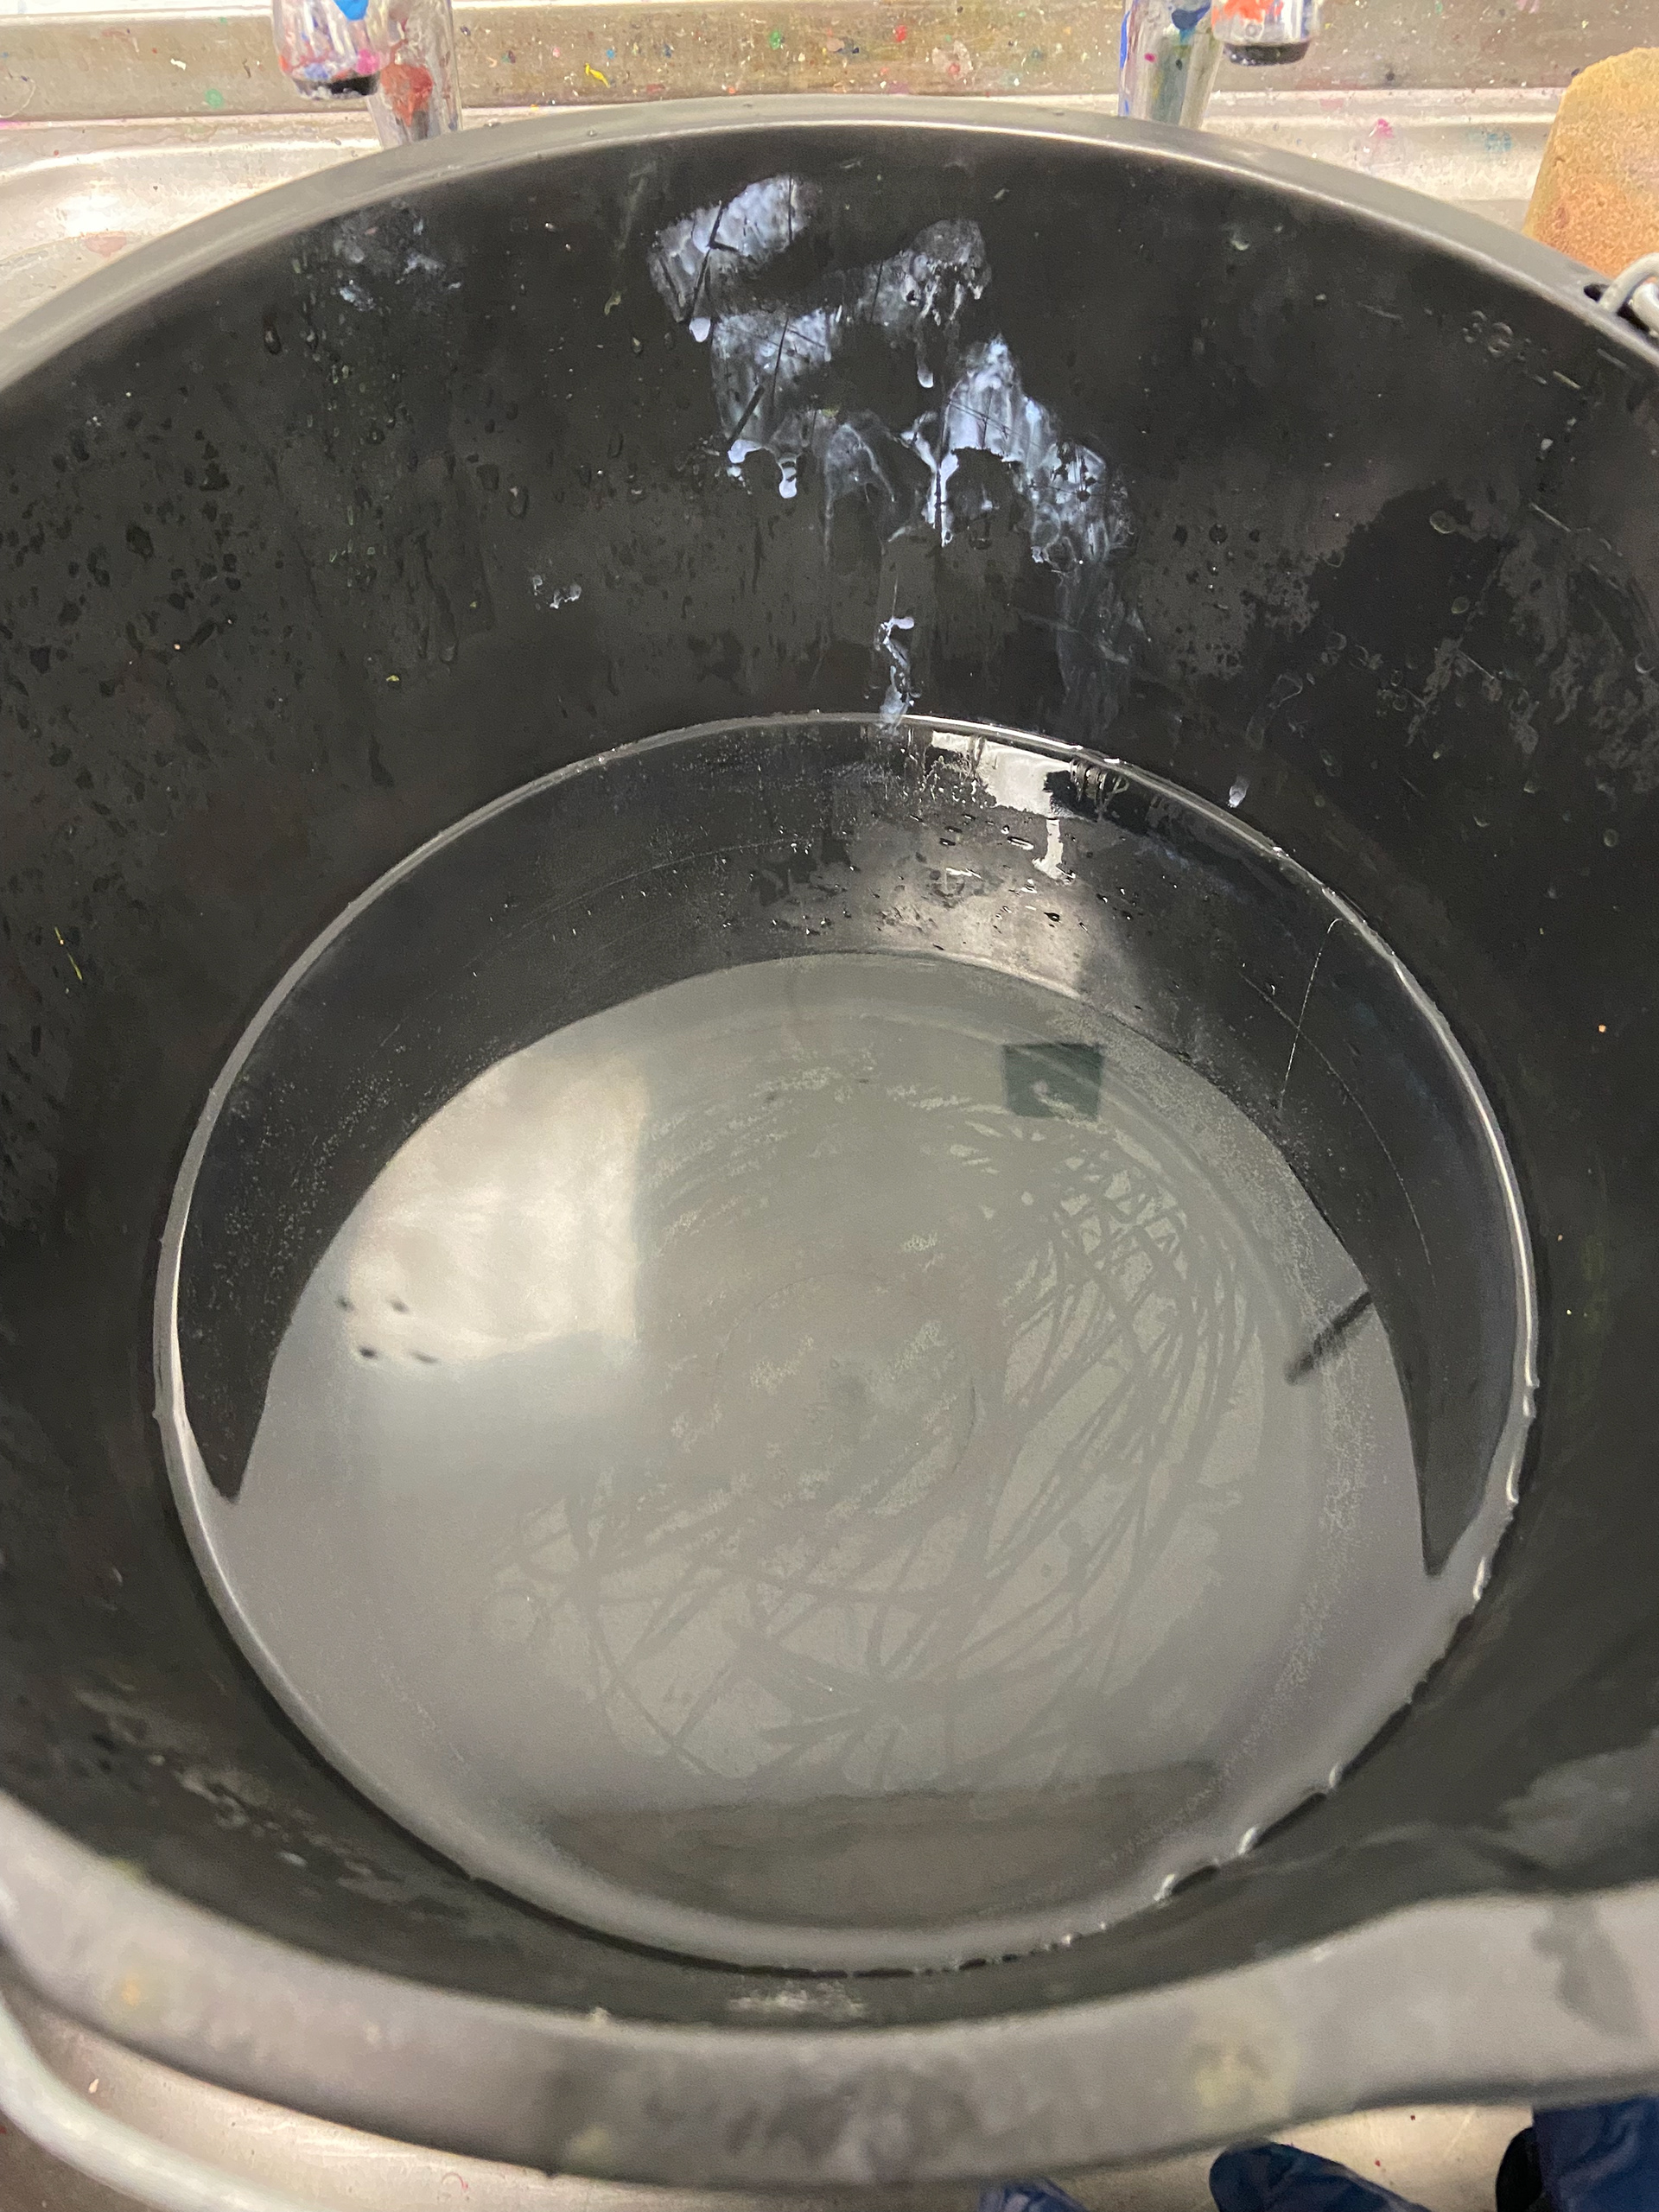
2. Fill a bucket with 4L of hot water and mix in 4 teaspoons of oxygen reducer/thiouria dioxide.

3. Add the indigo mix to the bucket, mix it, cover it and let it set for 1 hour.
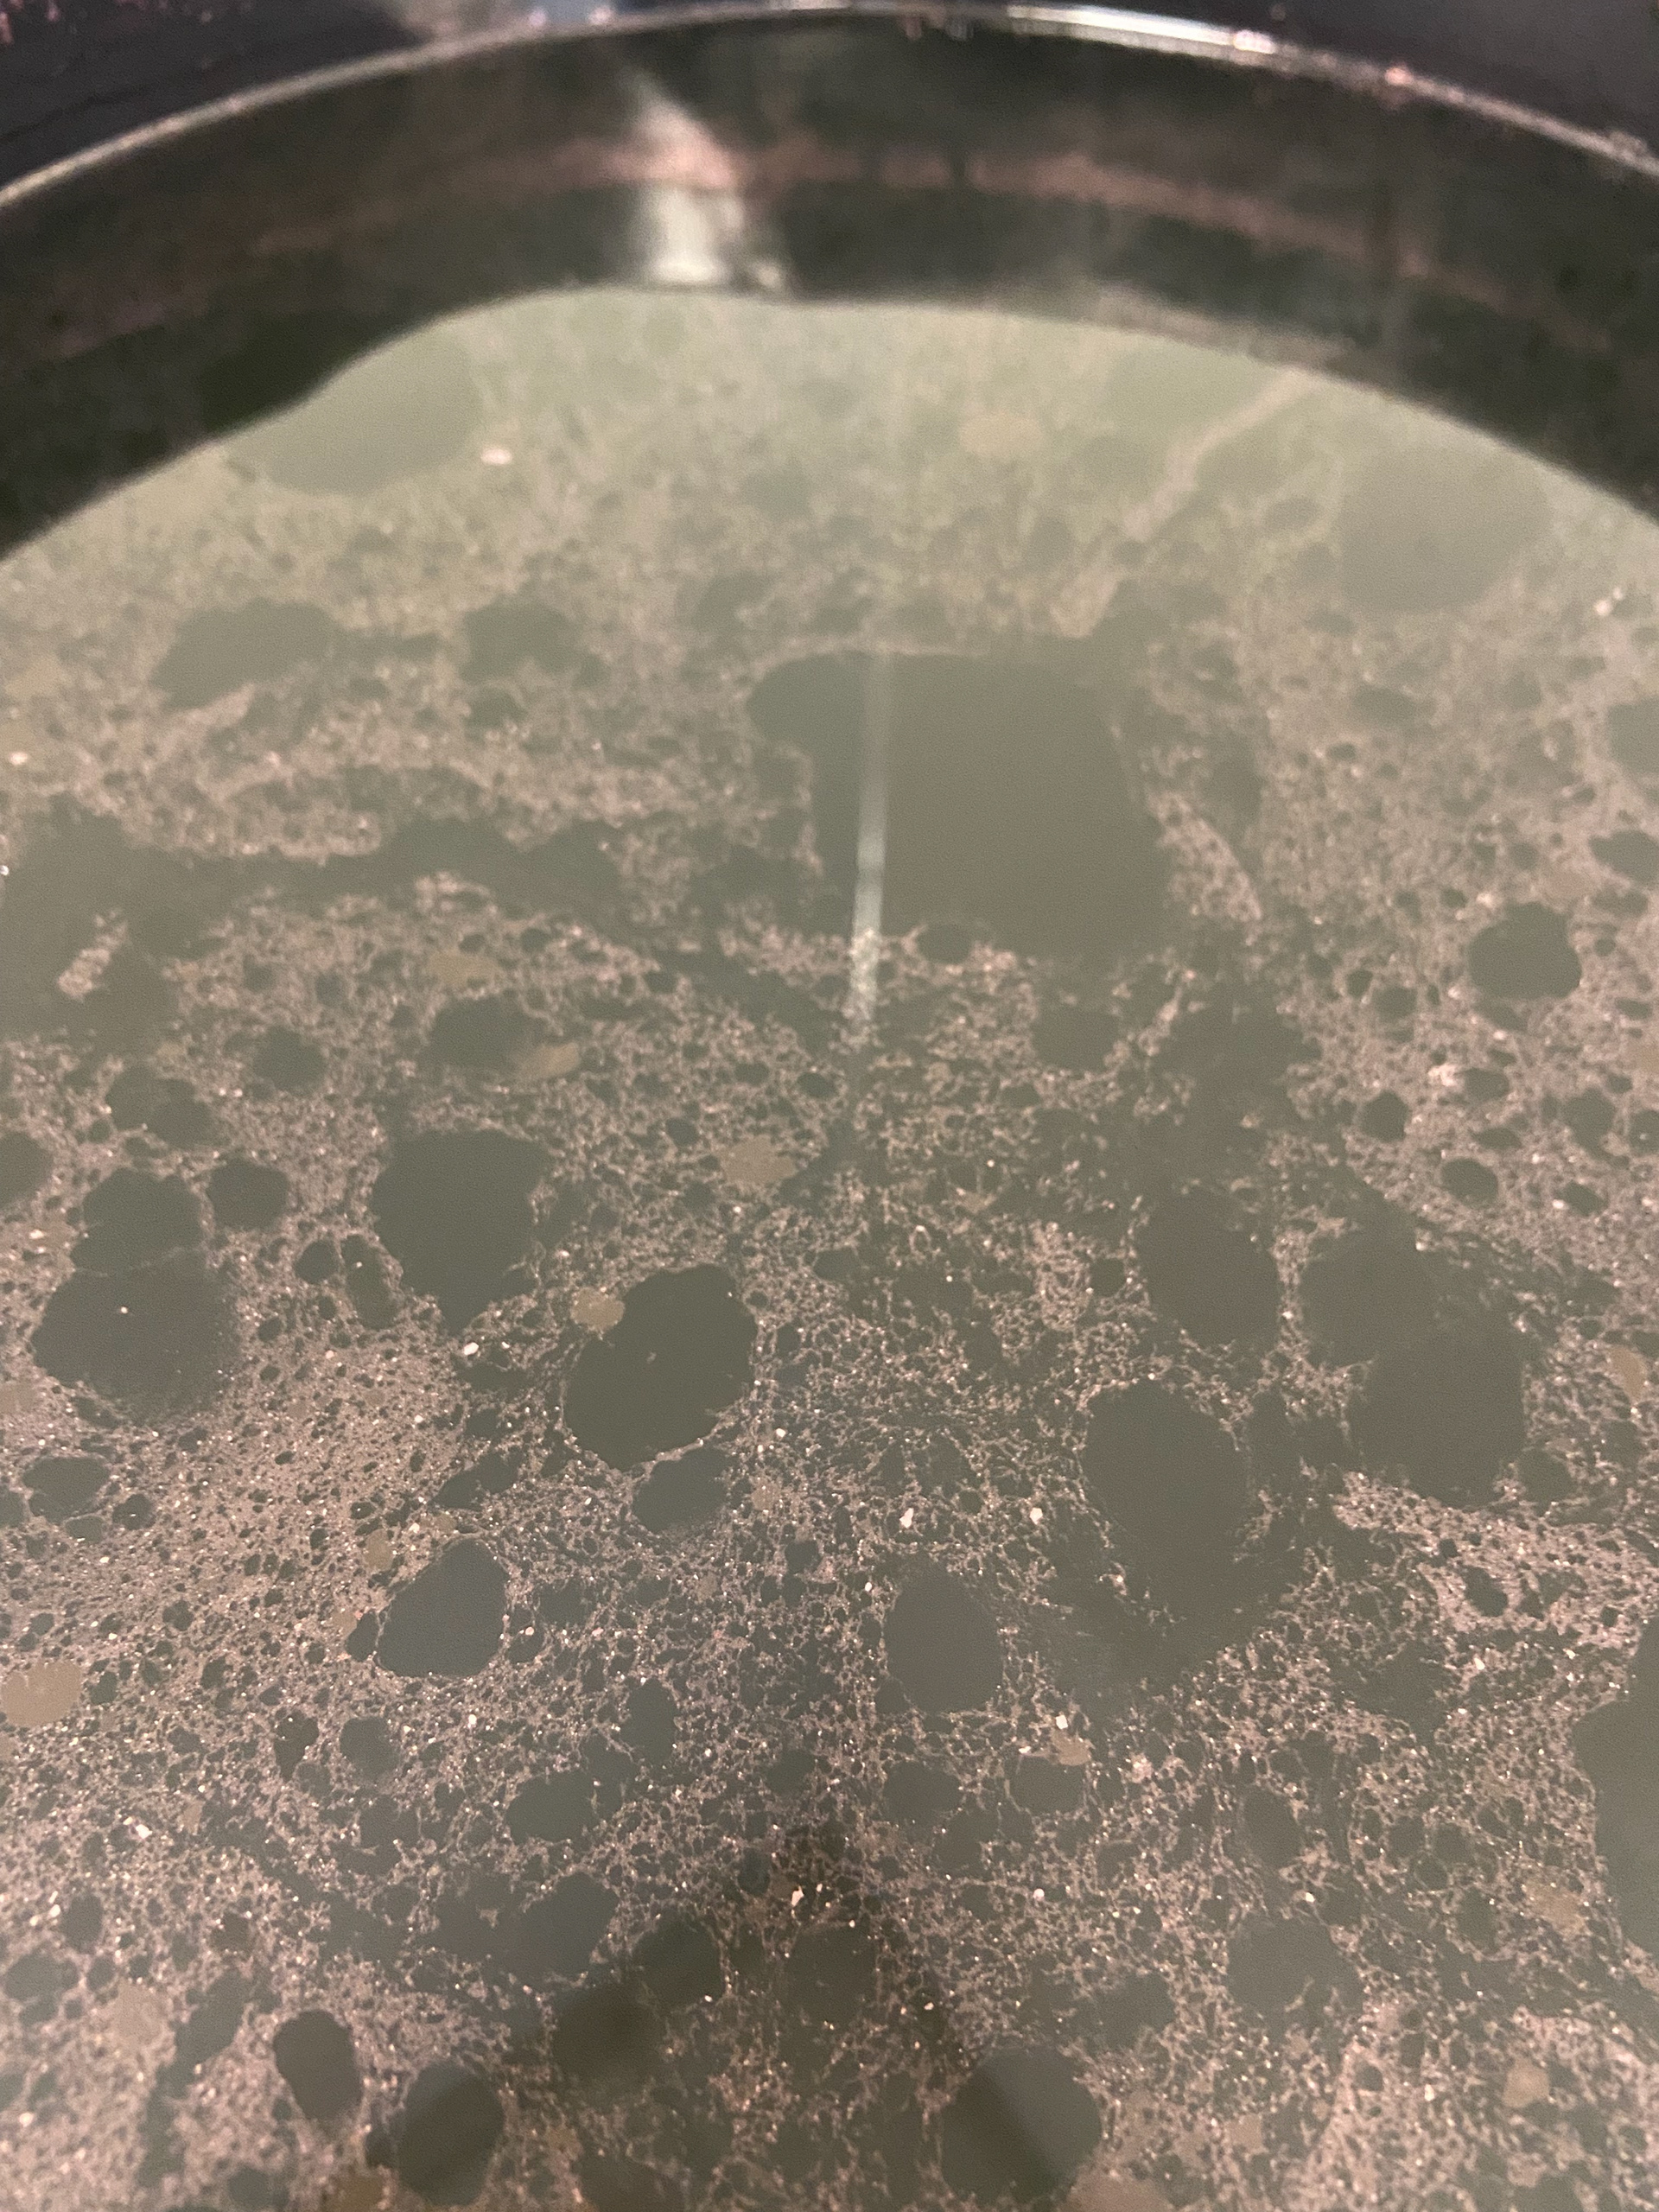
(It should have a yellow-greenish colour when it is ready.)
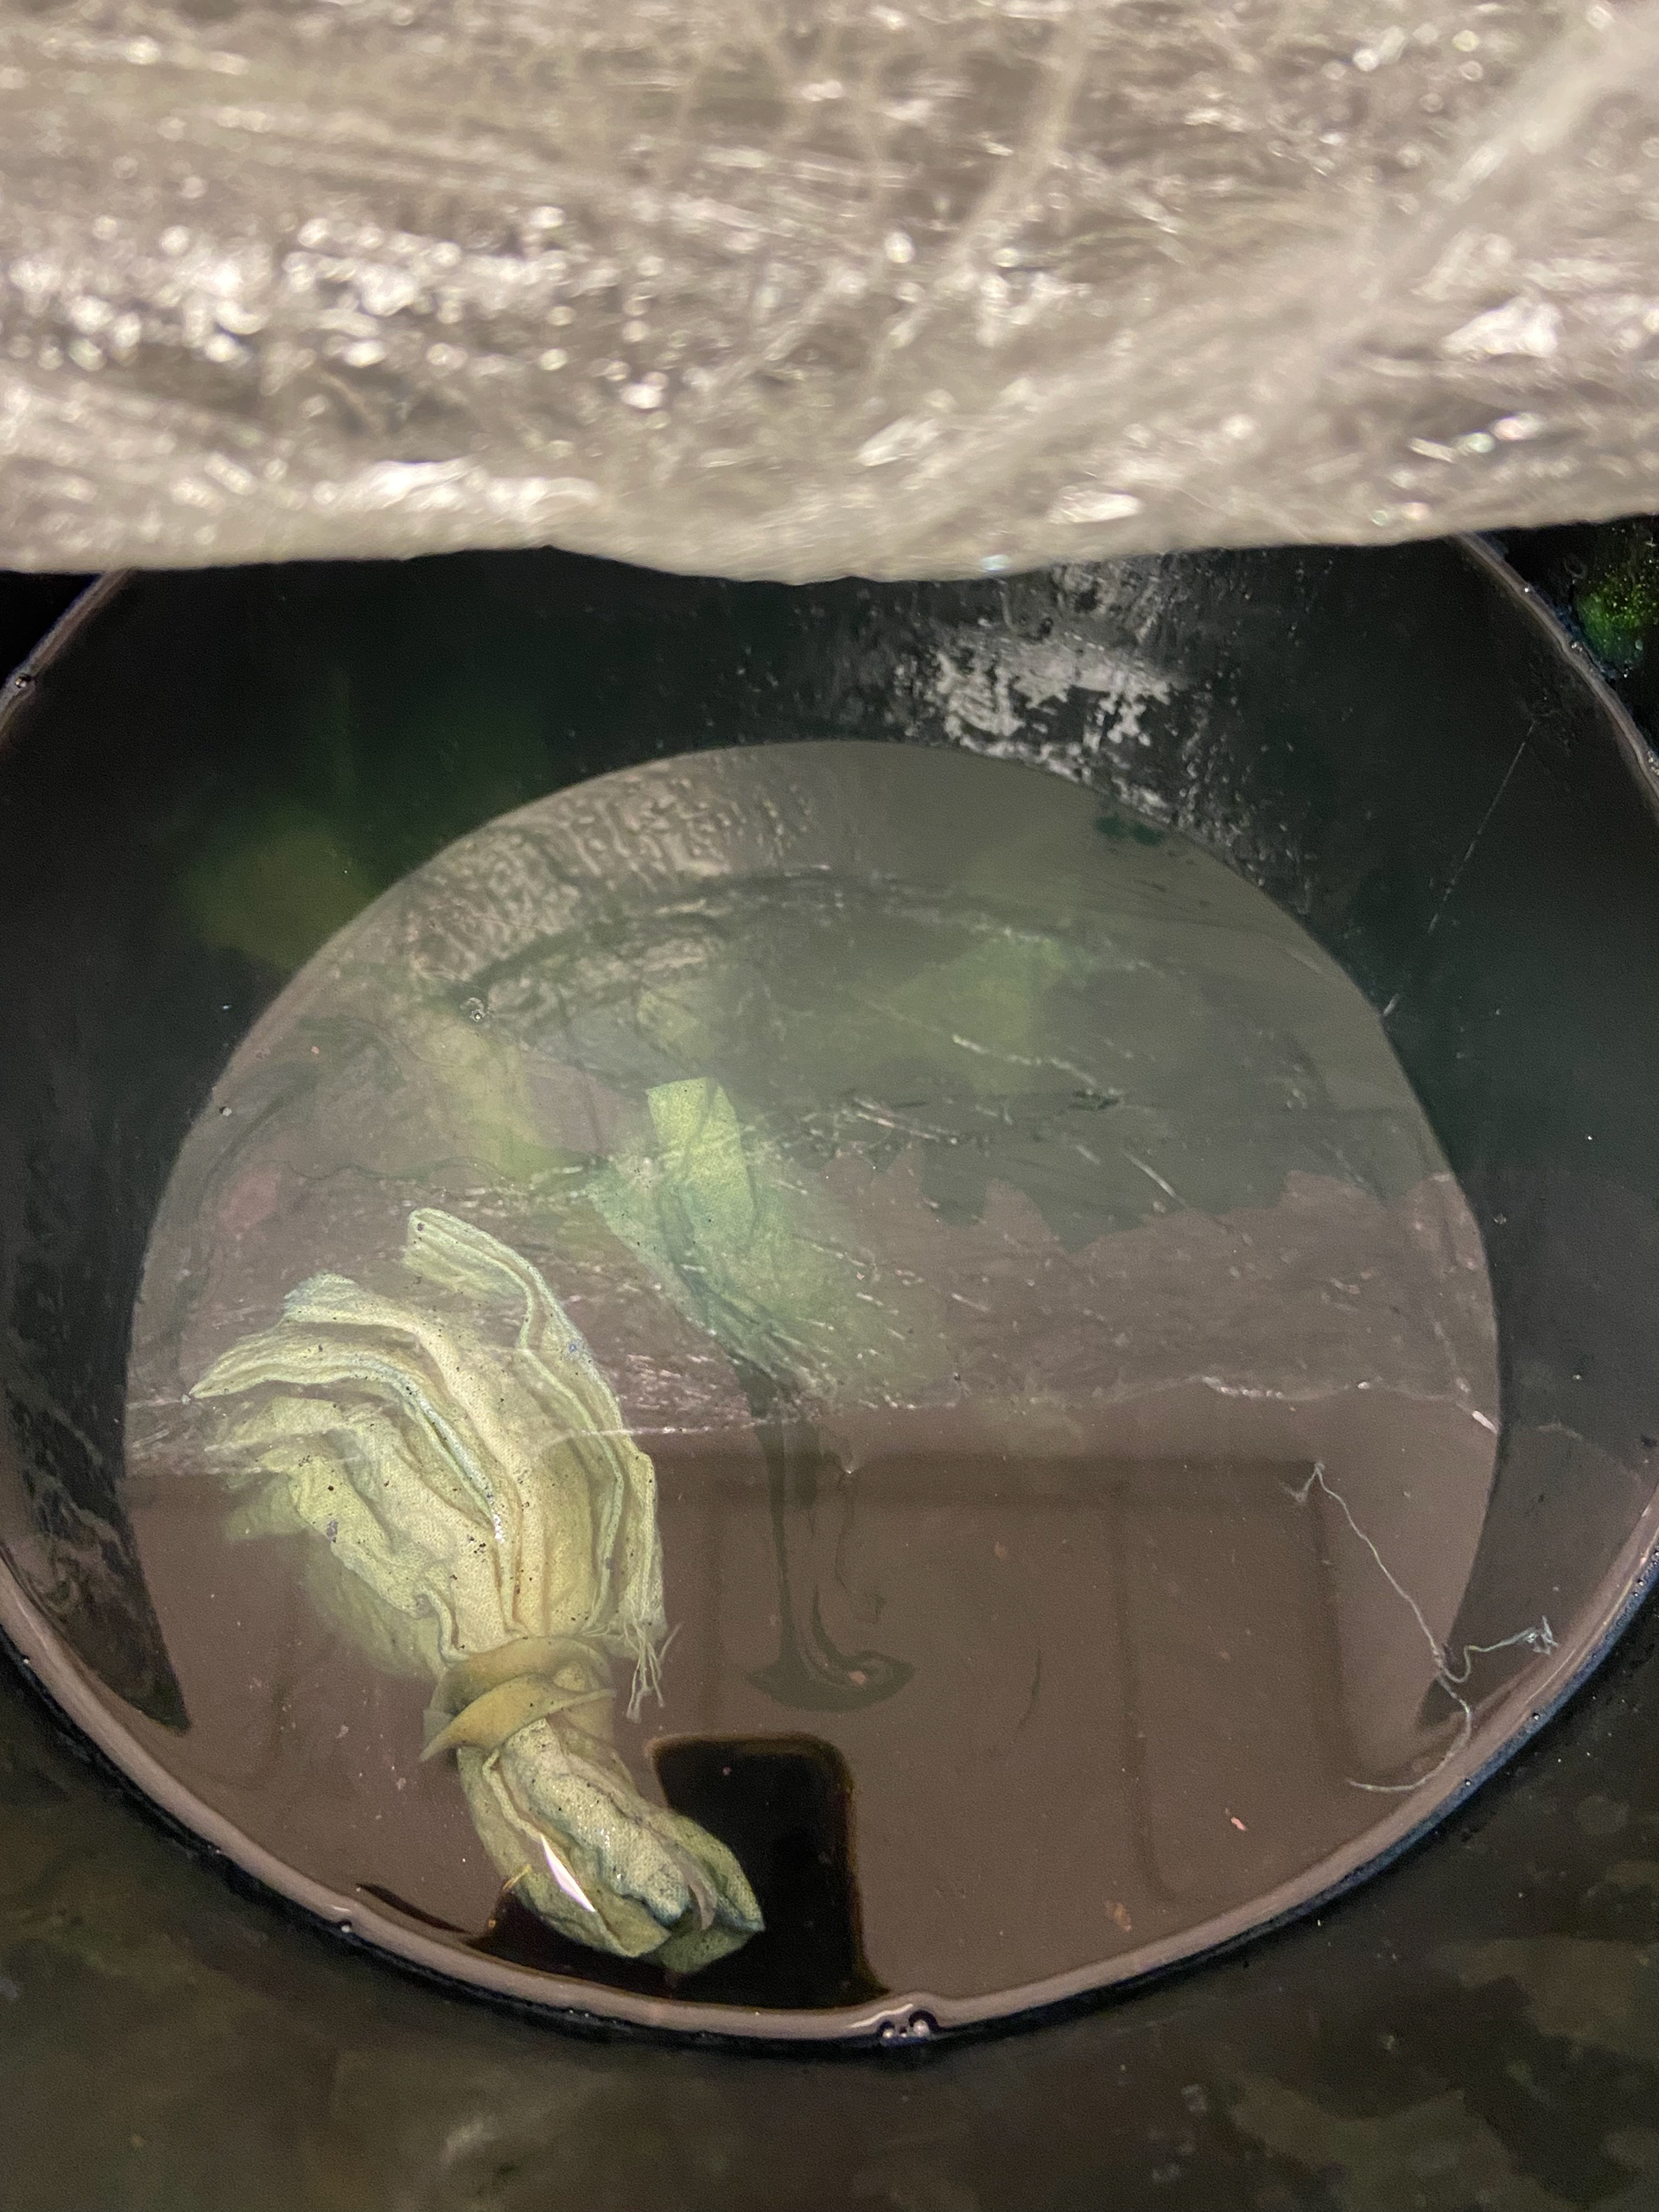
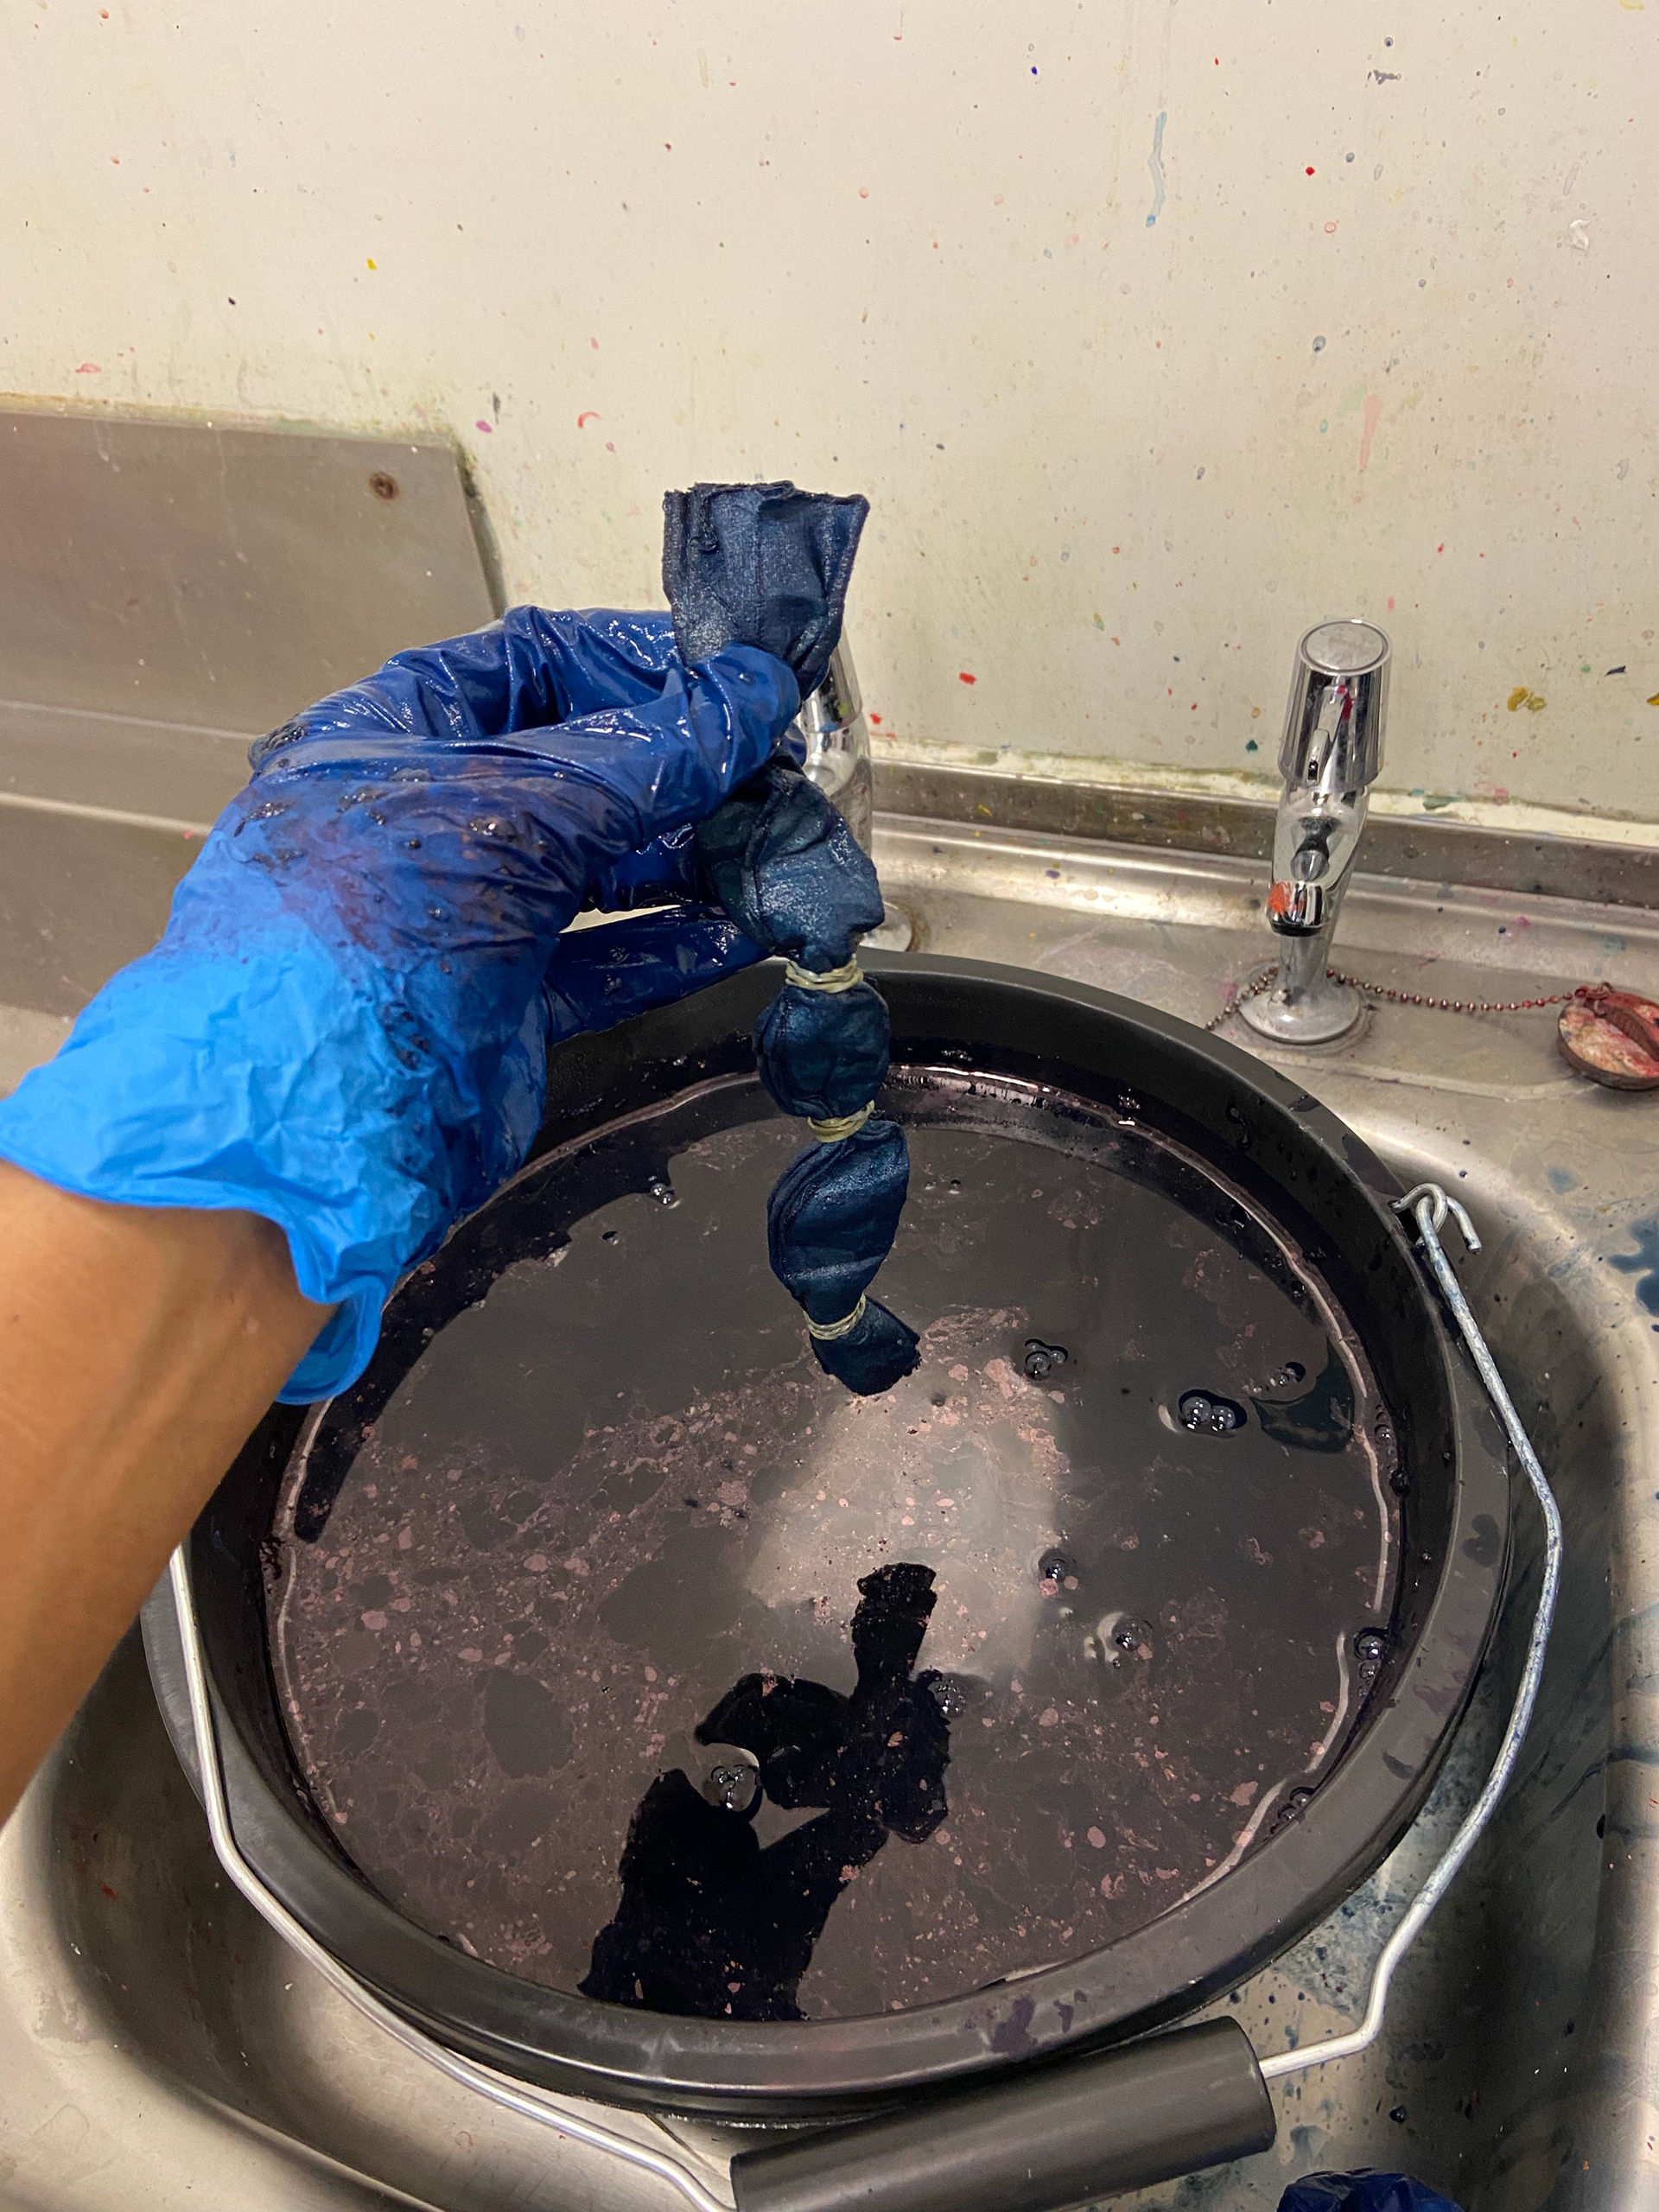
4. Wet the fabrics with water and afterwards add them to the vat. Leave them submerged for 20 minutes and cover the vat.
5. Remove the fabrics from the vat and put in another bucket with warm water. Leave them for 20 minutes.
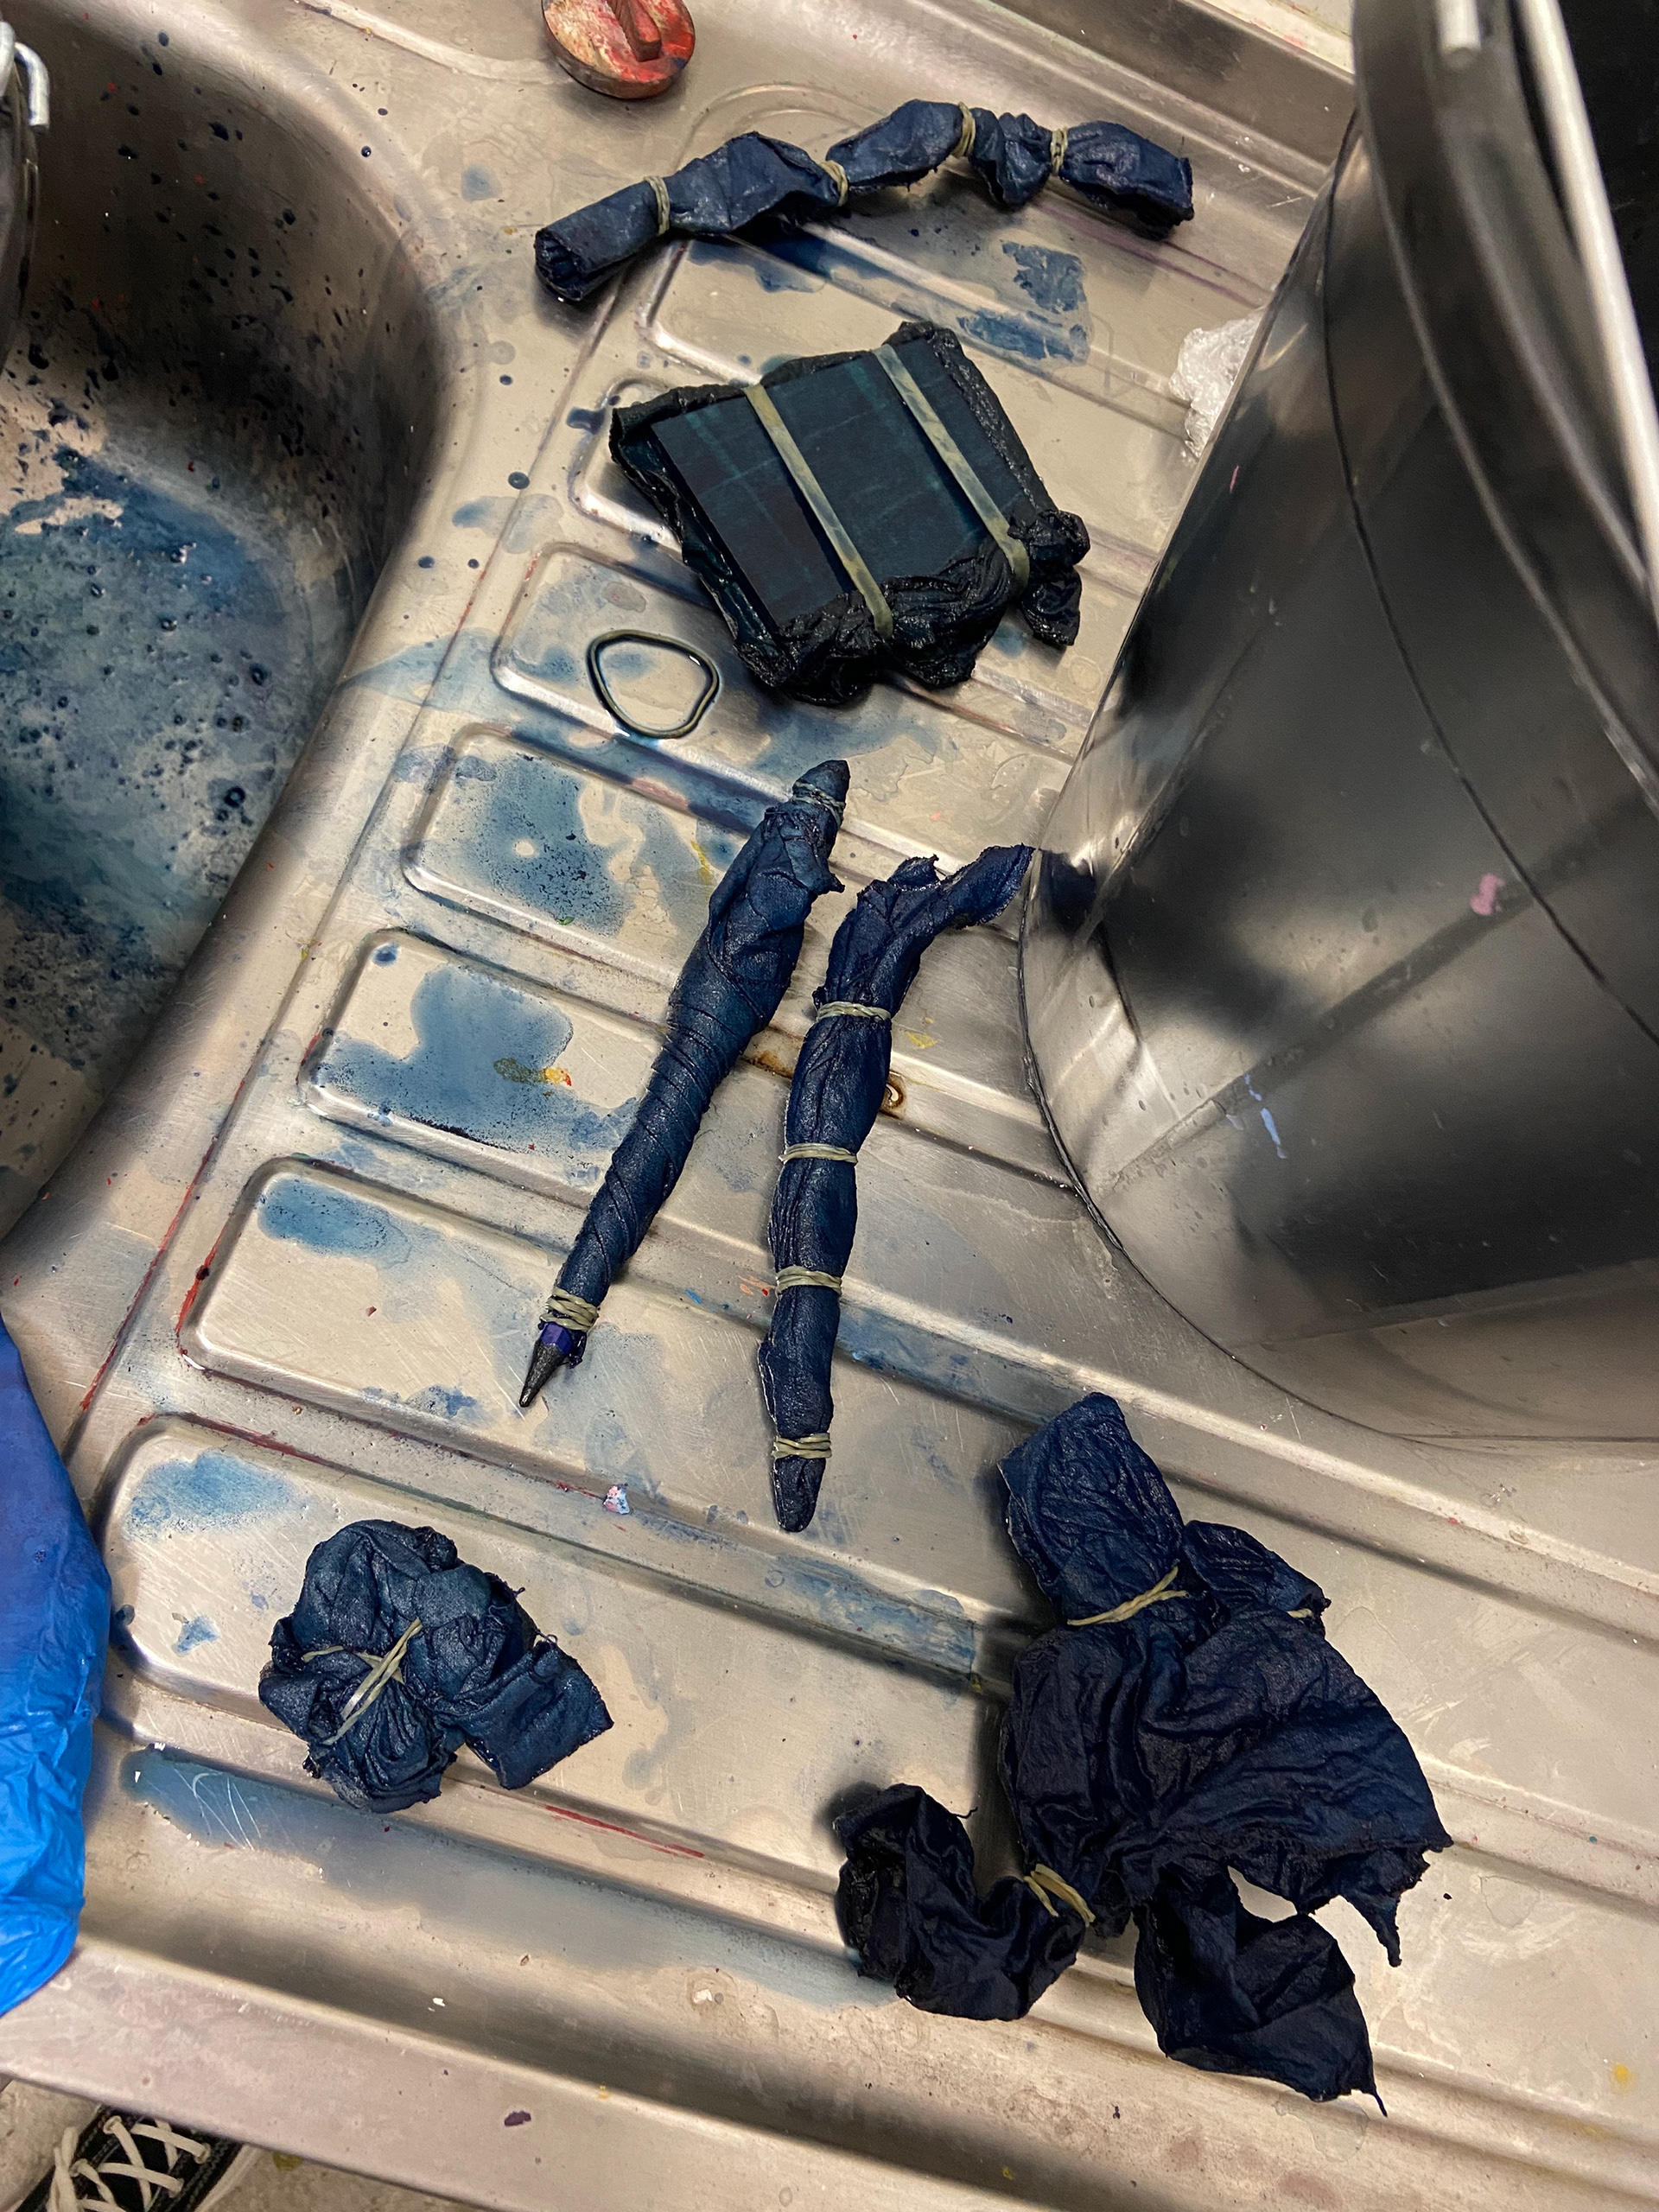
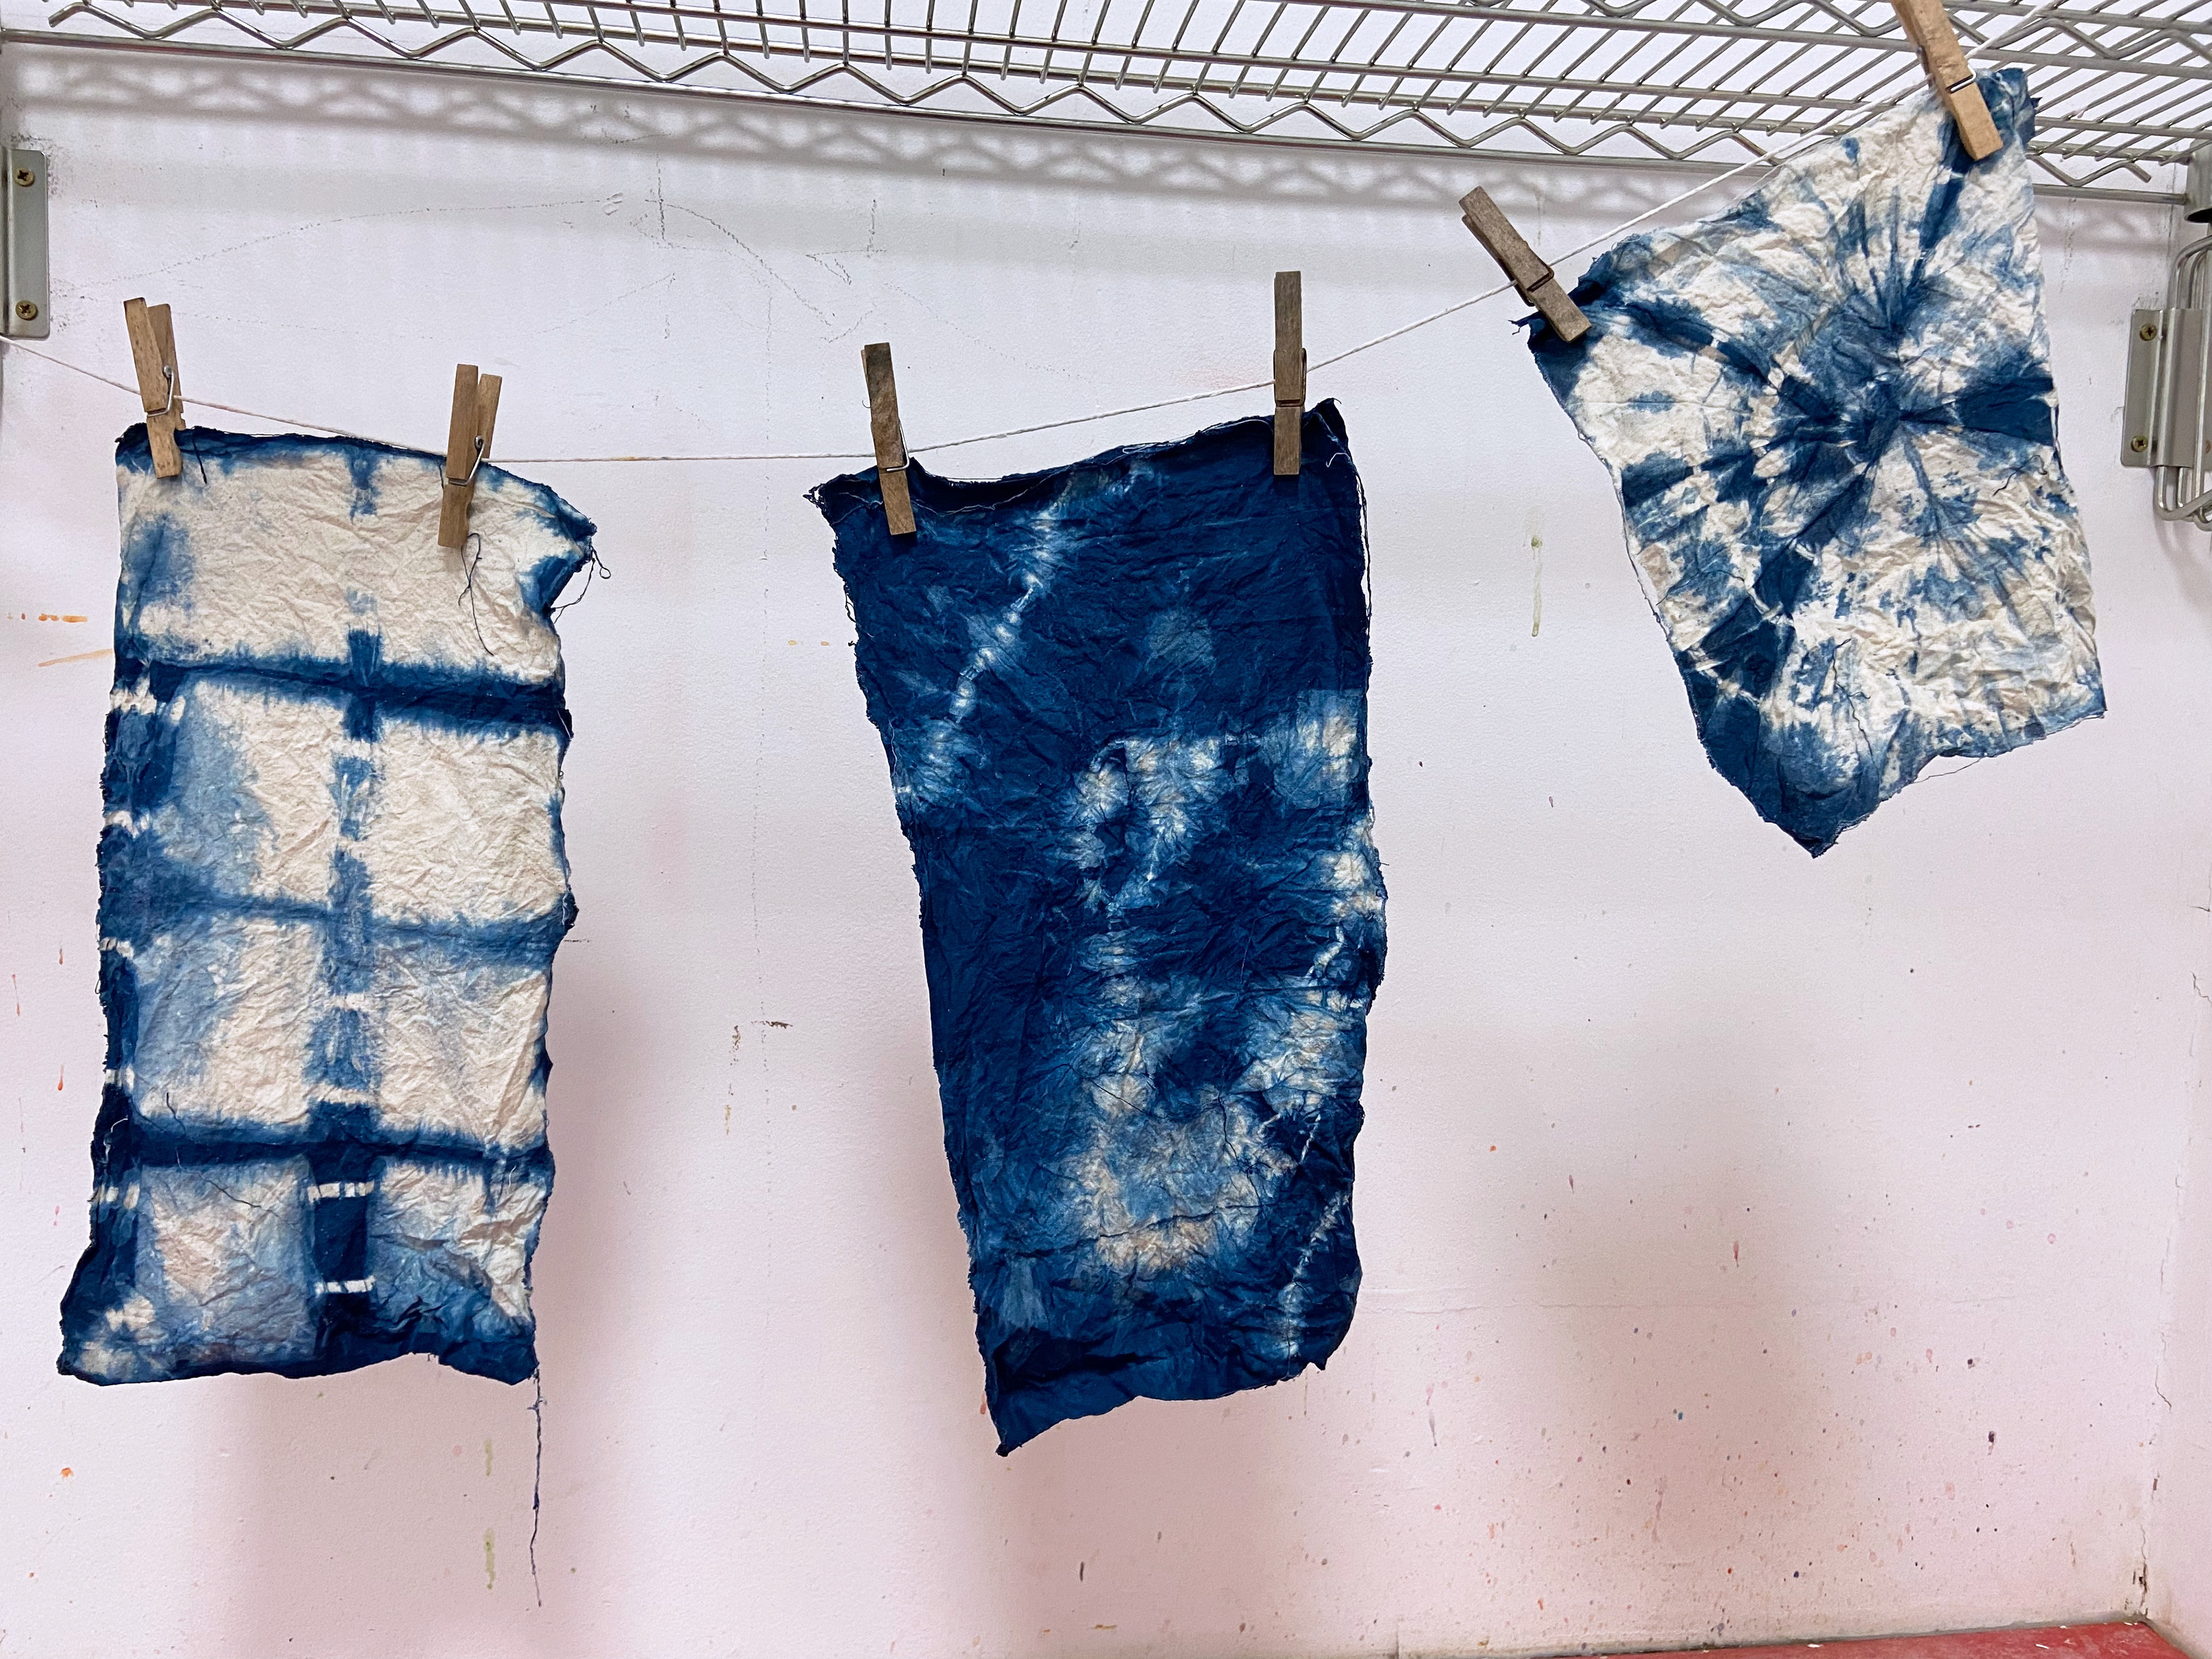
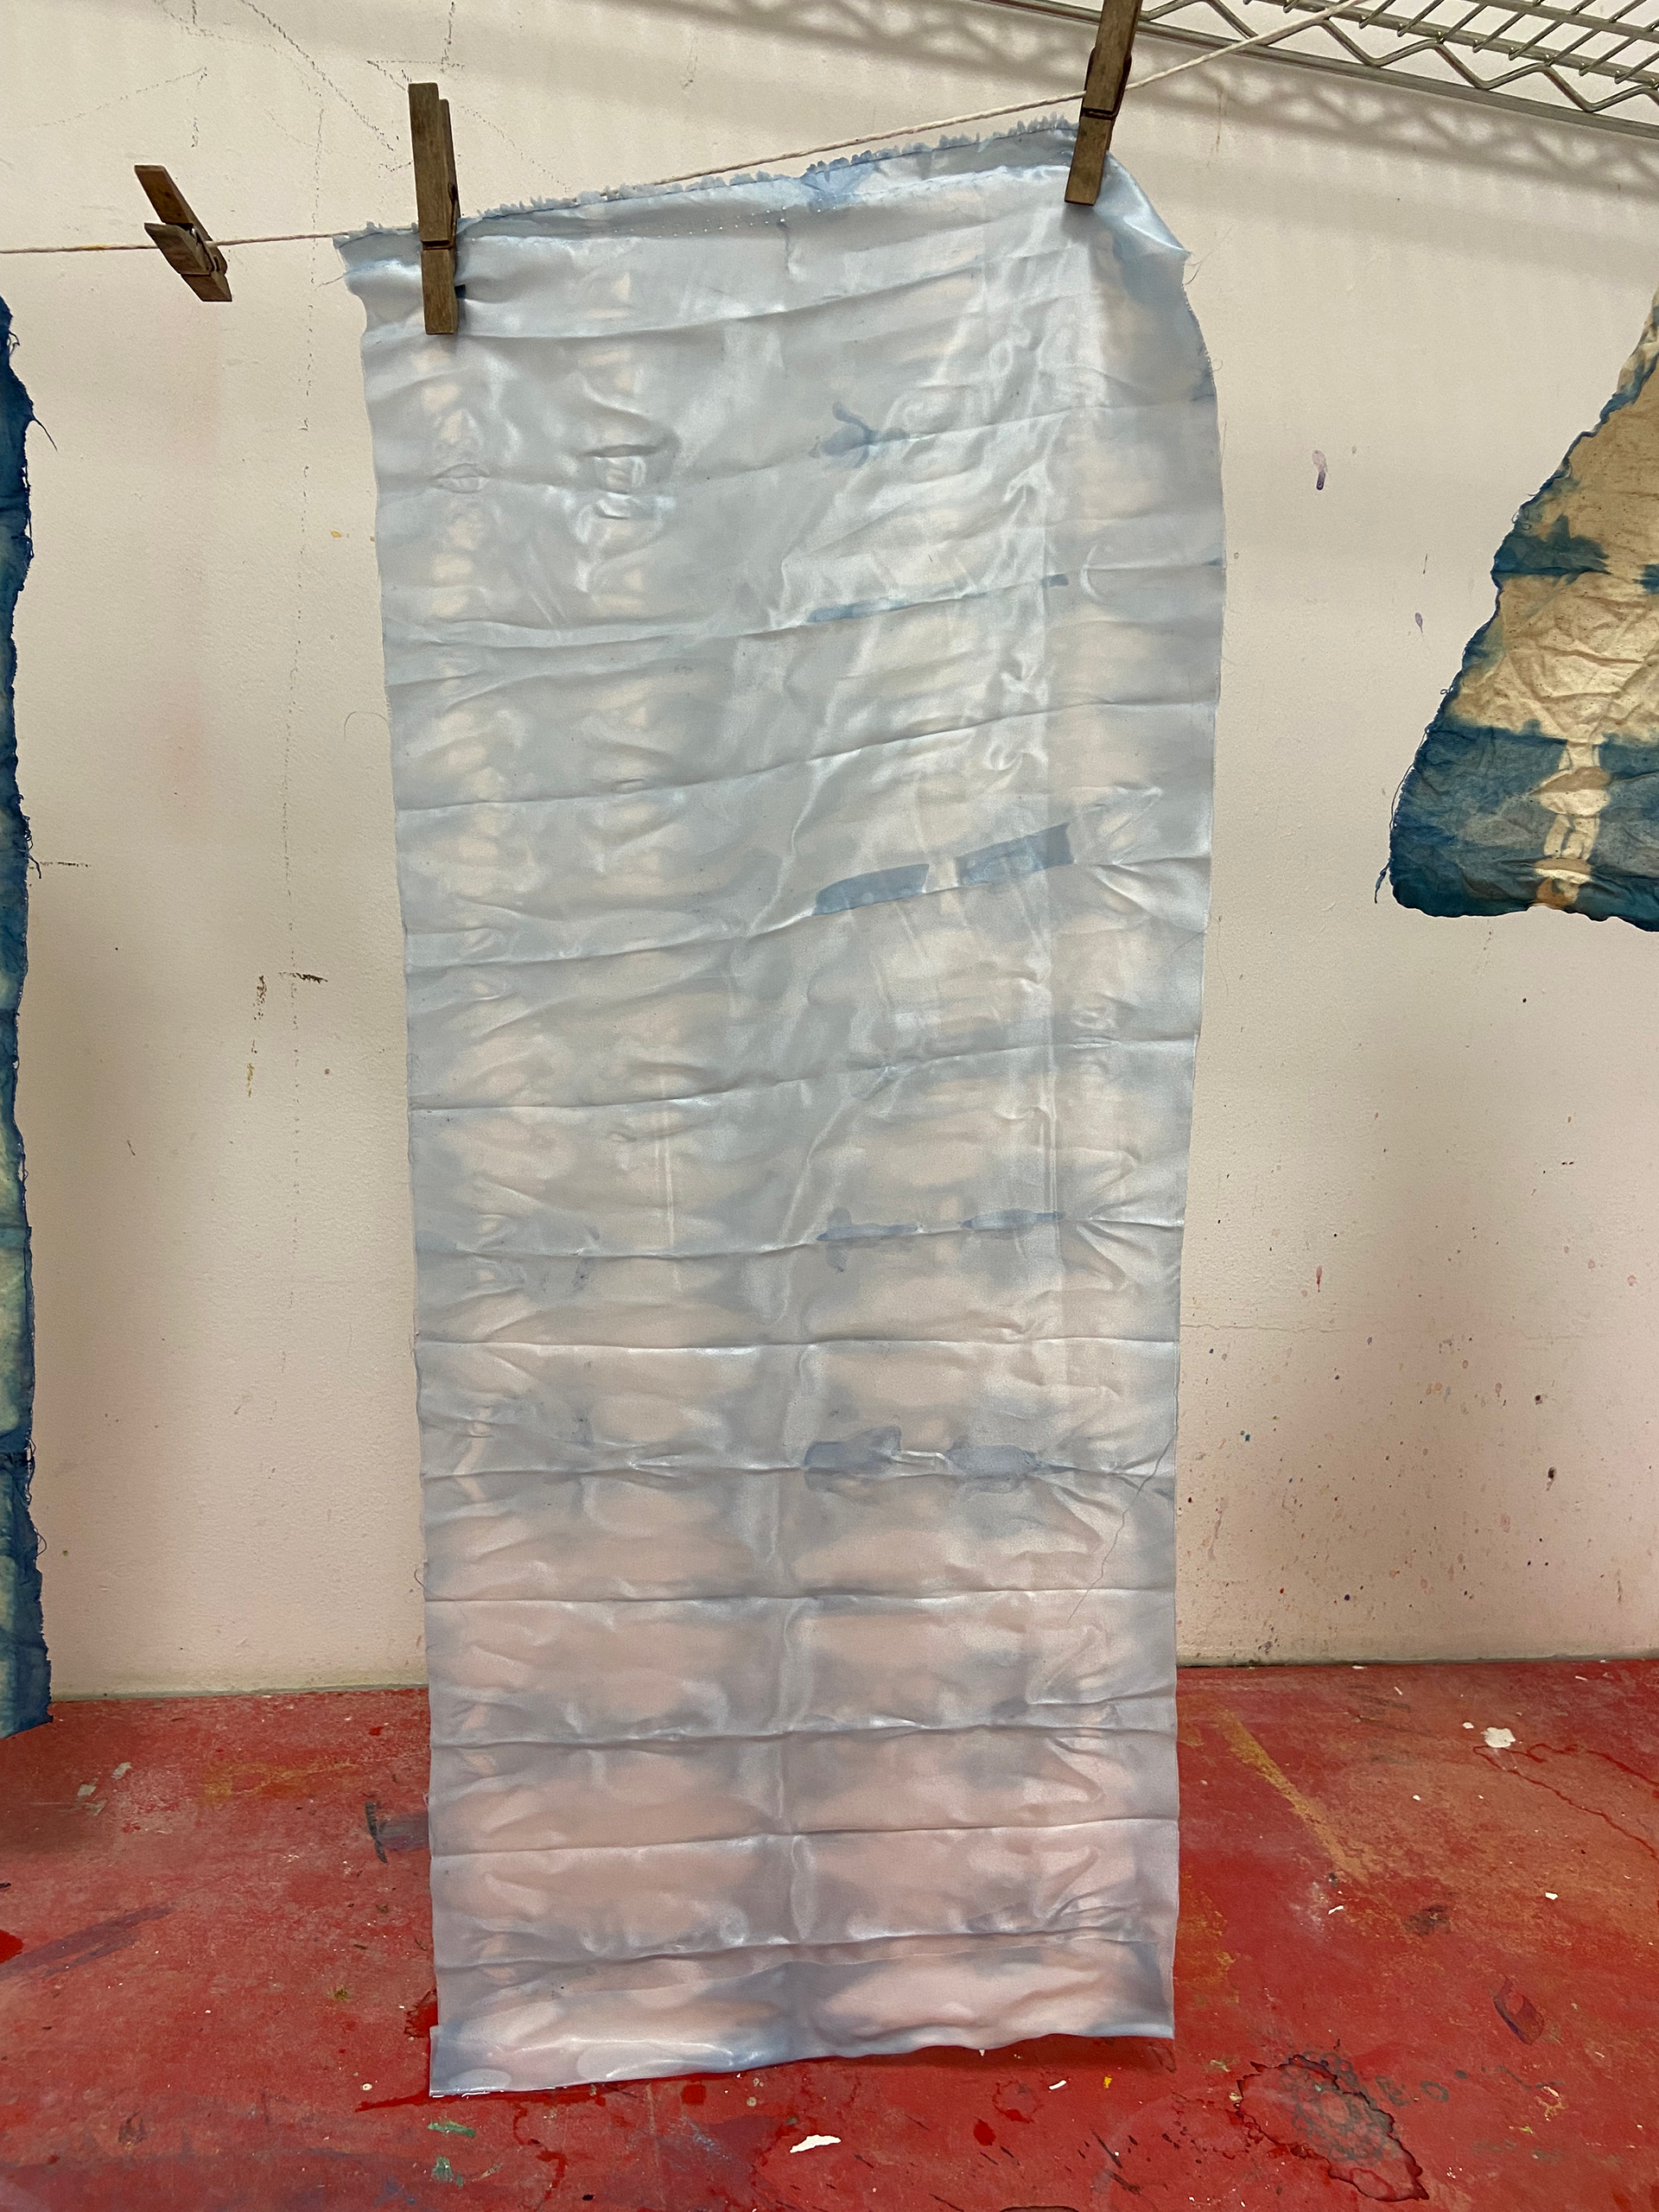
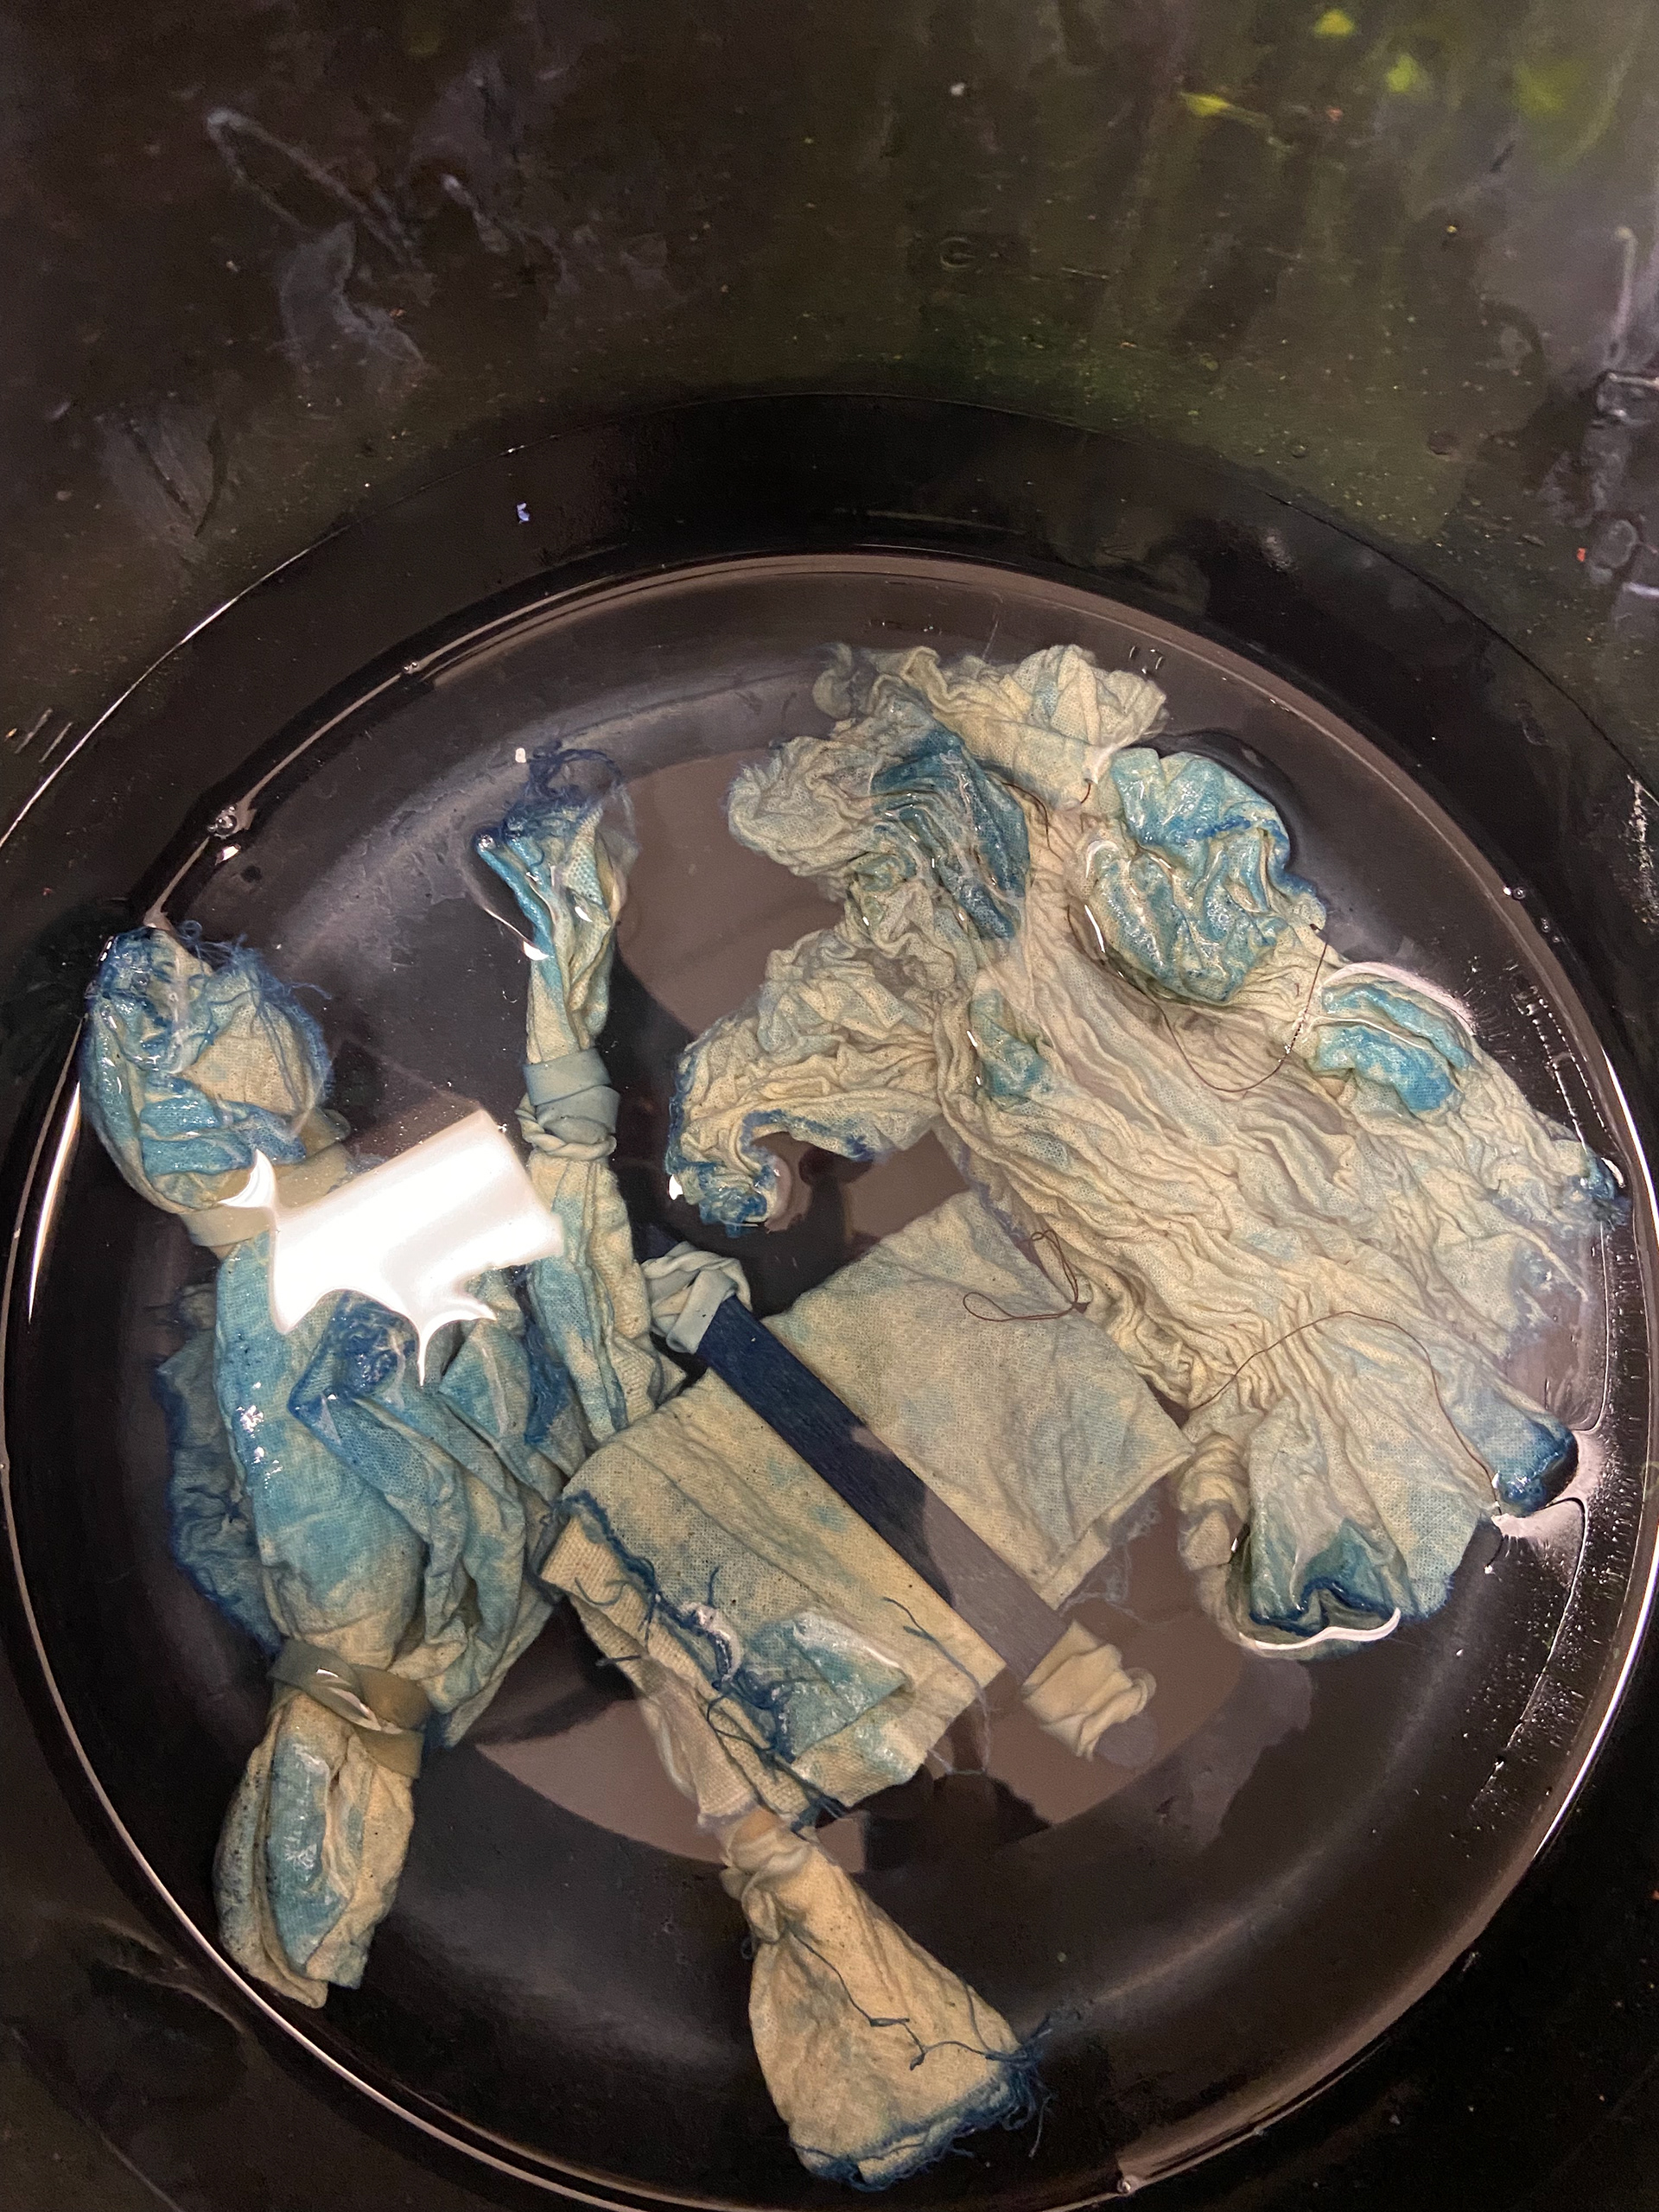
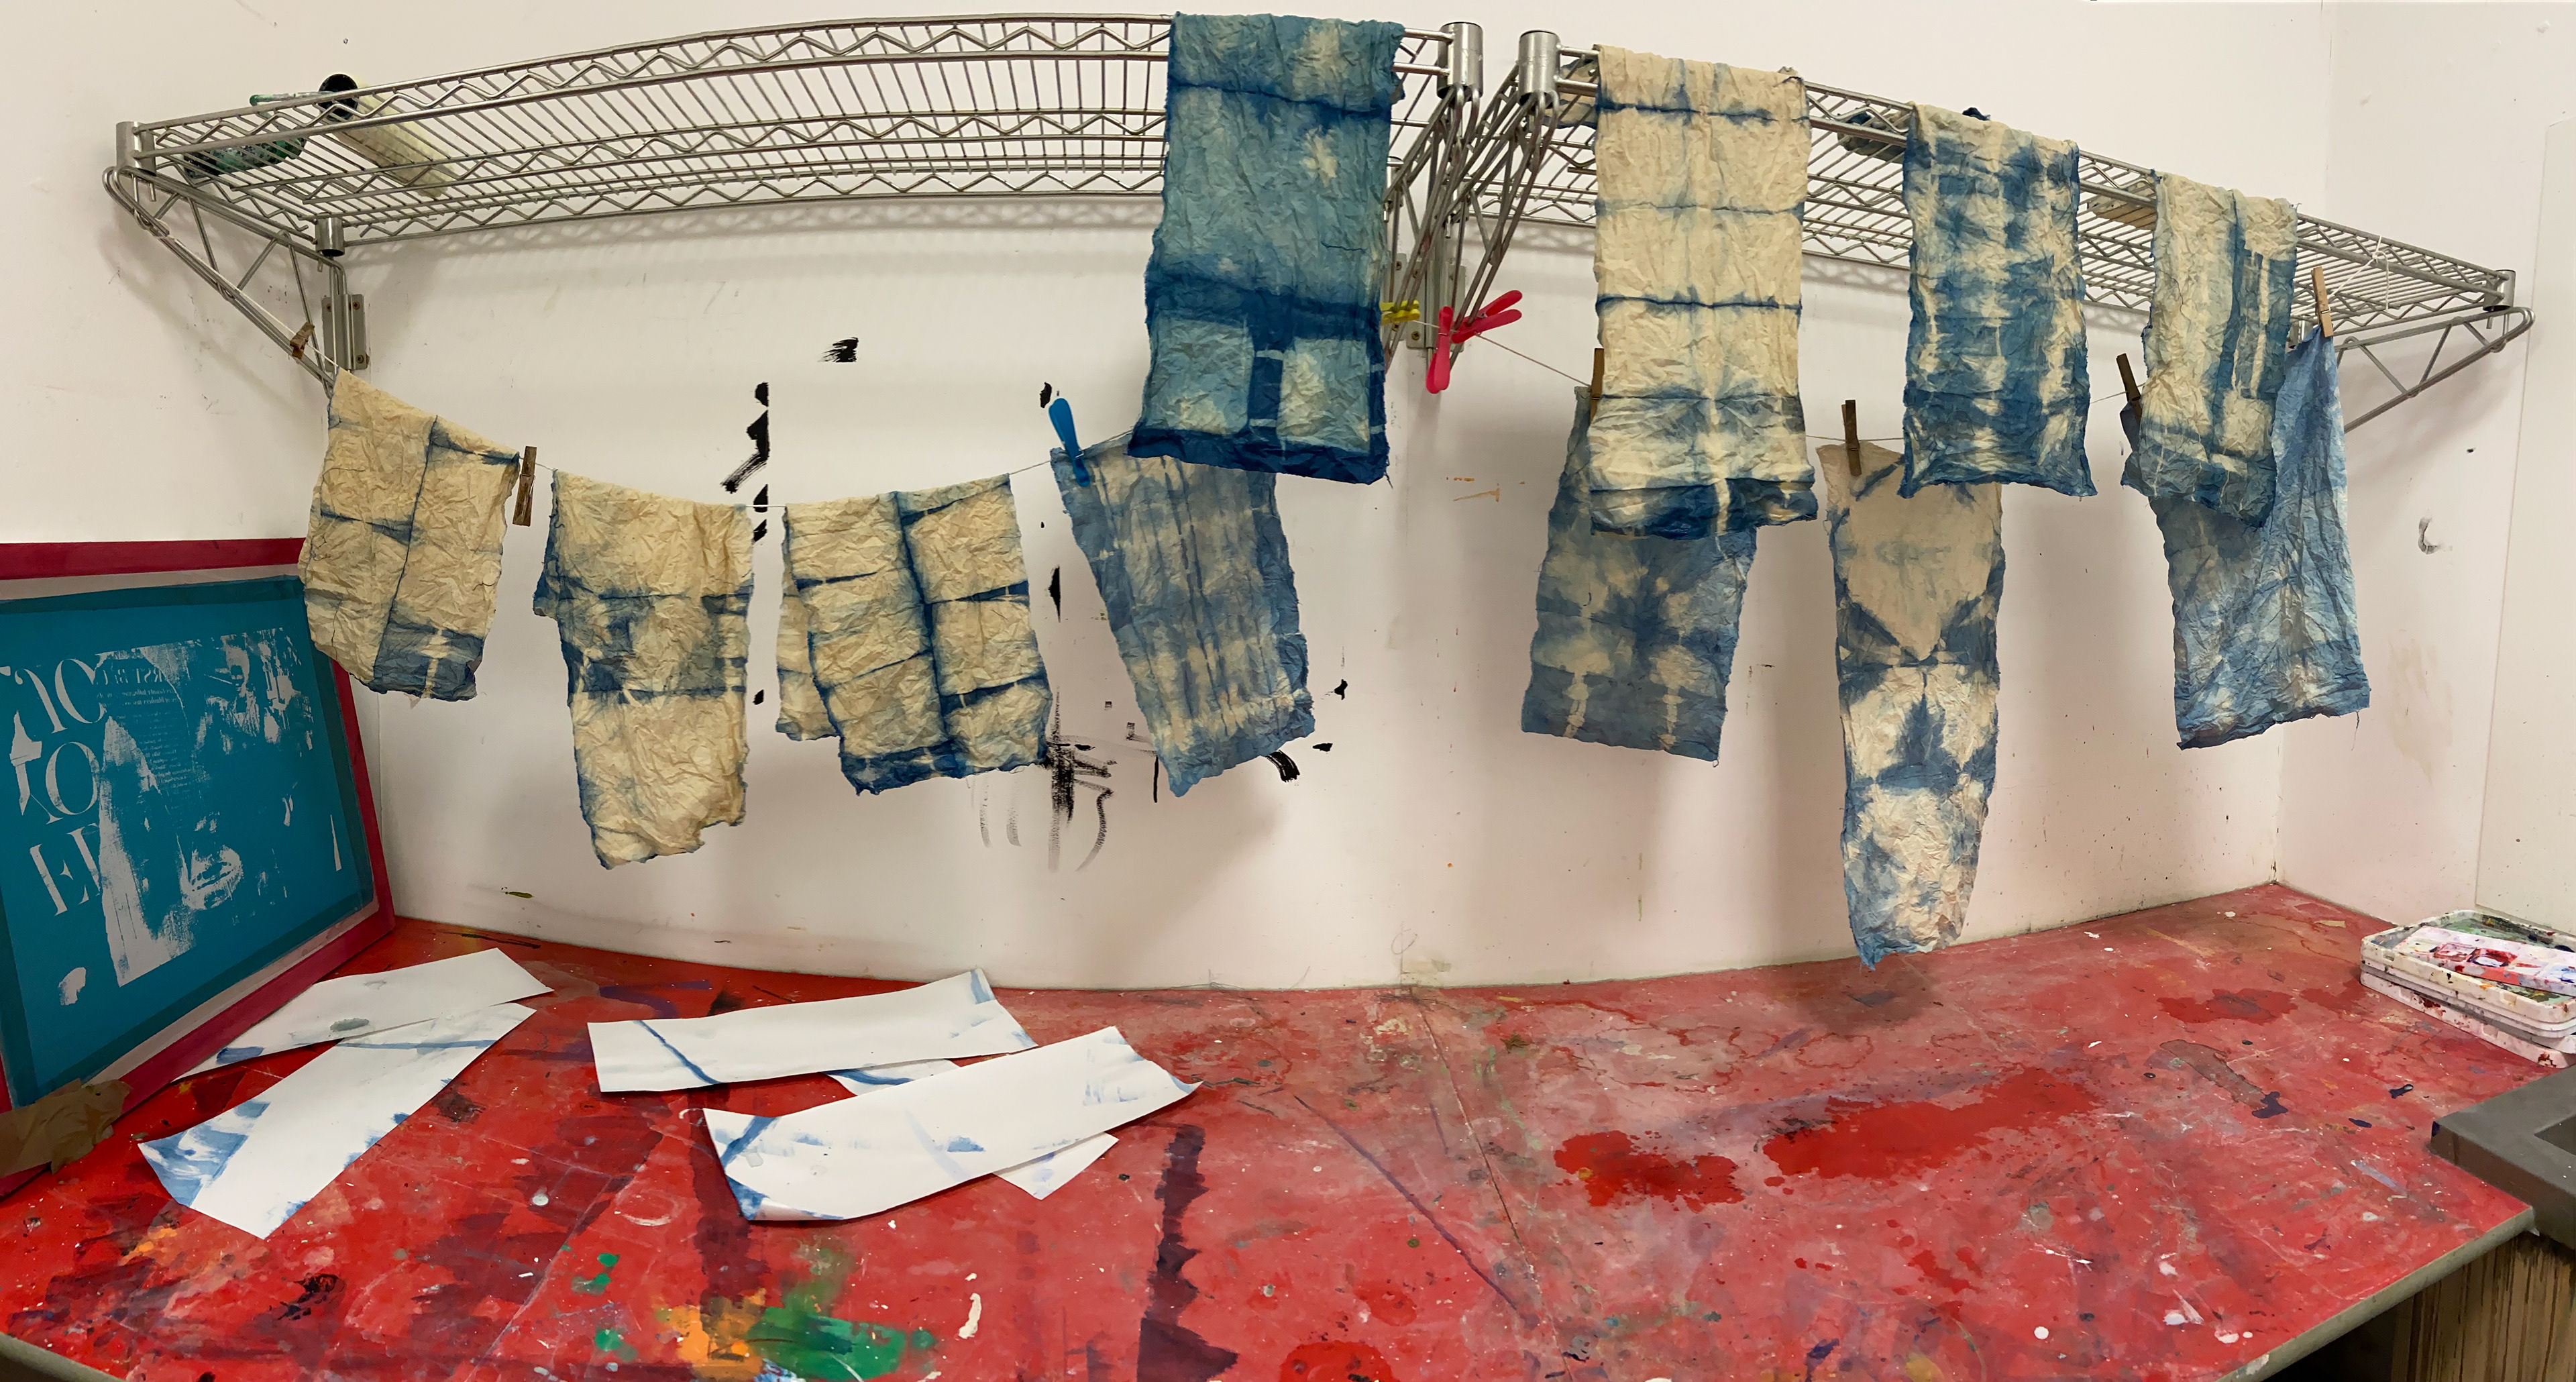
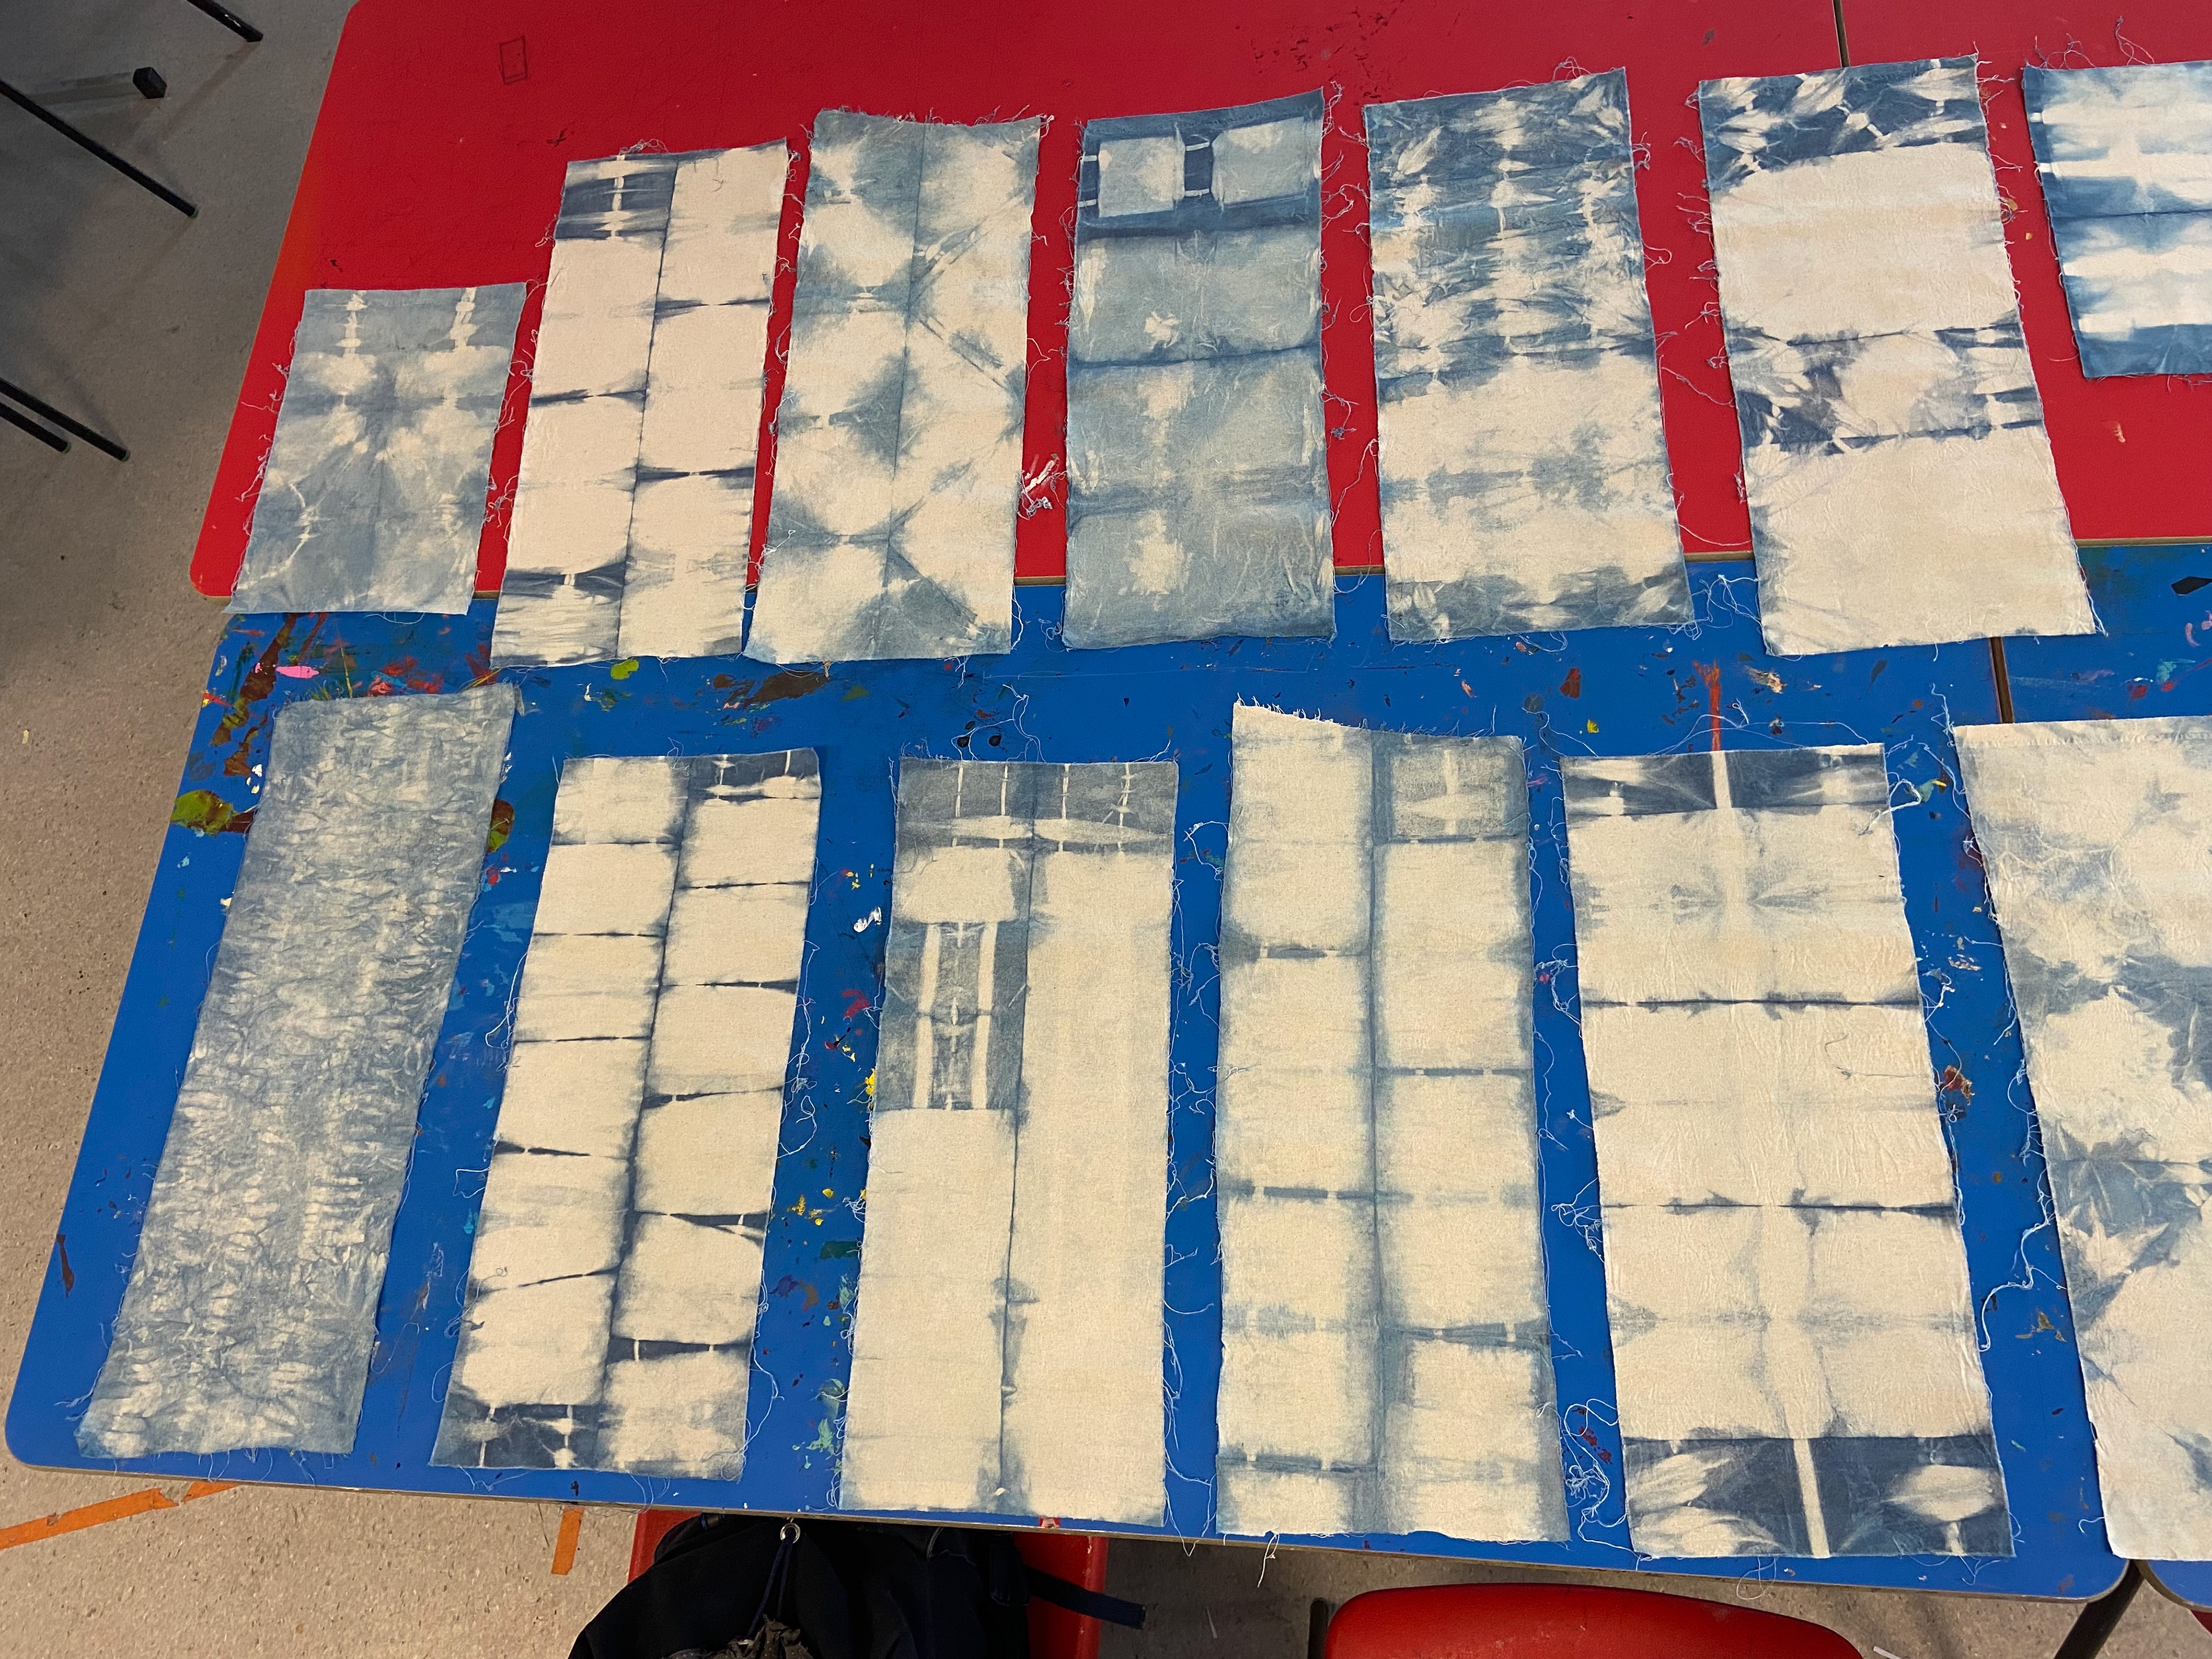
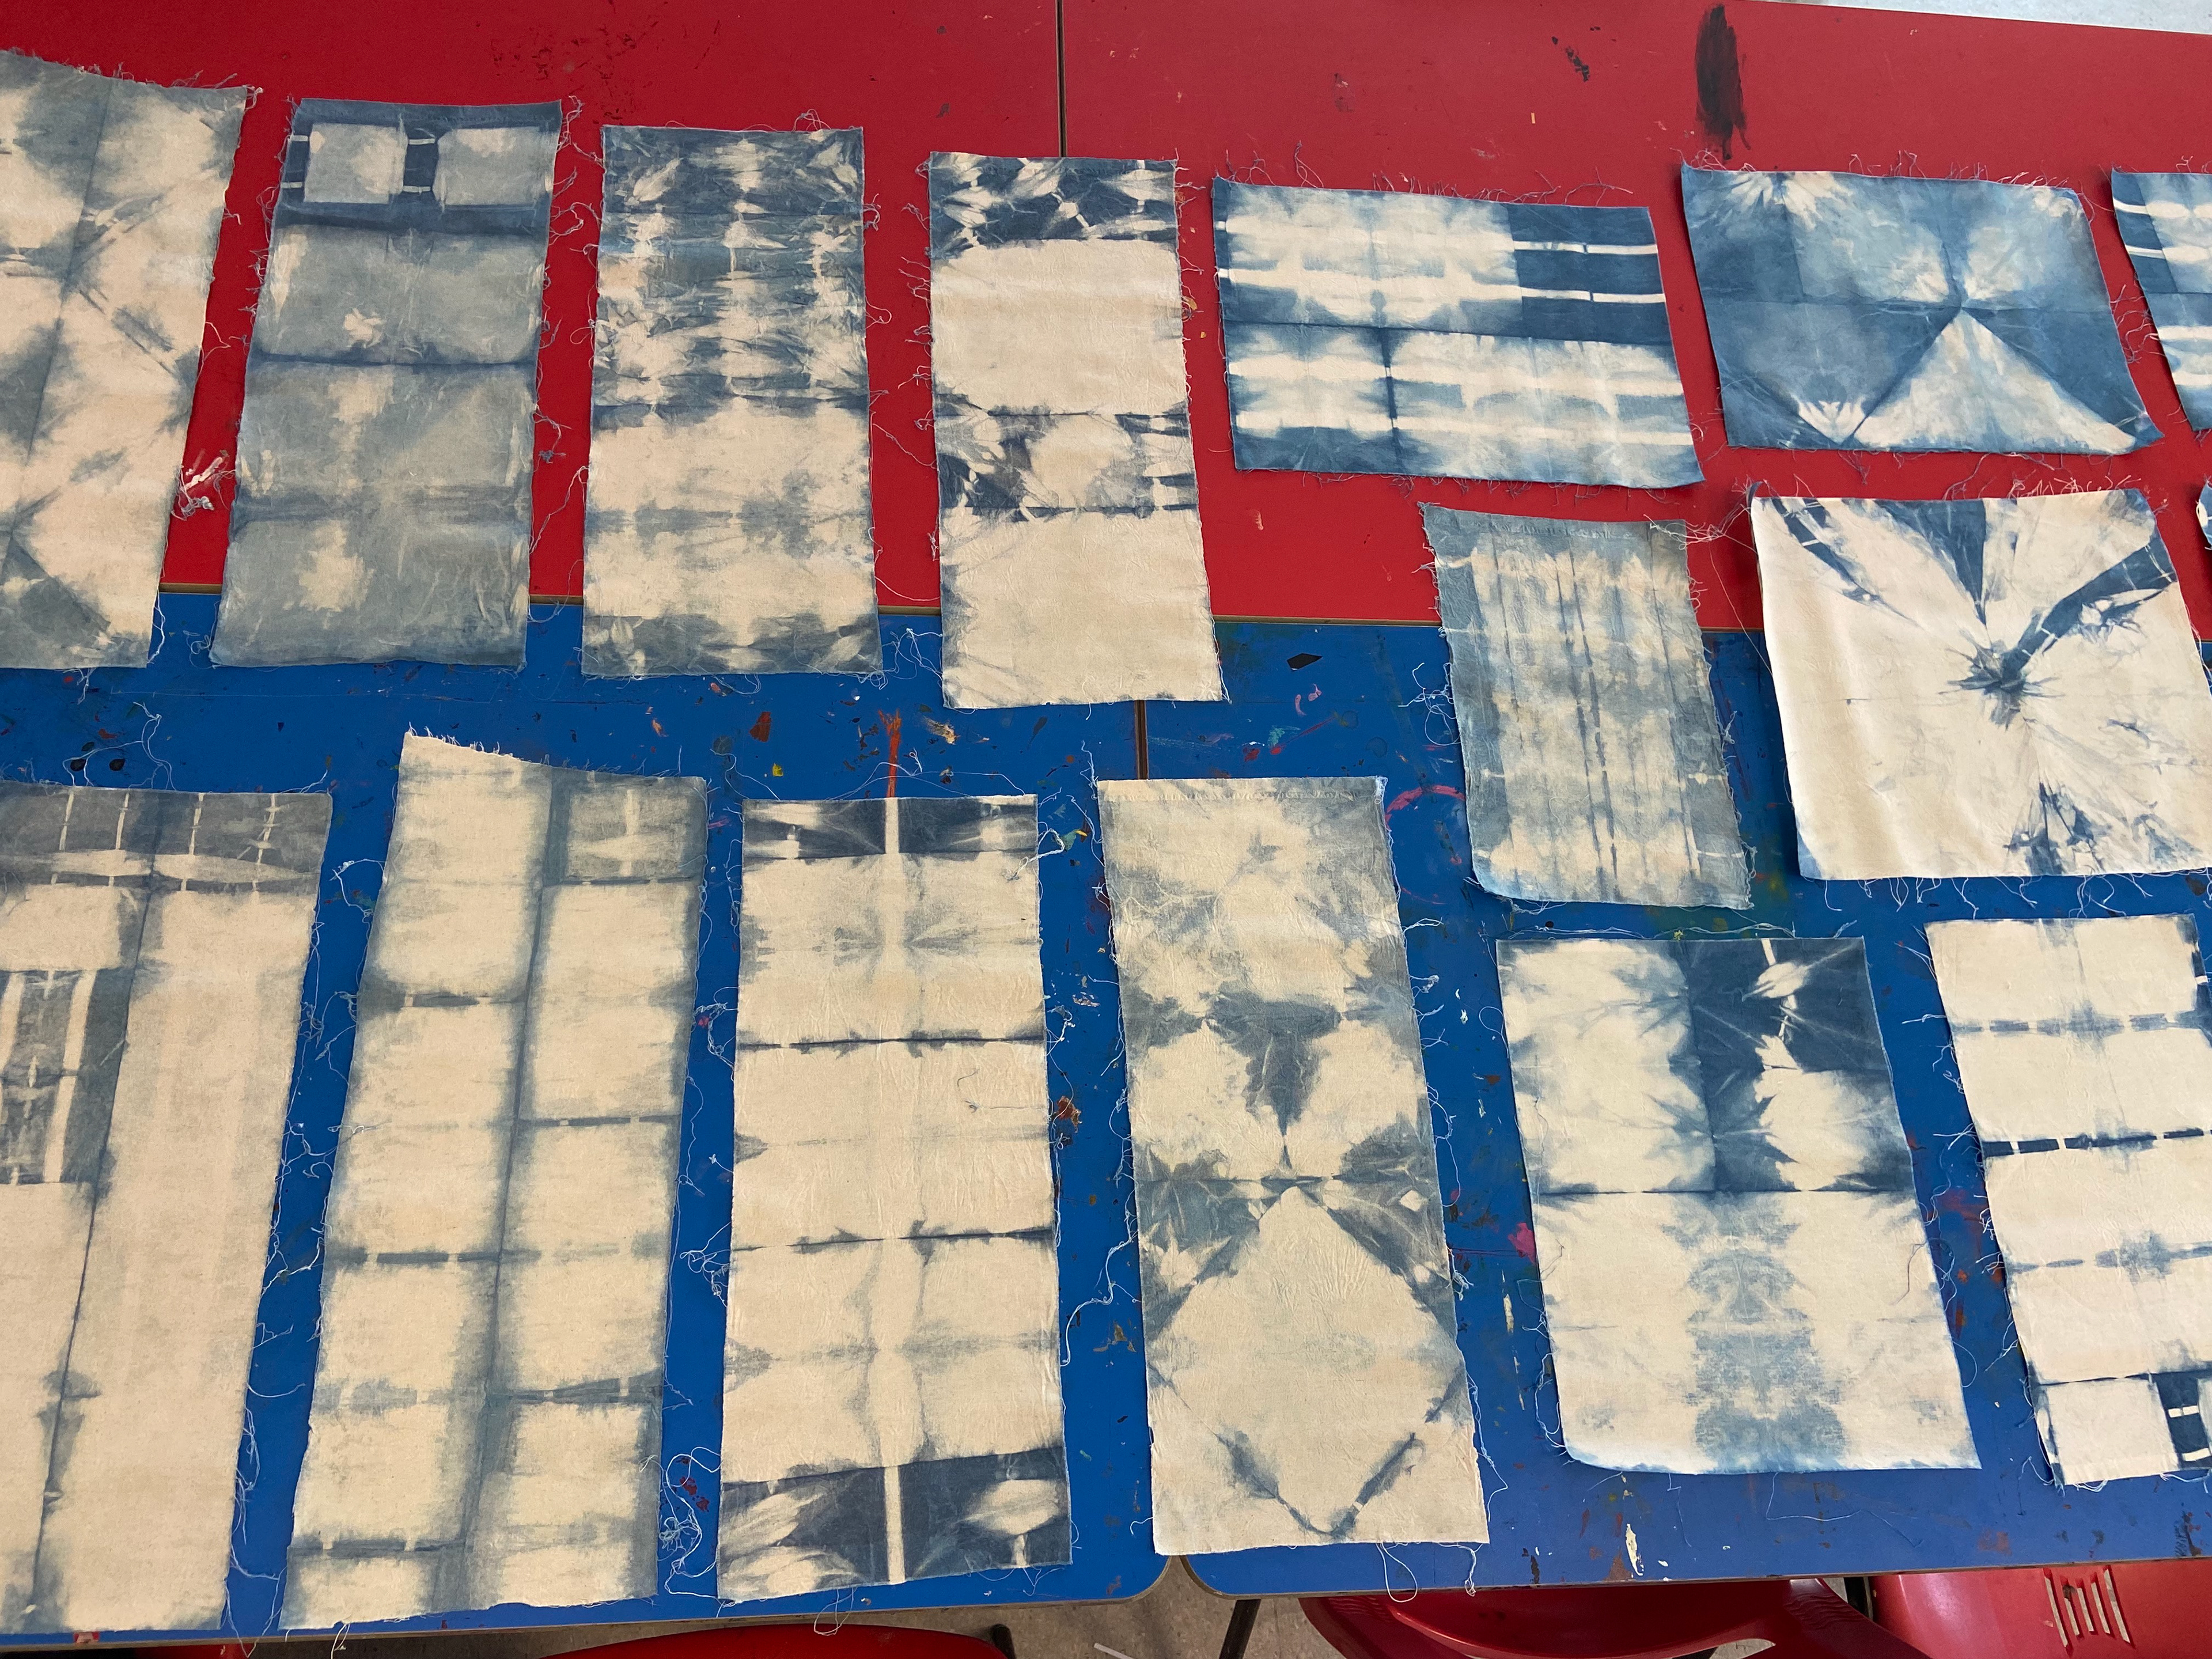
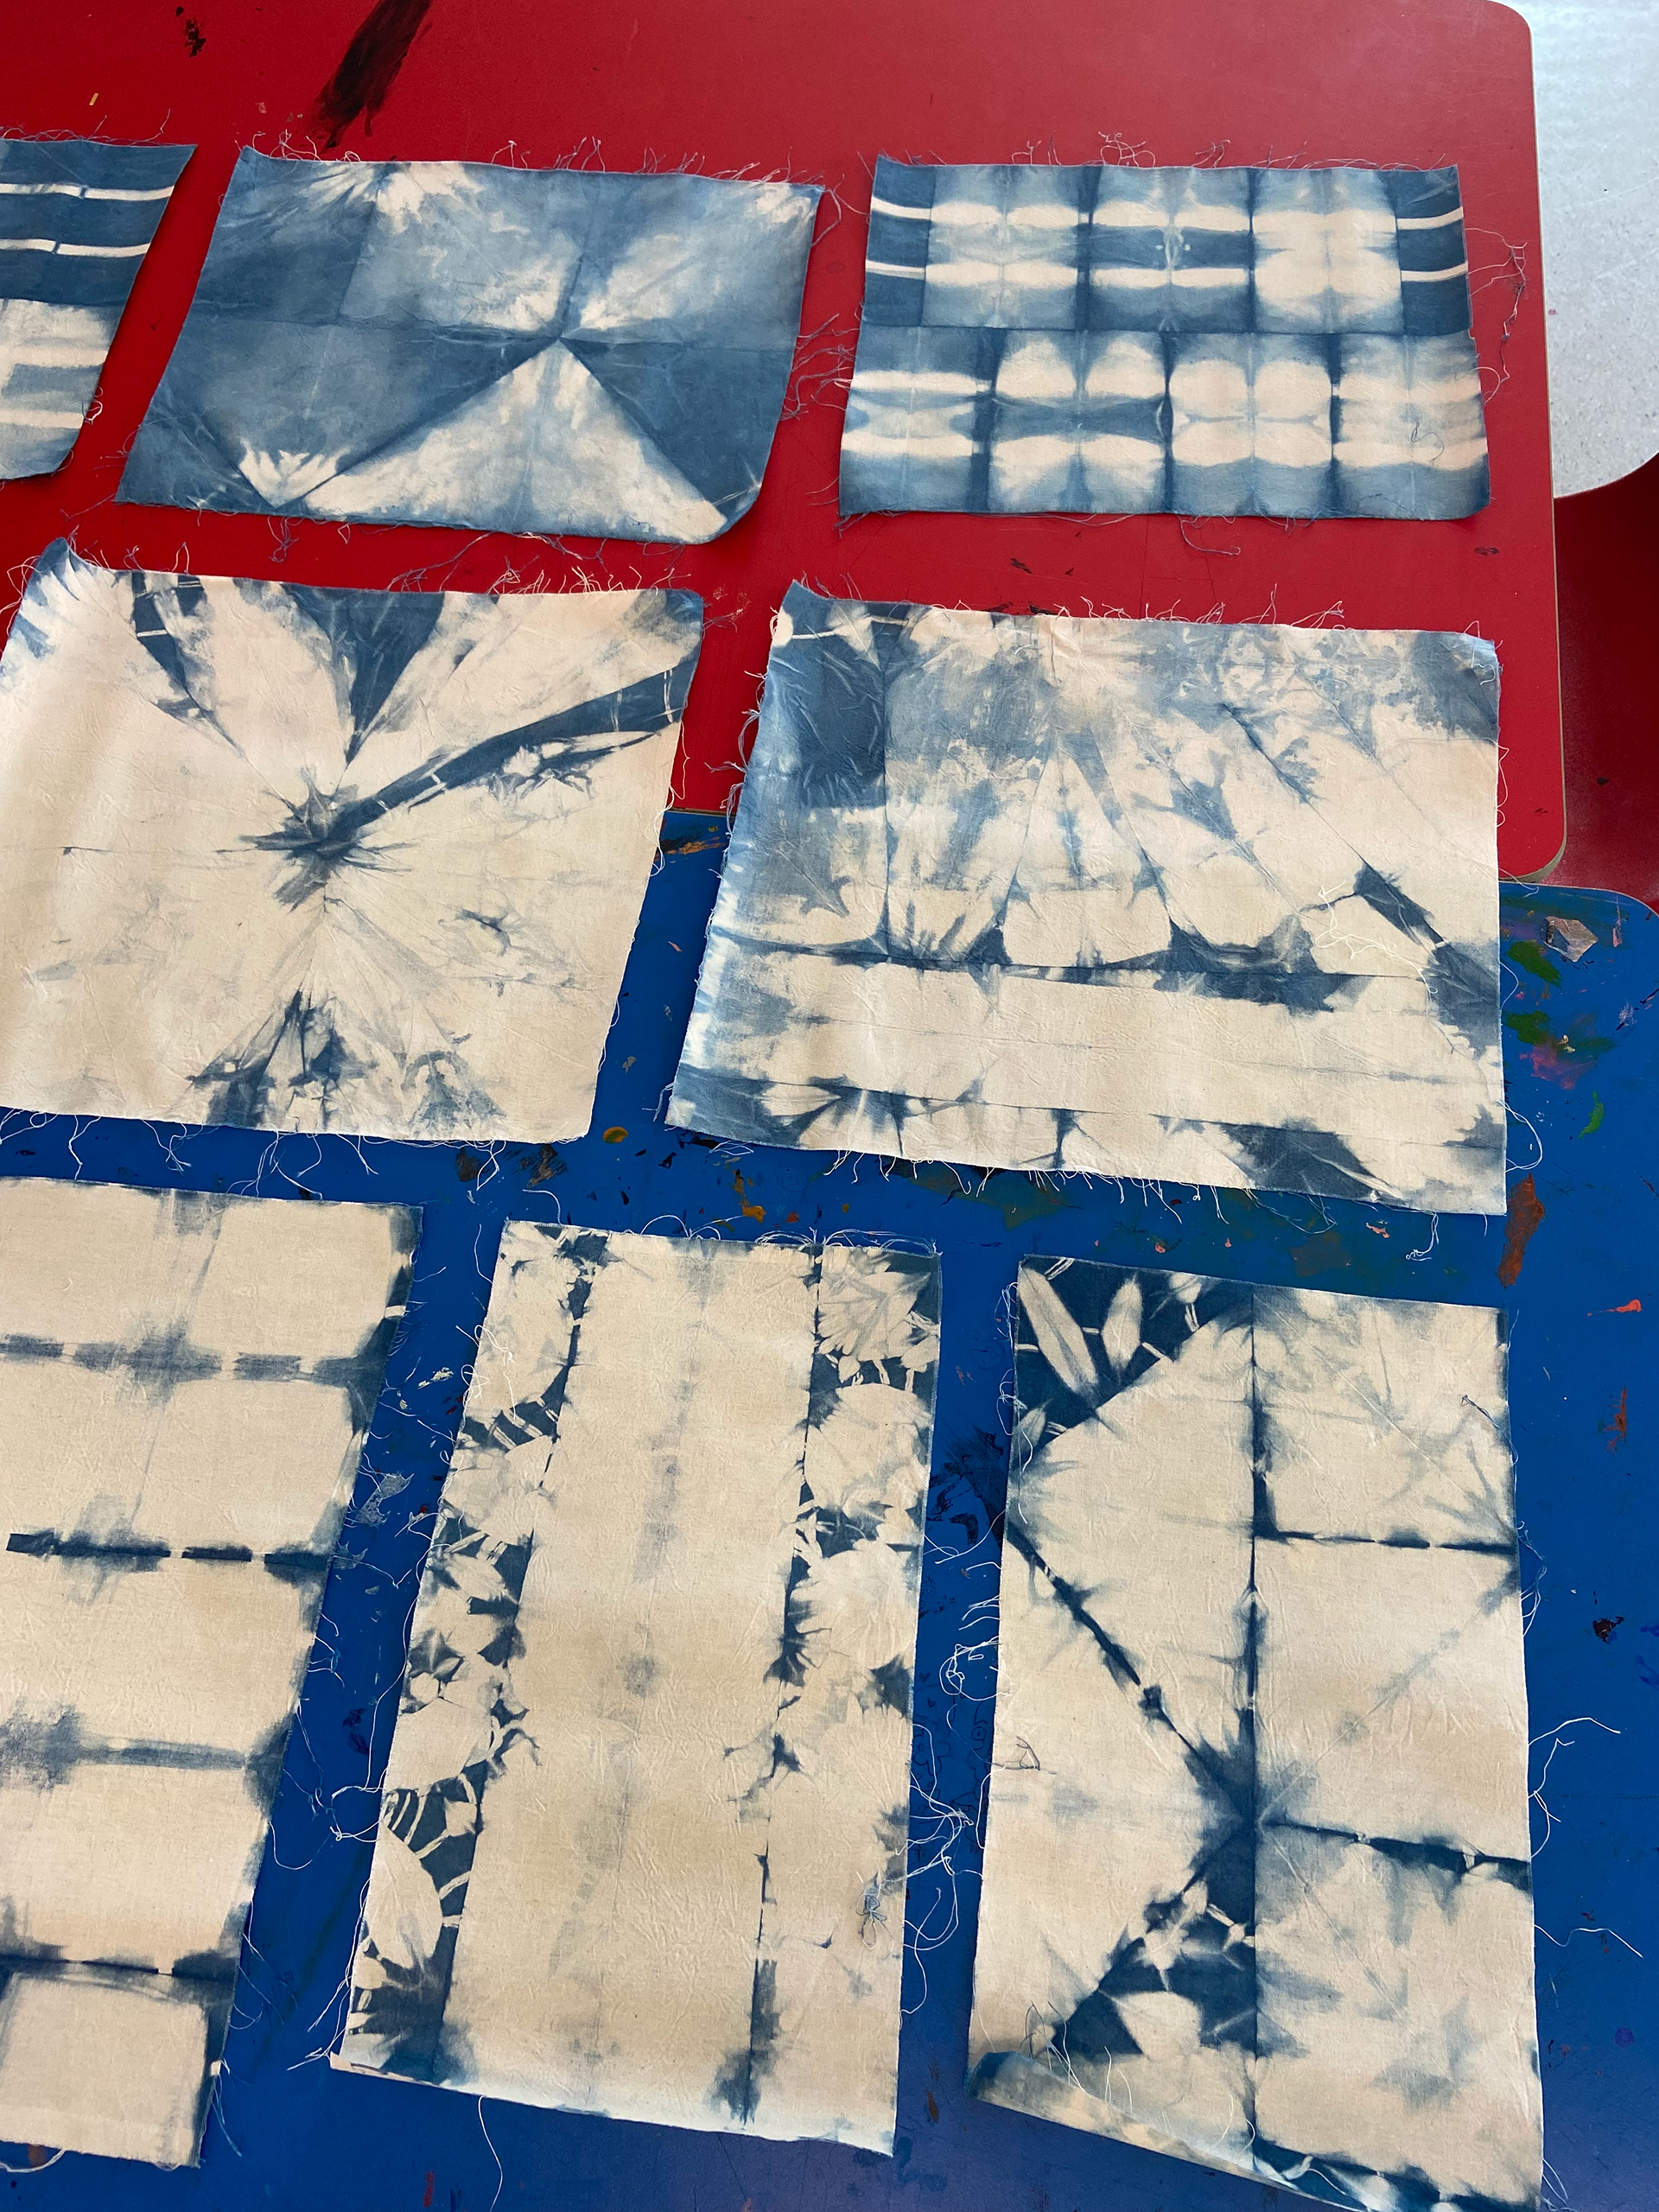
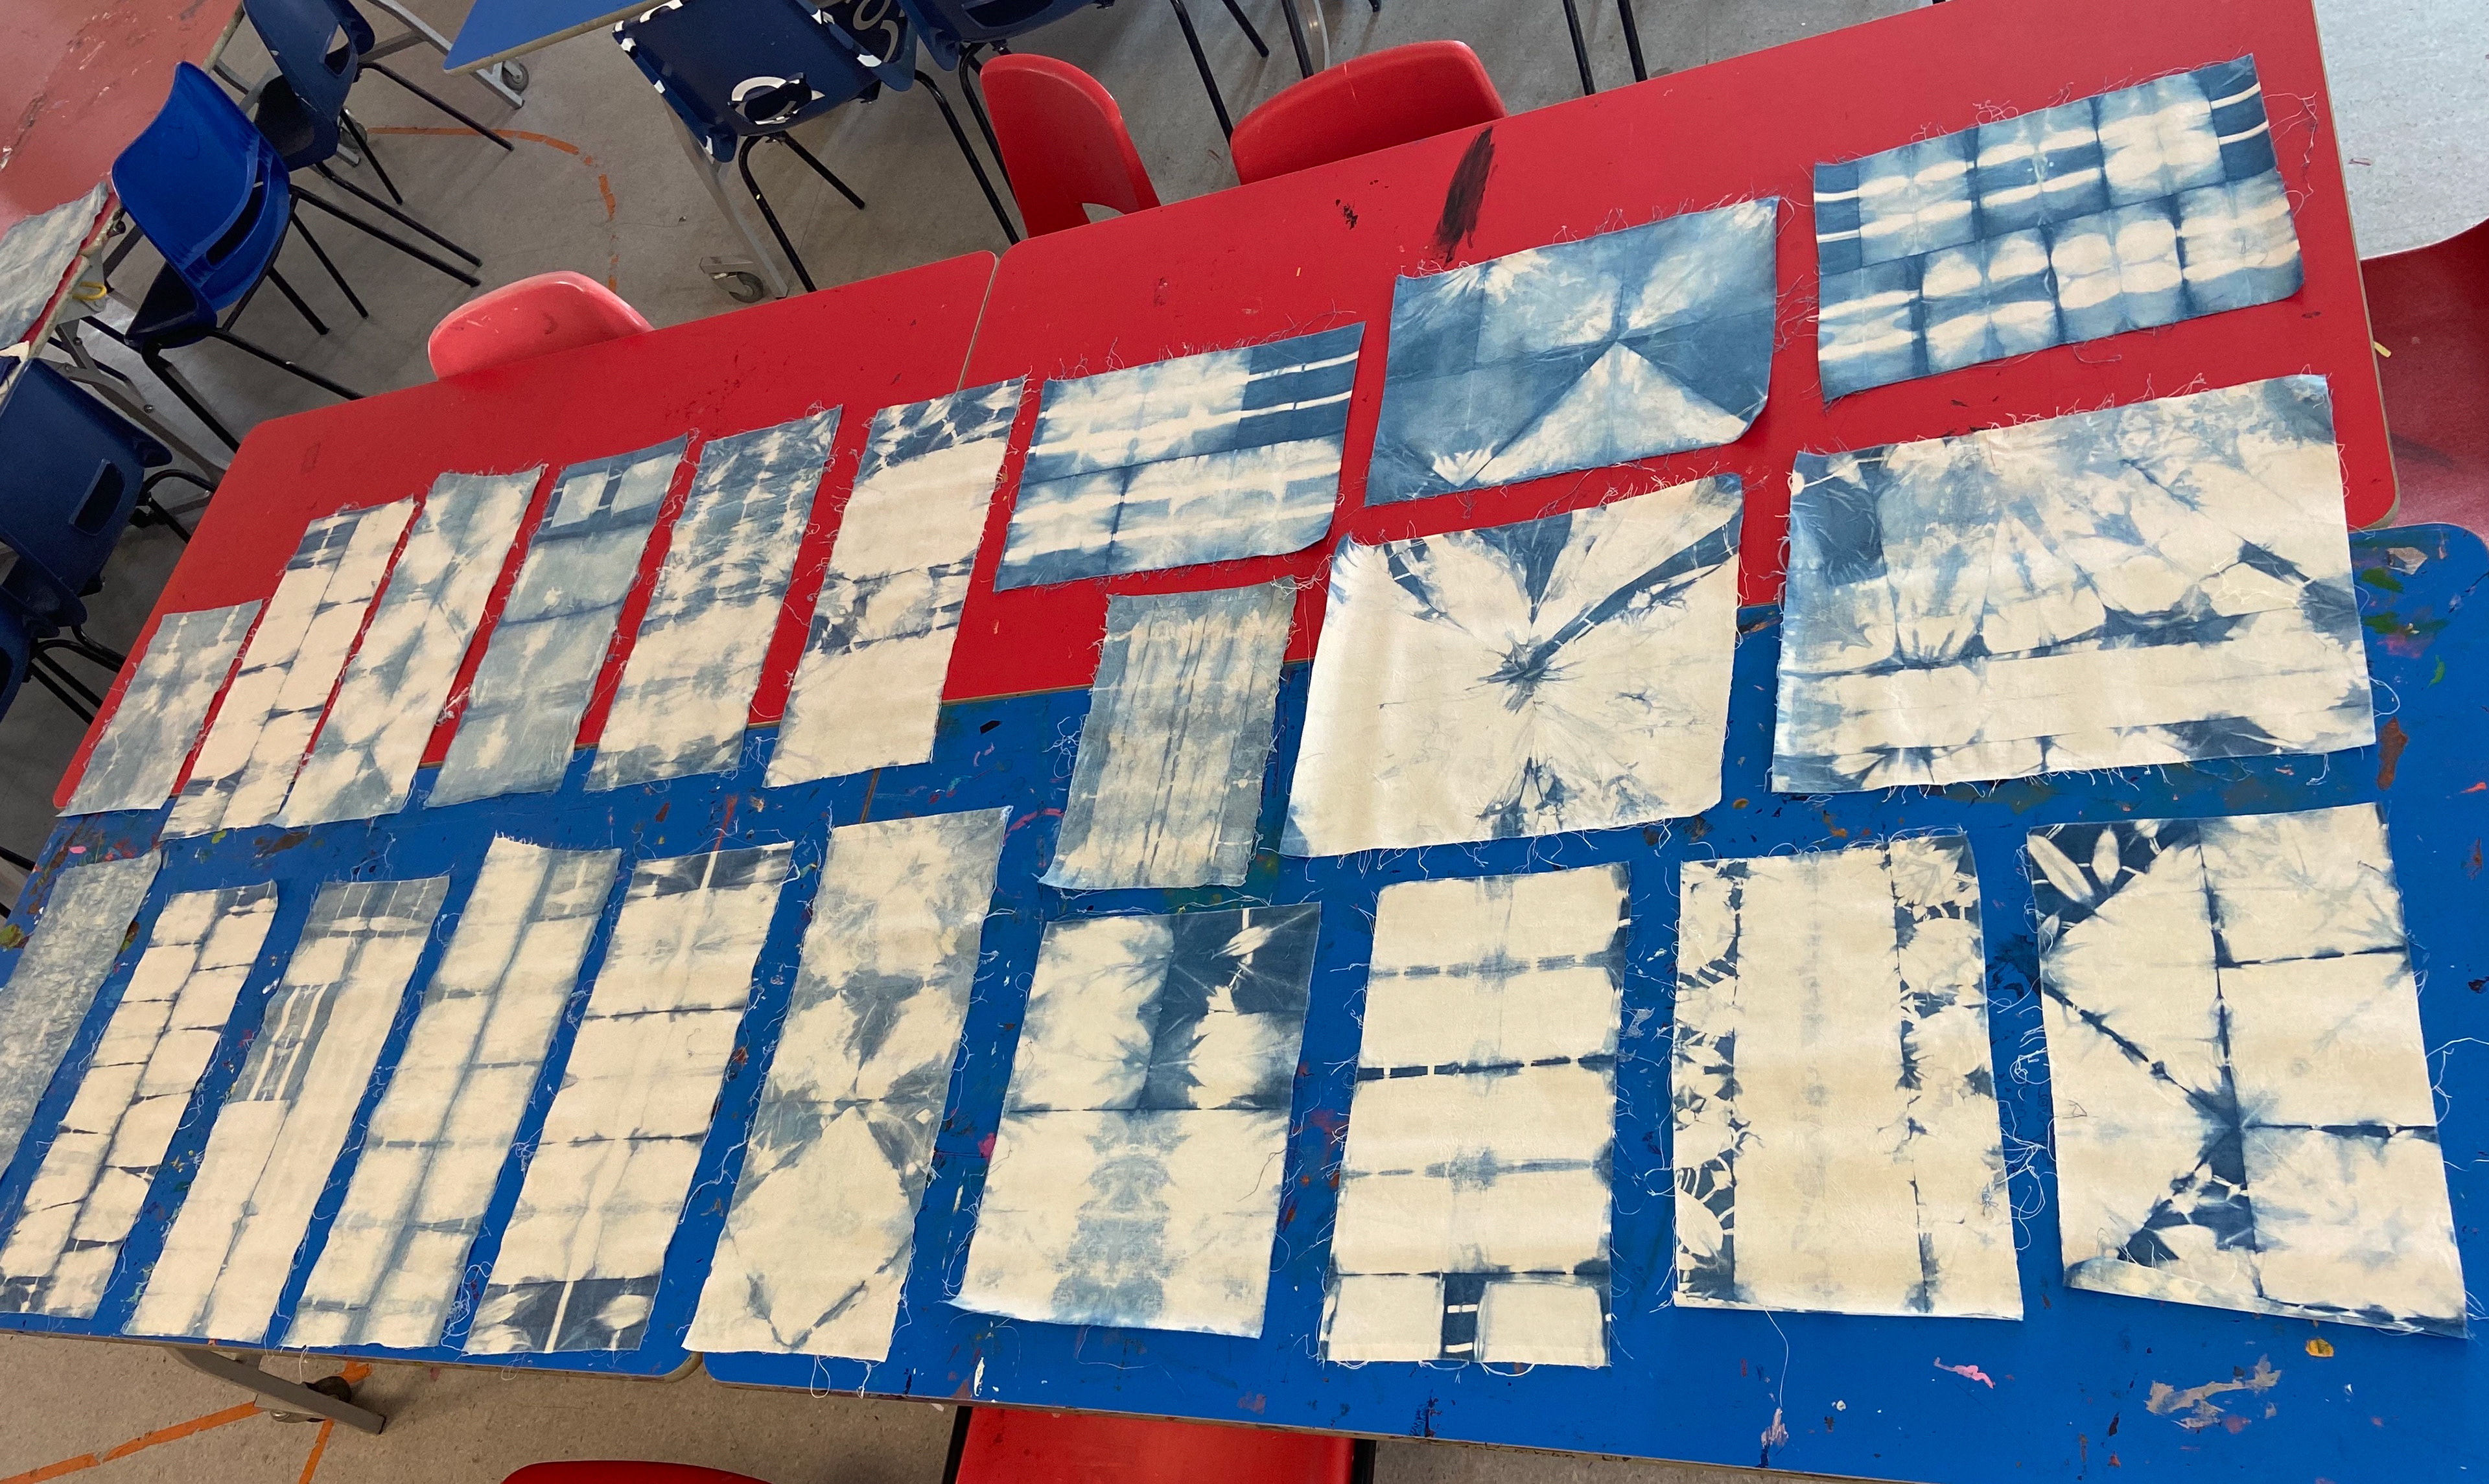
6. Leave them out to oxidize for about 20 minutes. They should start turning a bit blue.
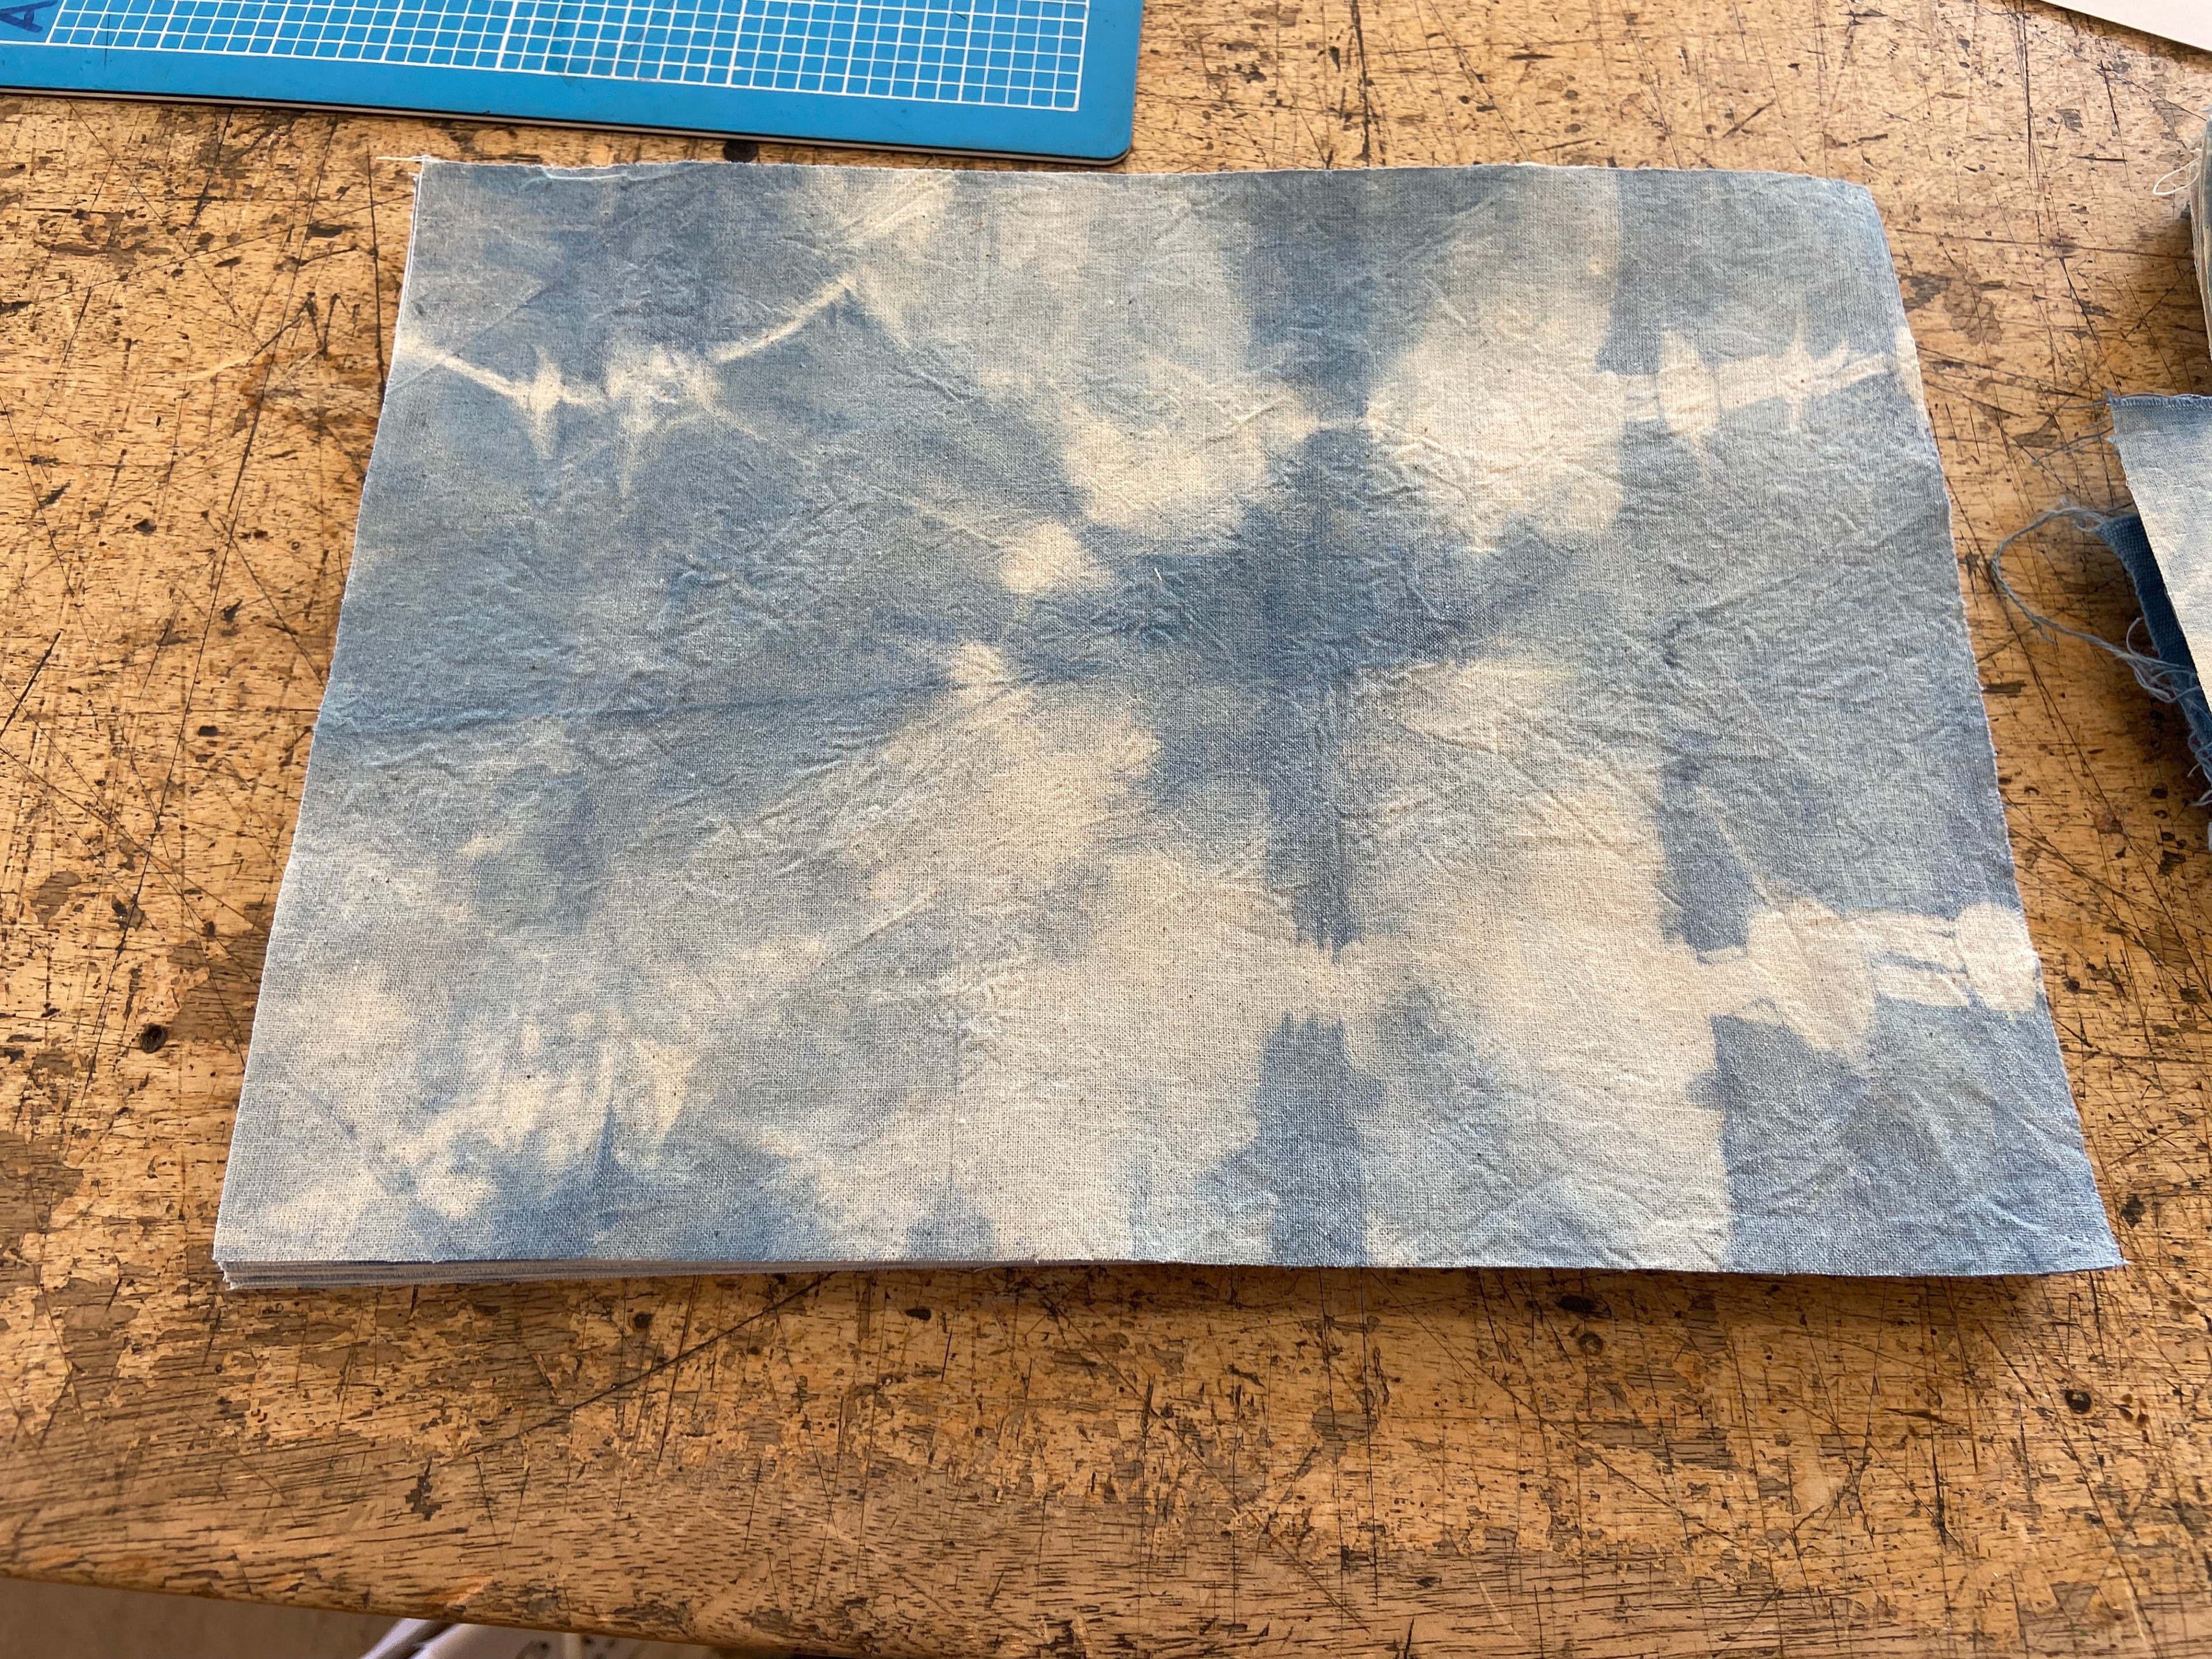
This is what they look when they're fully oxidized.
This second kit contained:
•Indigo extract
•Oxygen reducer
•Sodium carbonate
•Gloves
•Measuring spoon
•A booklet with the instructions

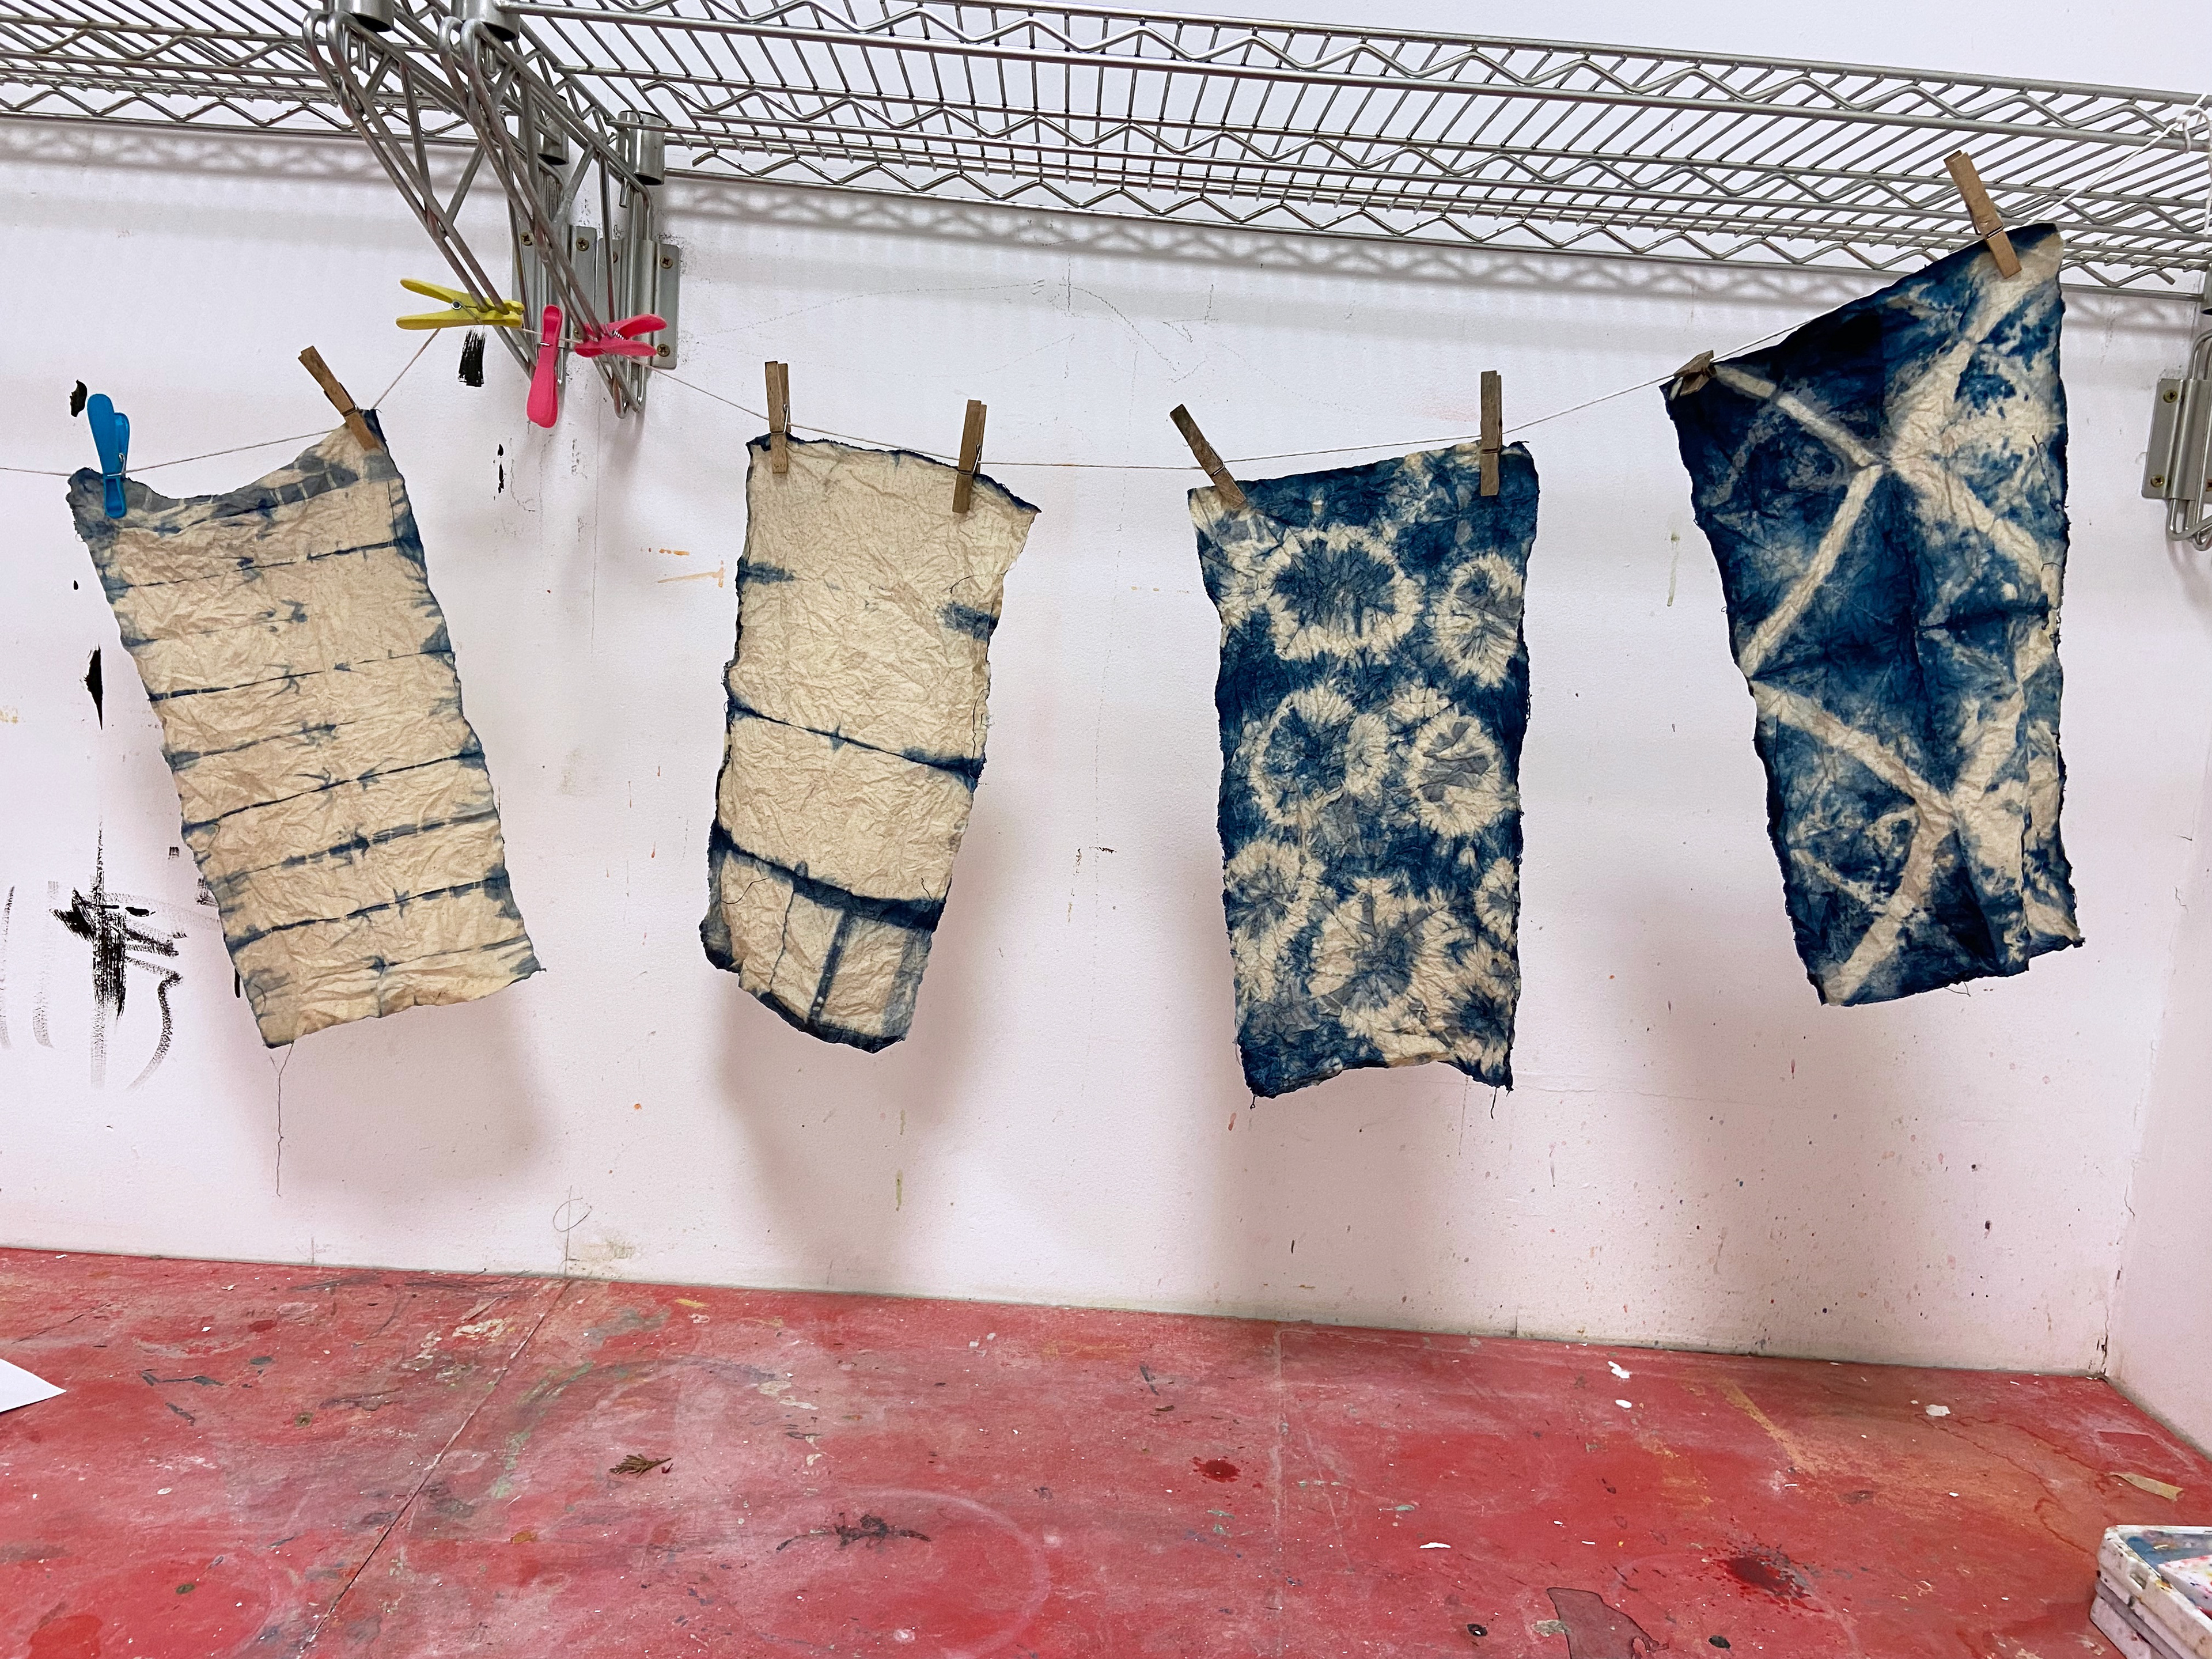
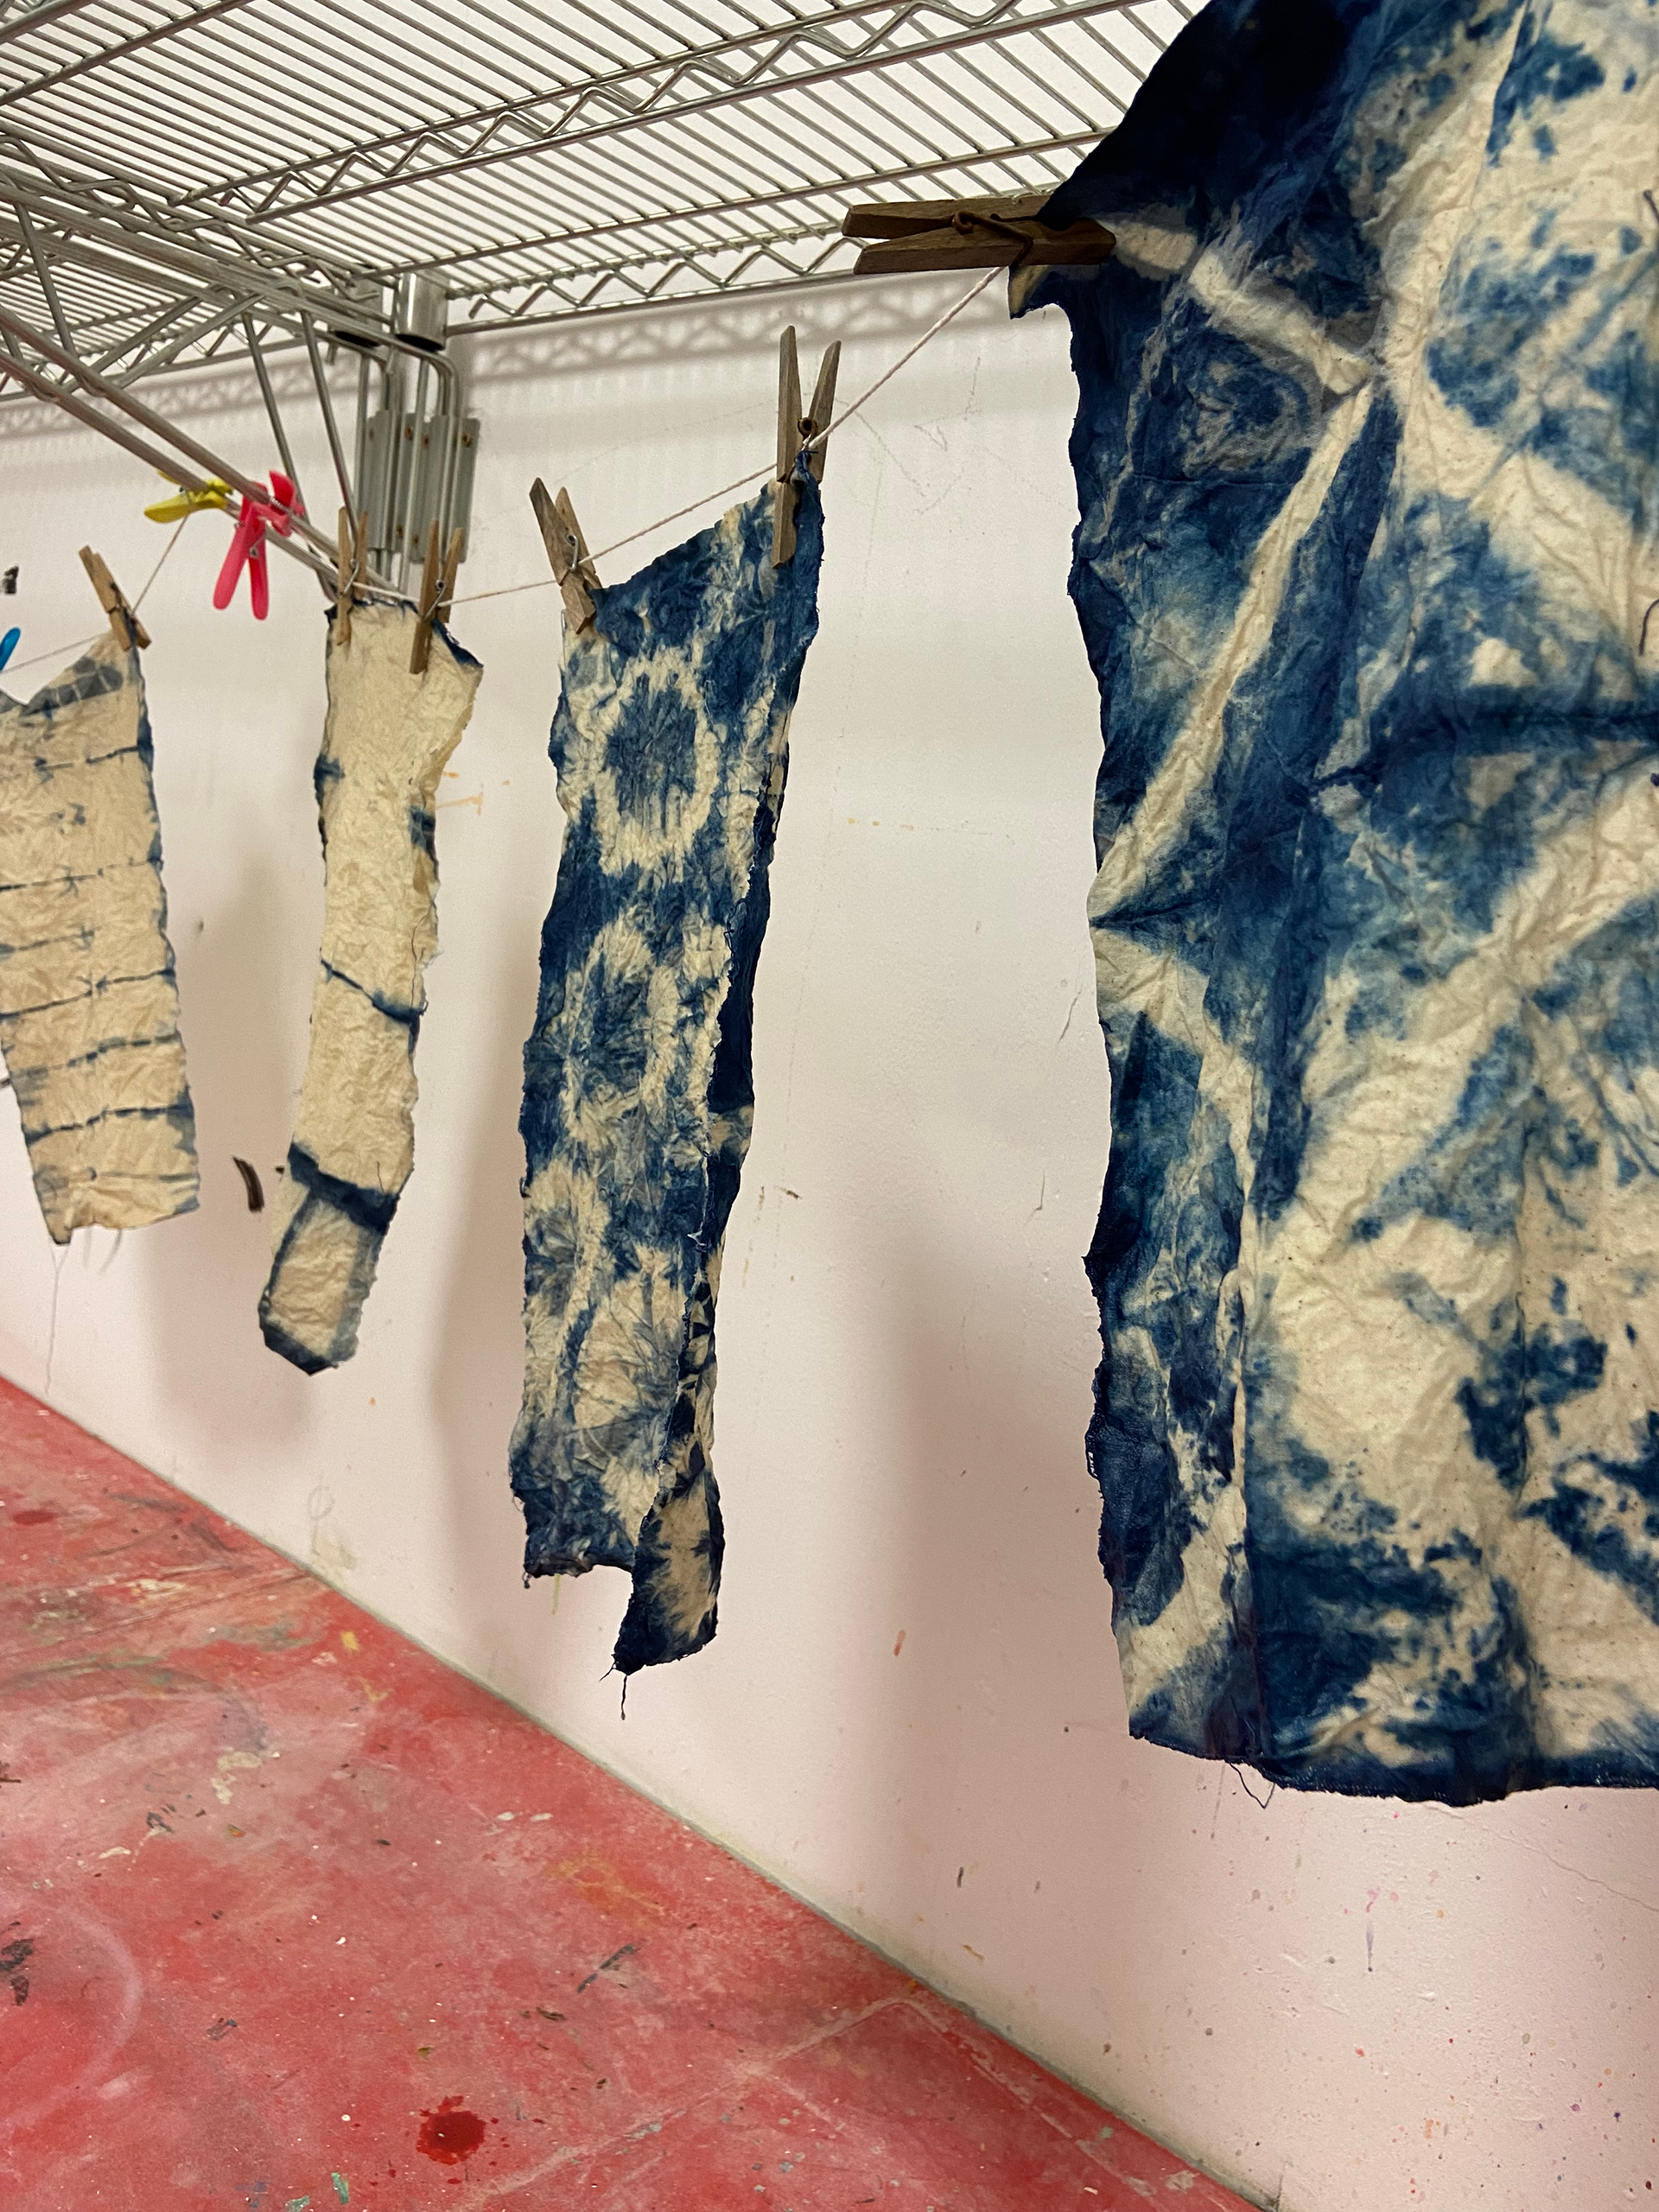
Since I could re-use this dye kit multiple times, I was able to dye several pieces of fabric to use for my book.
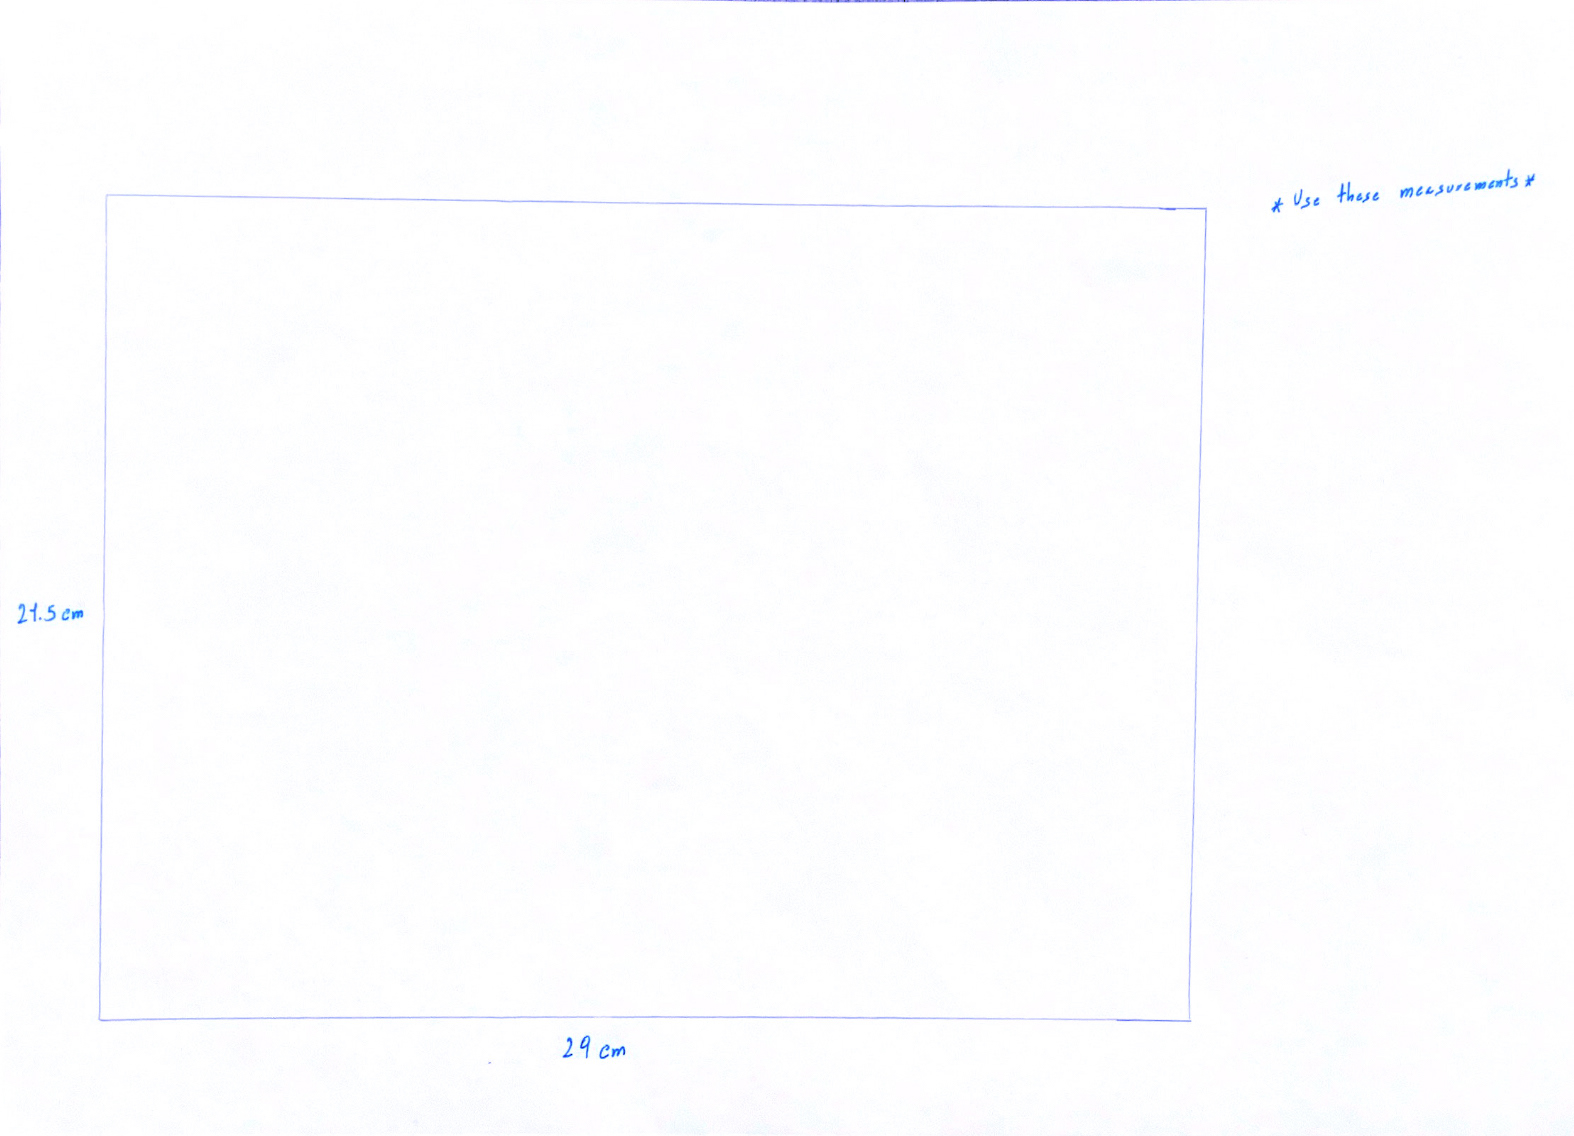
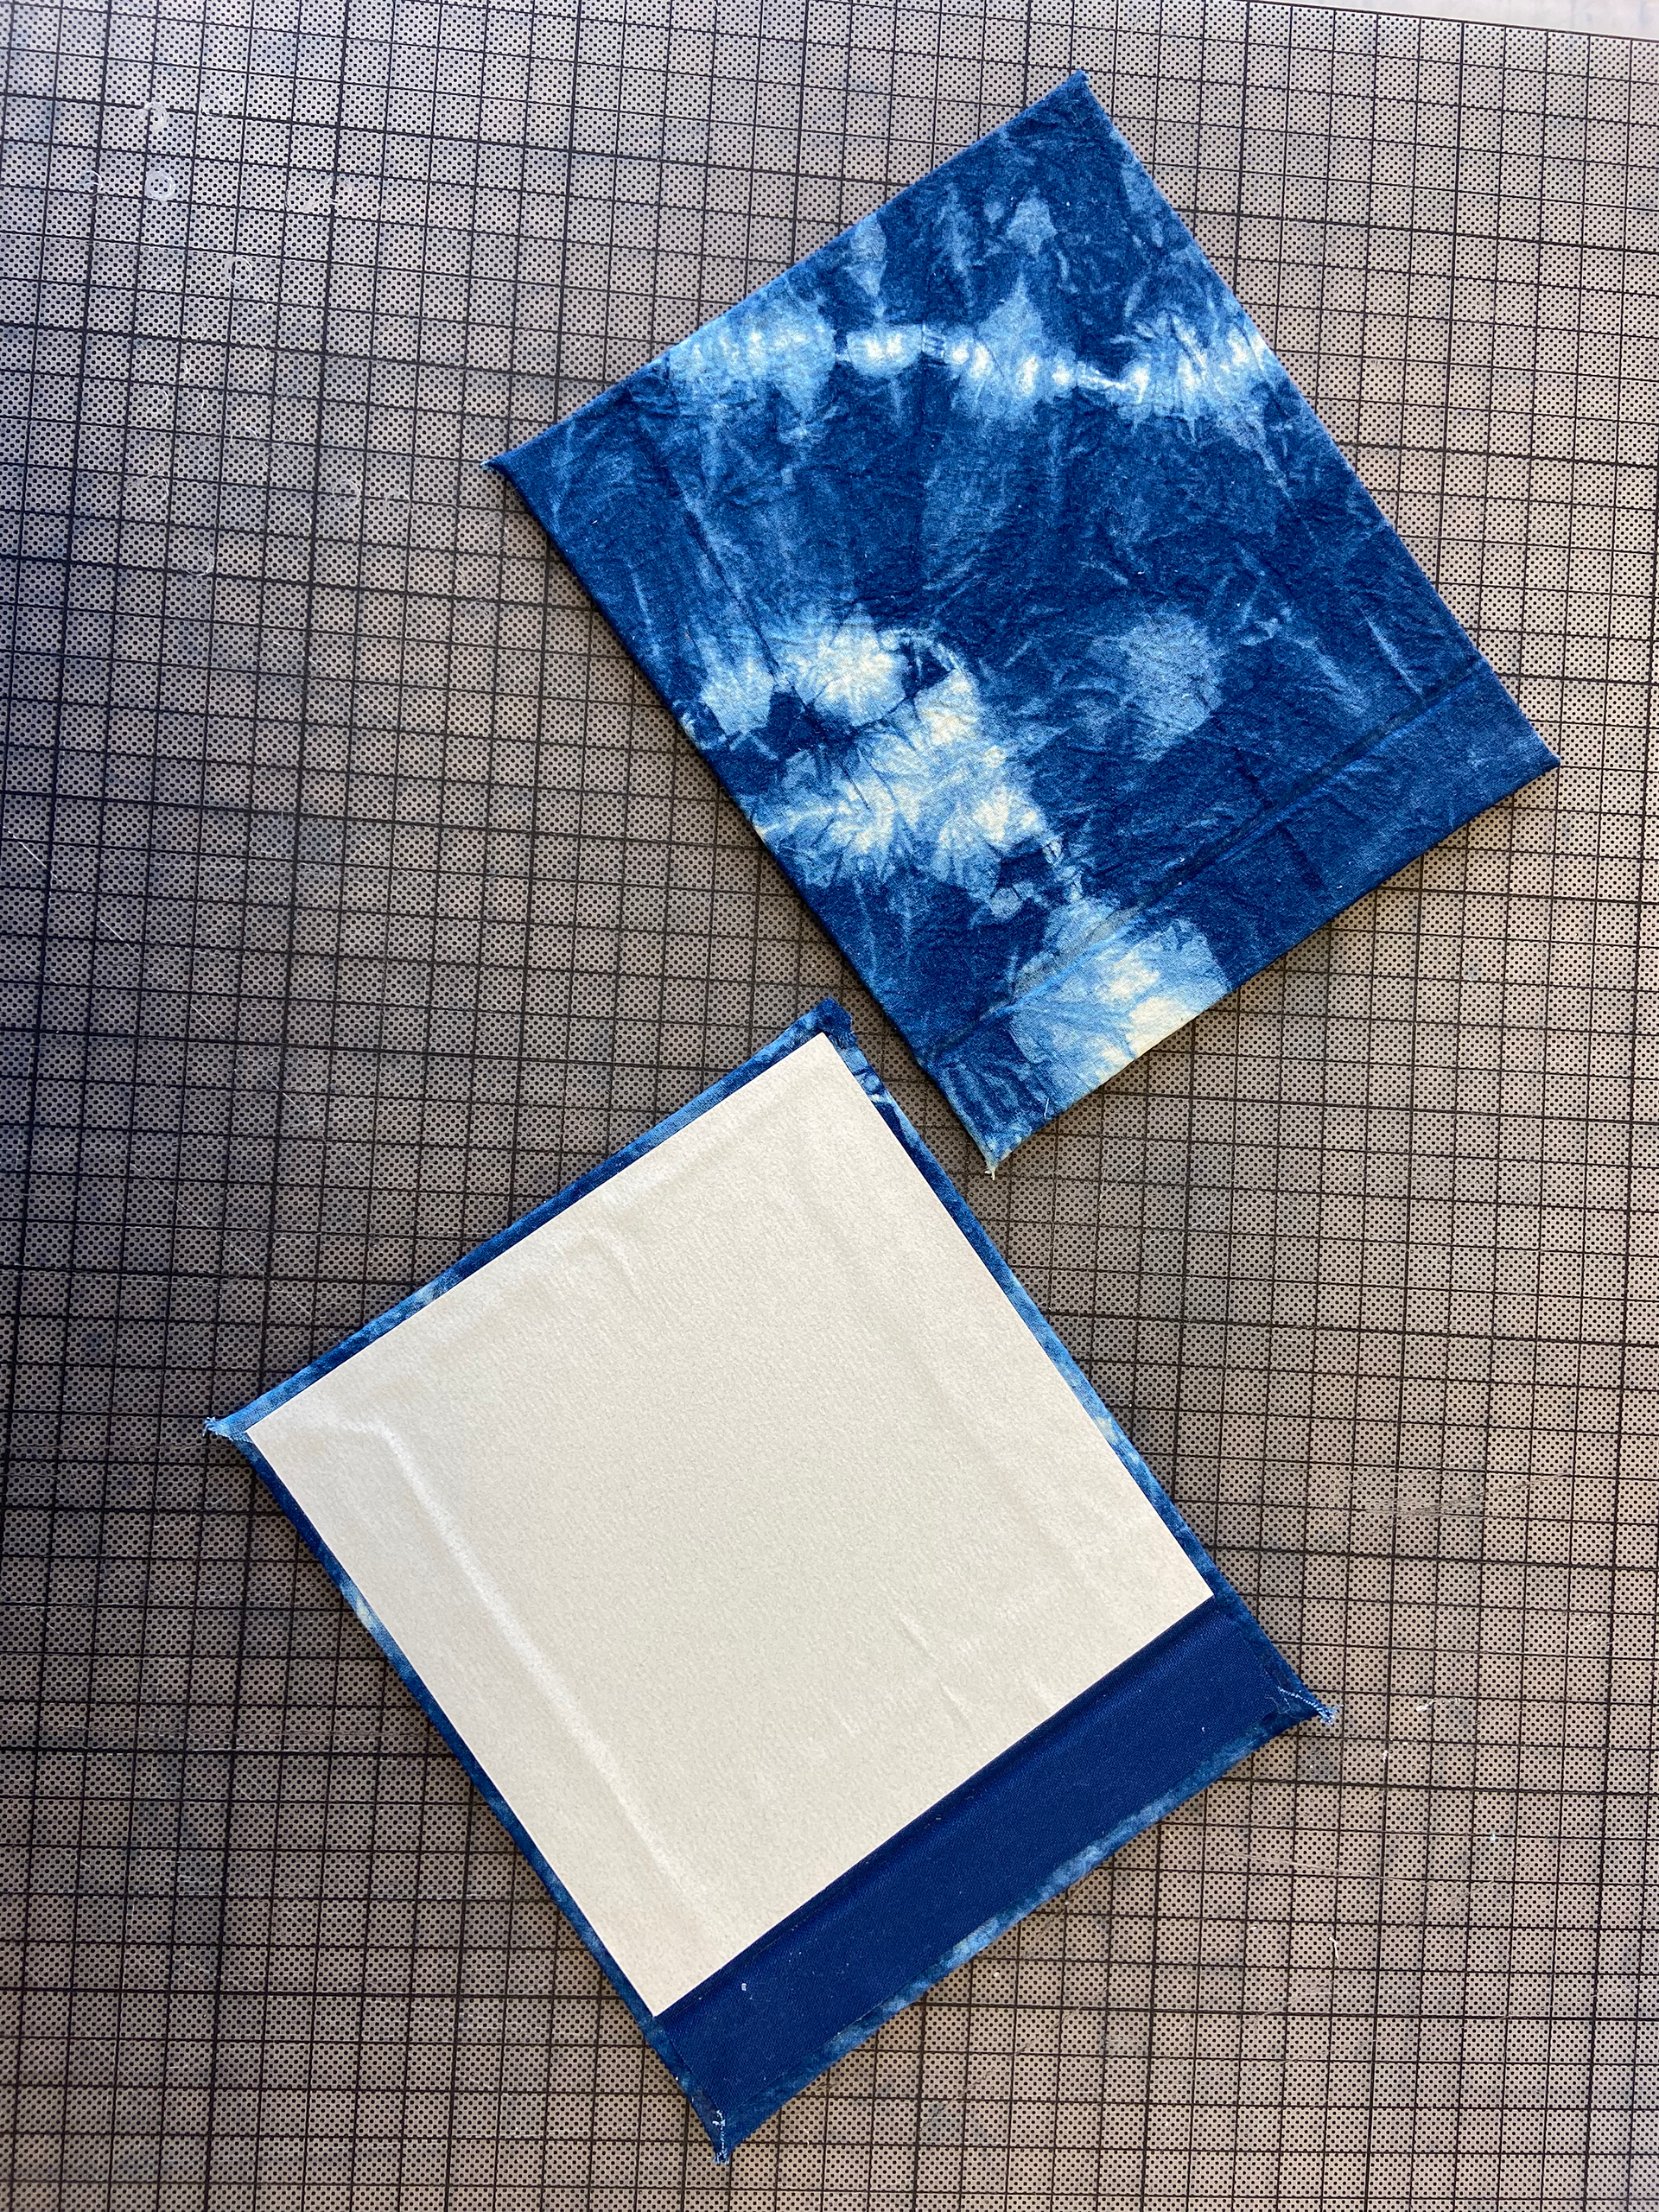
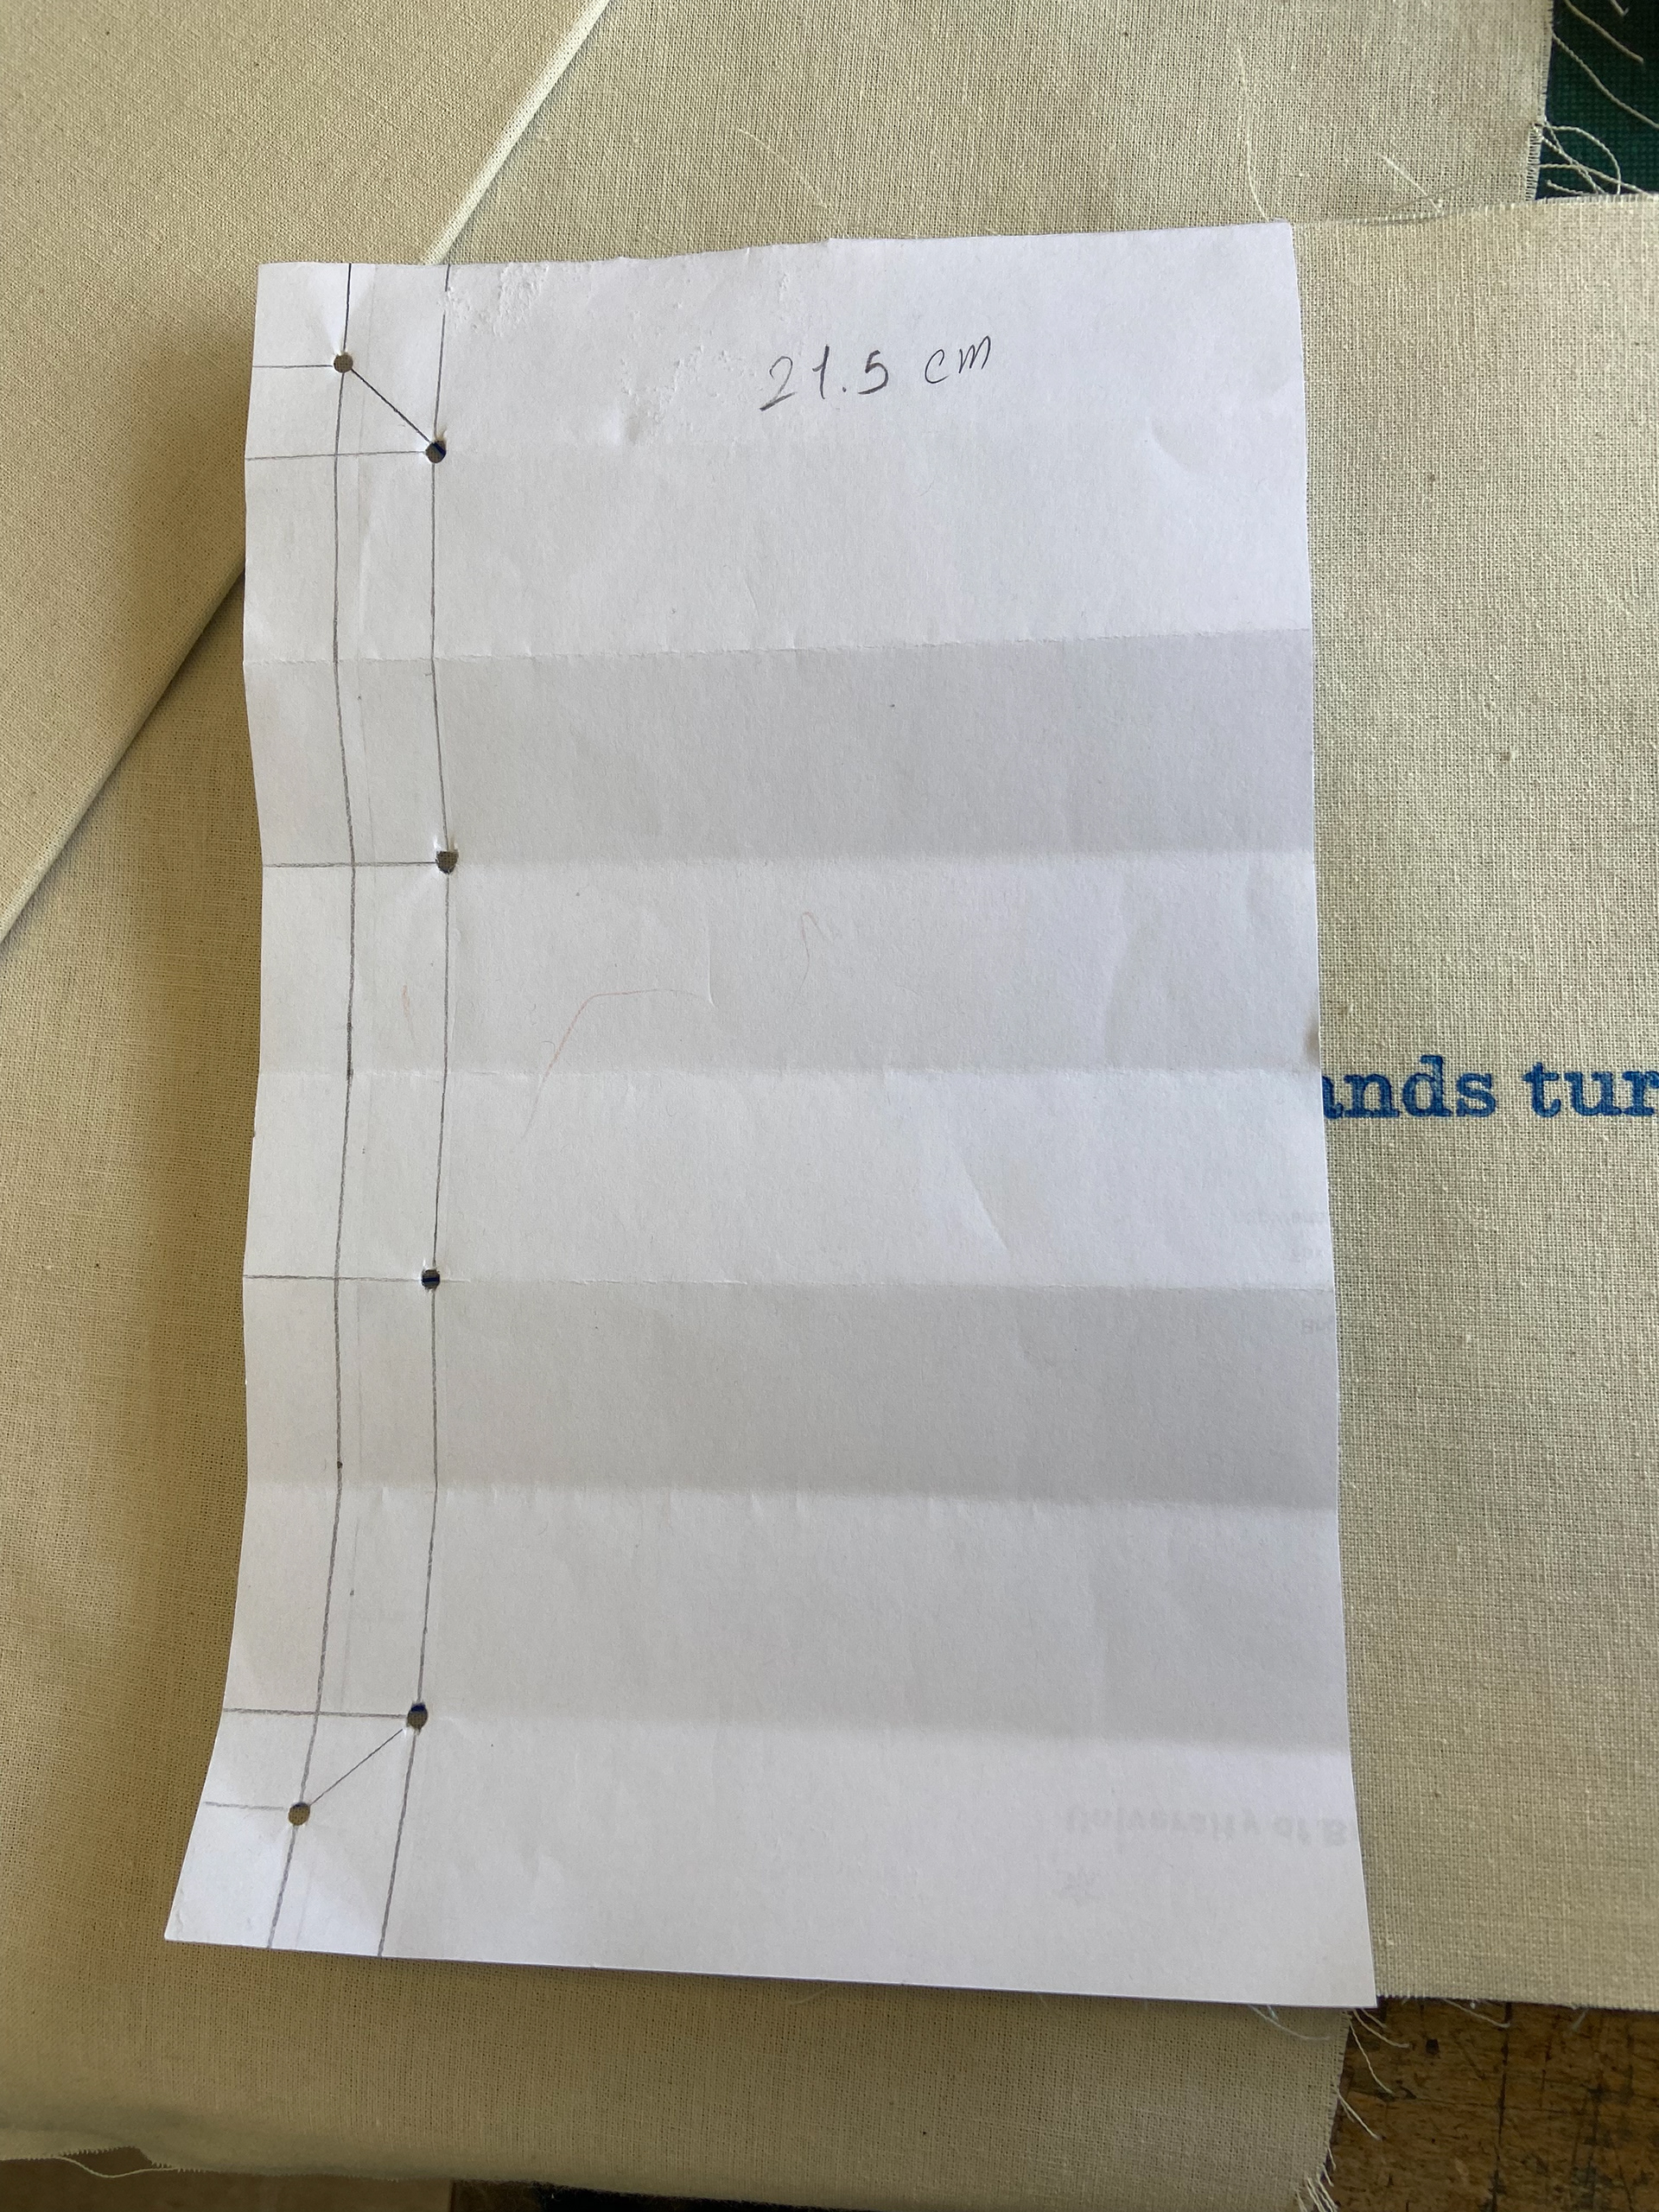
Afterwards, I started thinking about the size of the book. I did not want it to be big or too small. After drawing out a few sizes, I chose to use 215 x 290 mm which is slightly smaller than A4 and much bigger than A5. I thought that this size would be appropriate to display the patterns on the fabrics.
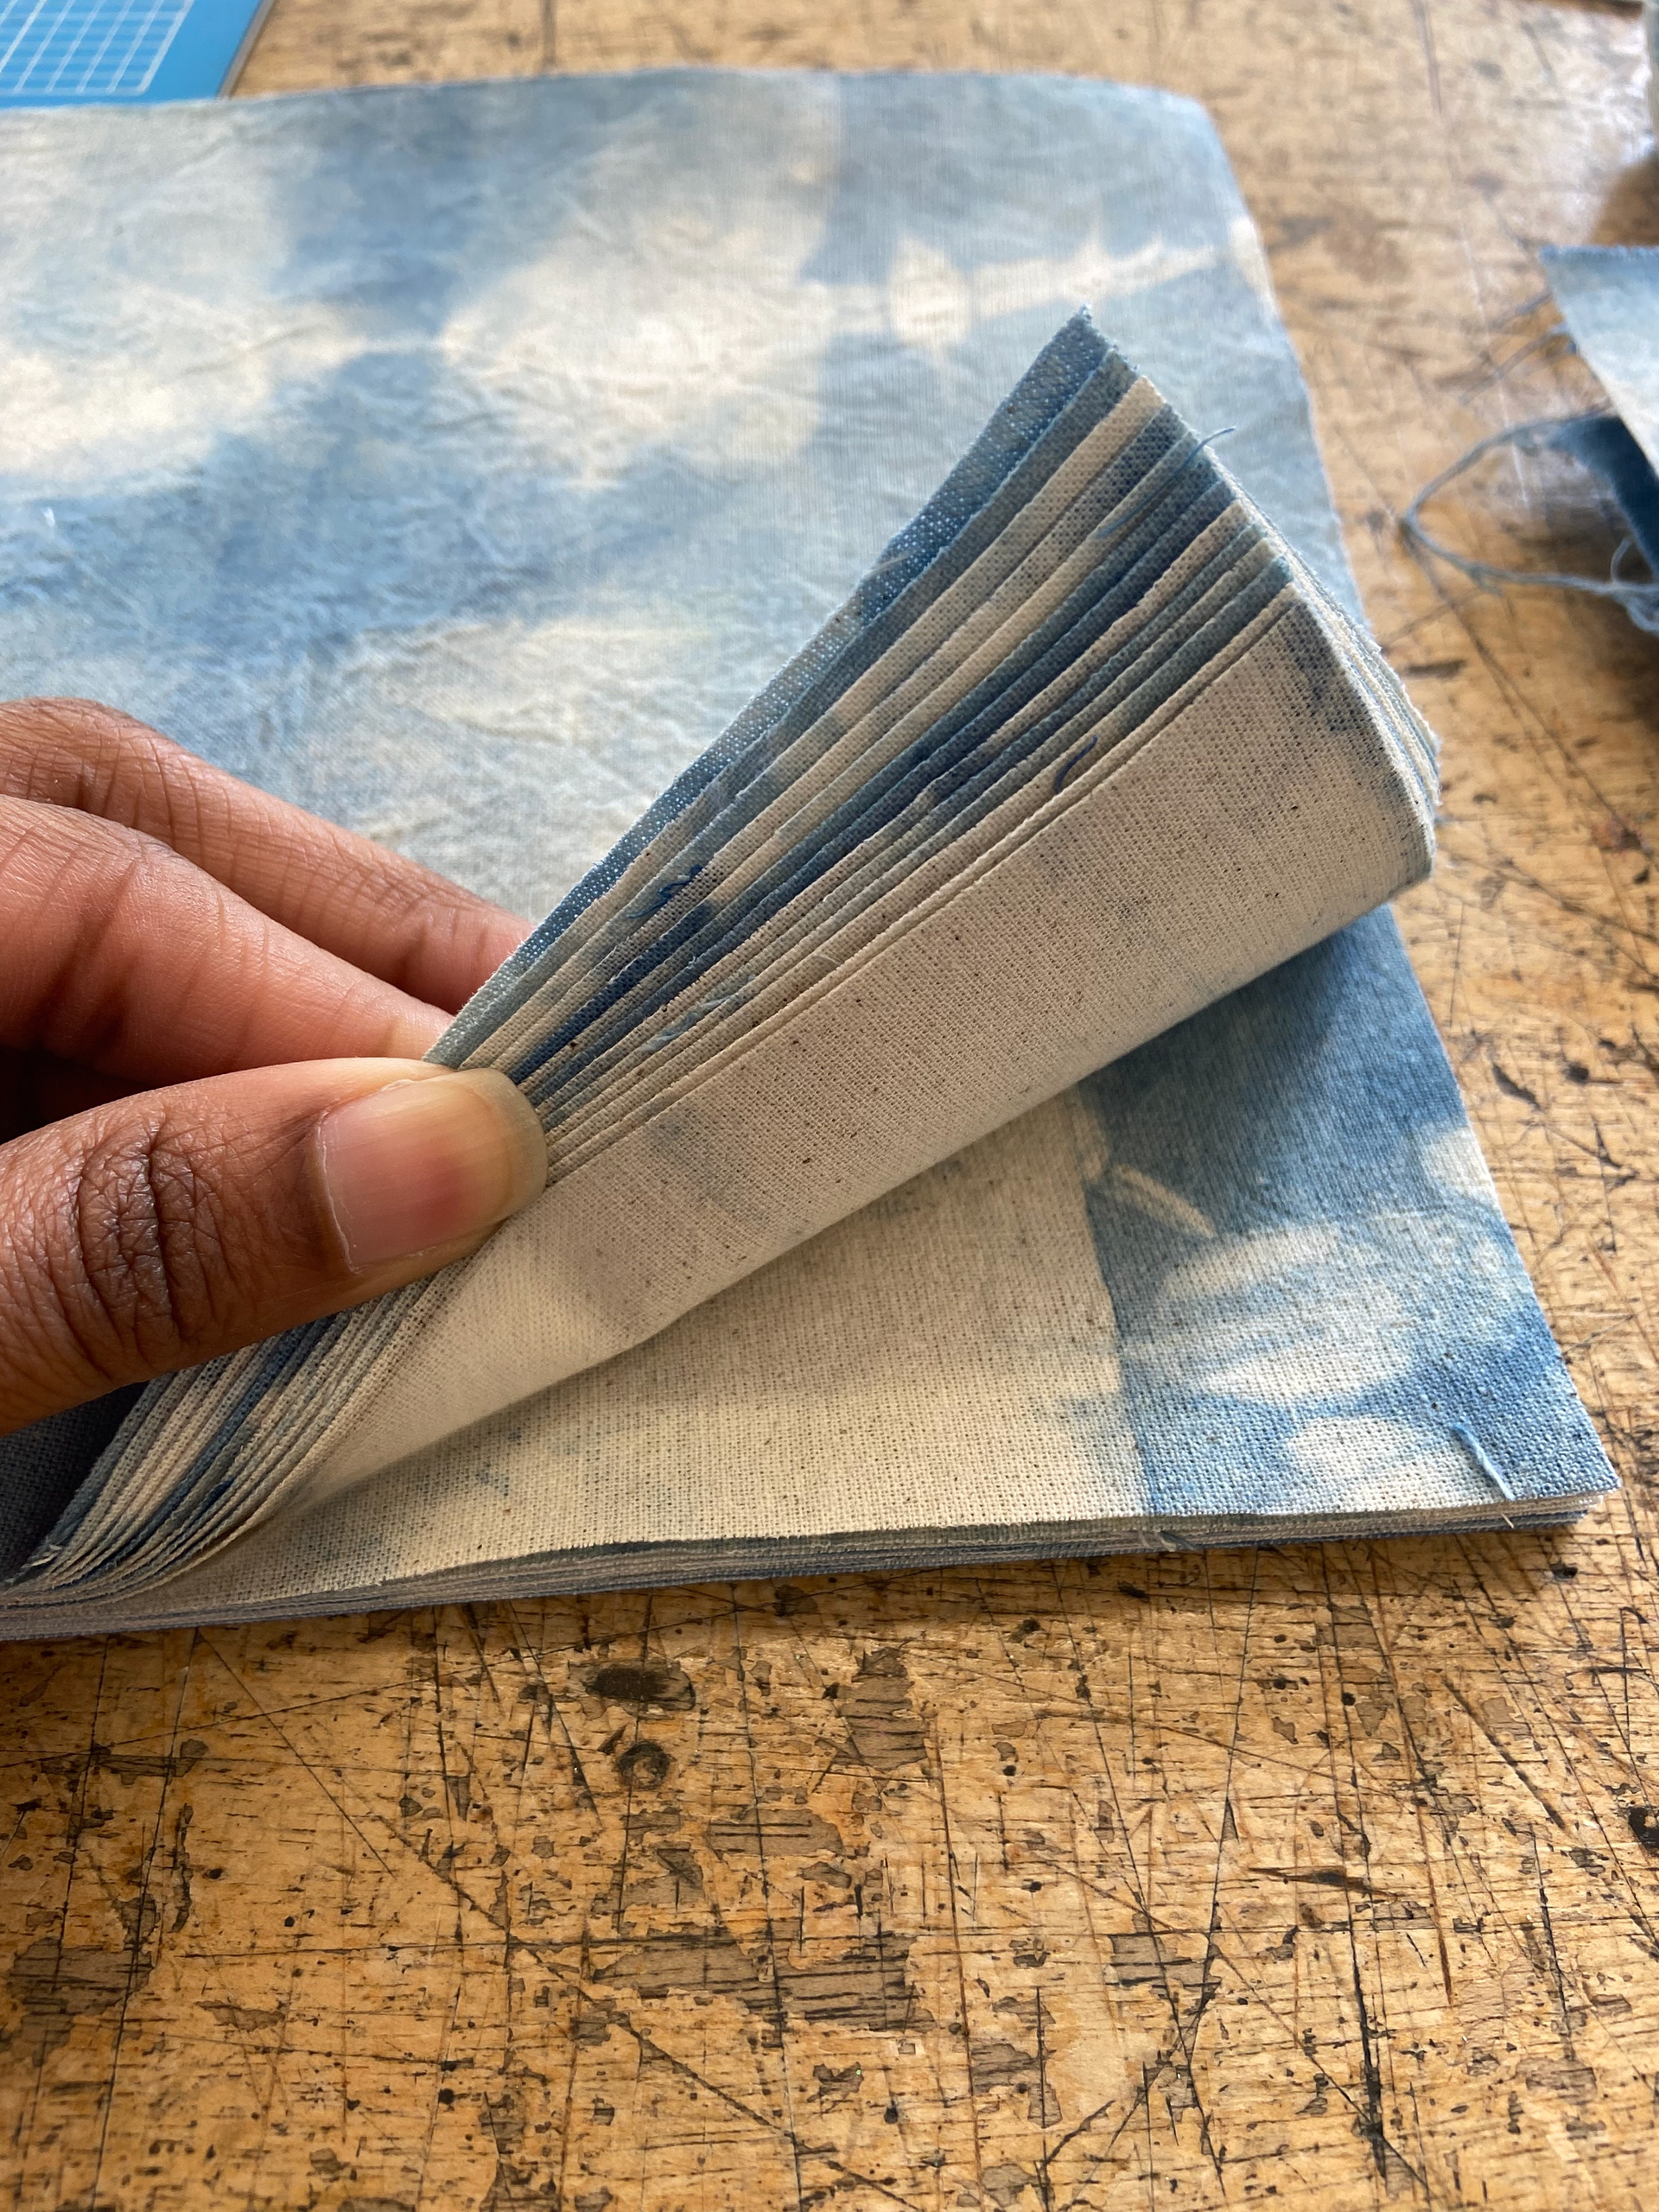
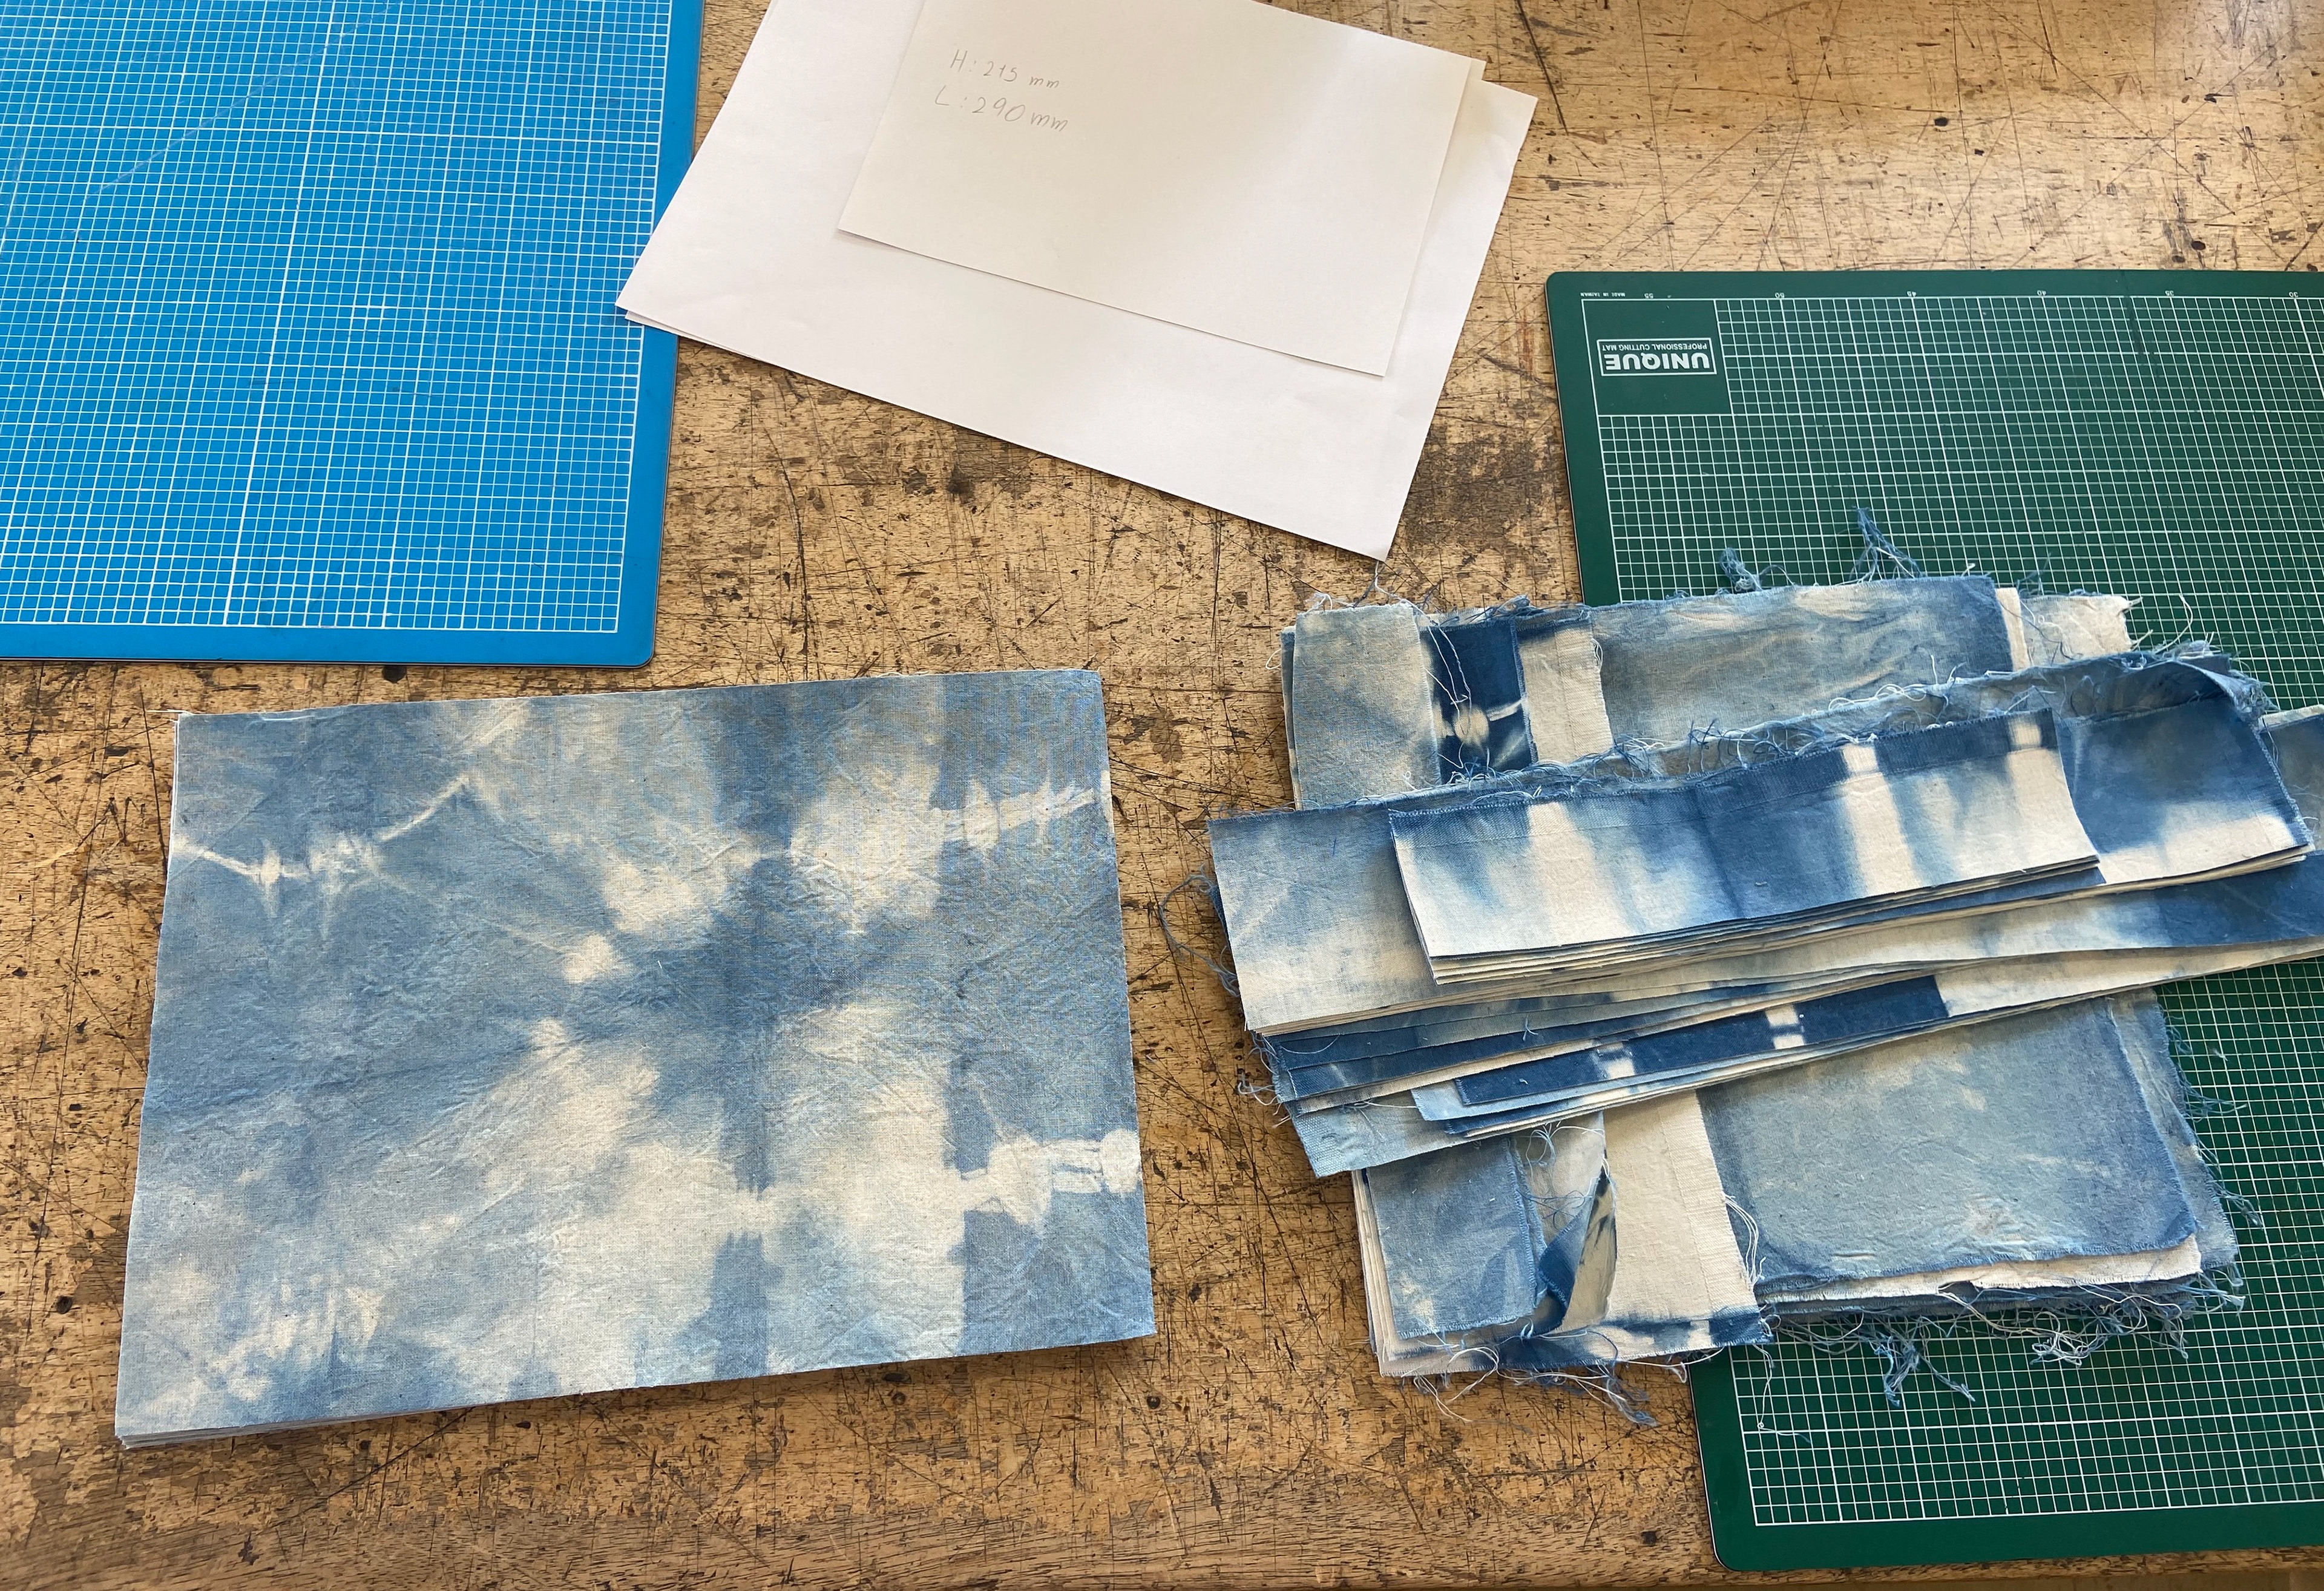
After selecting the size, I cut up the pieces of cloth according to it.
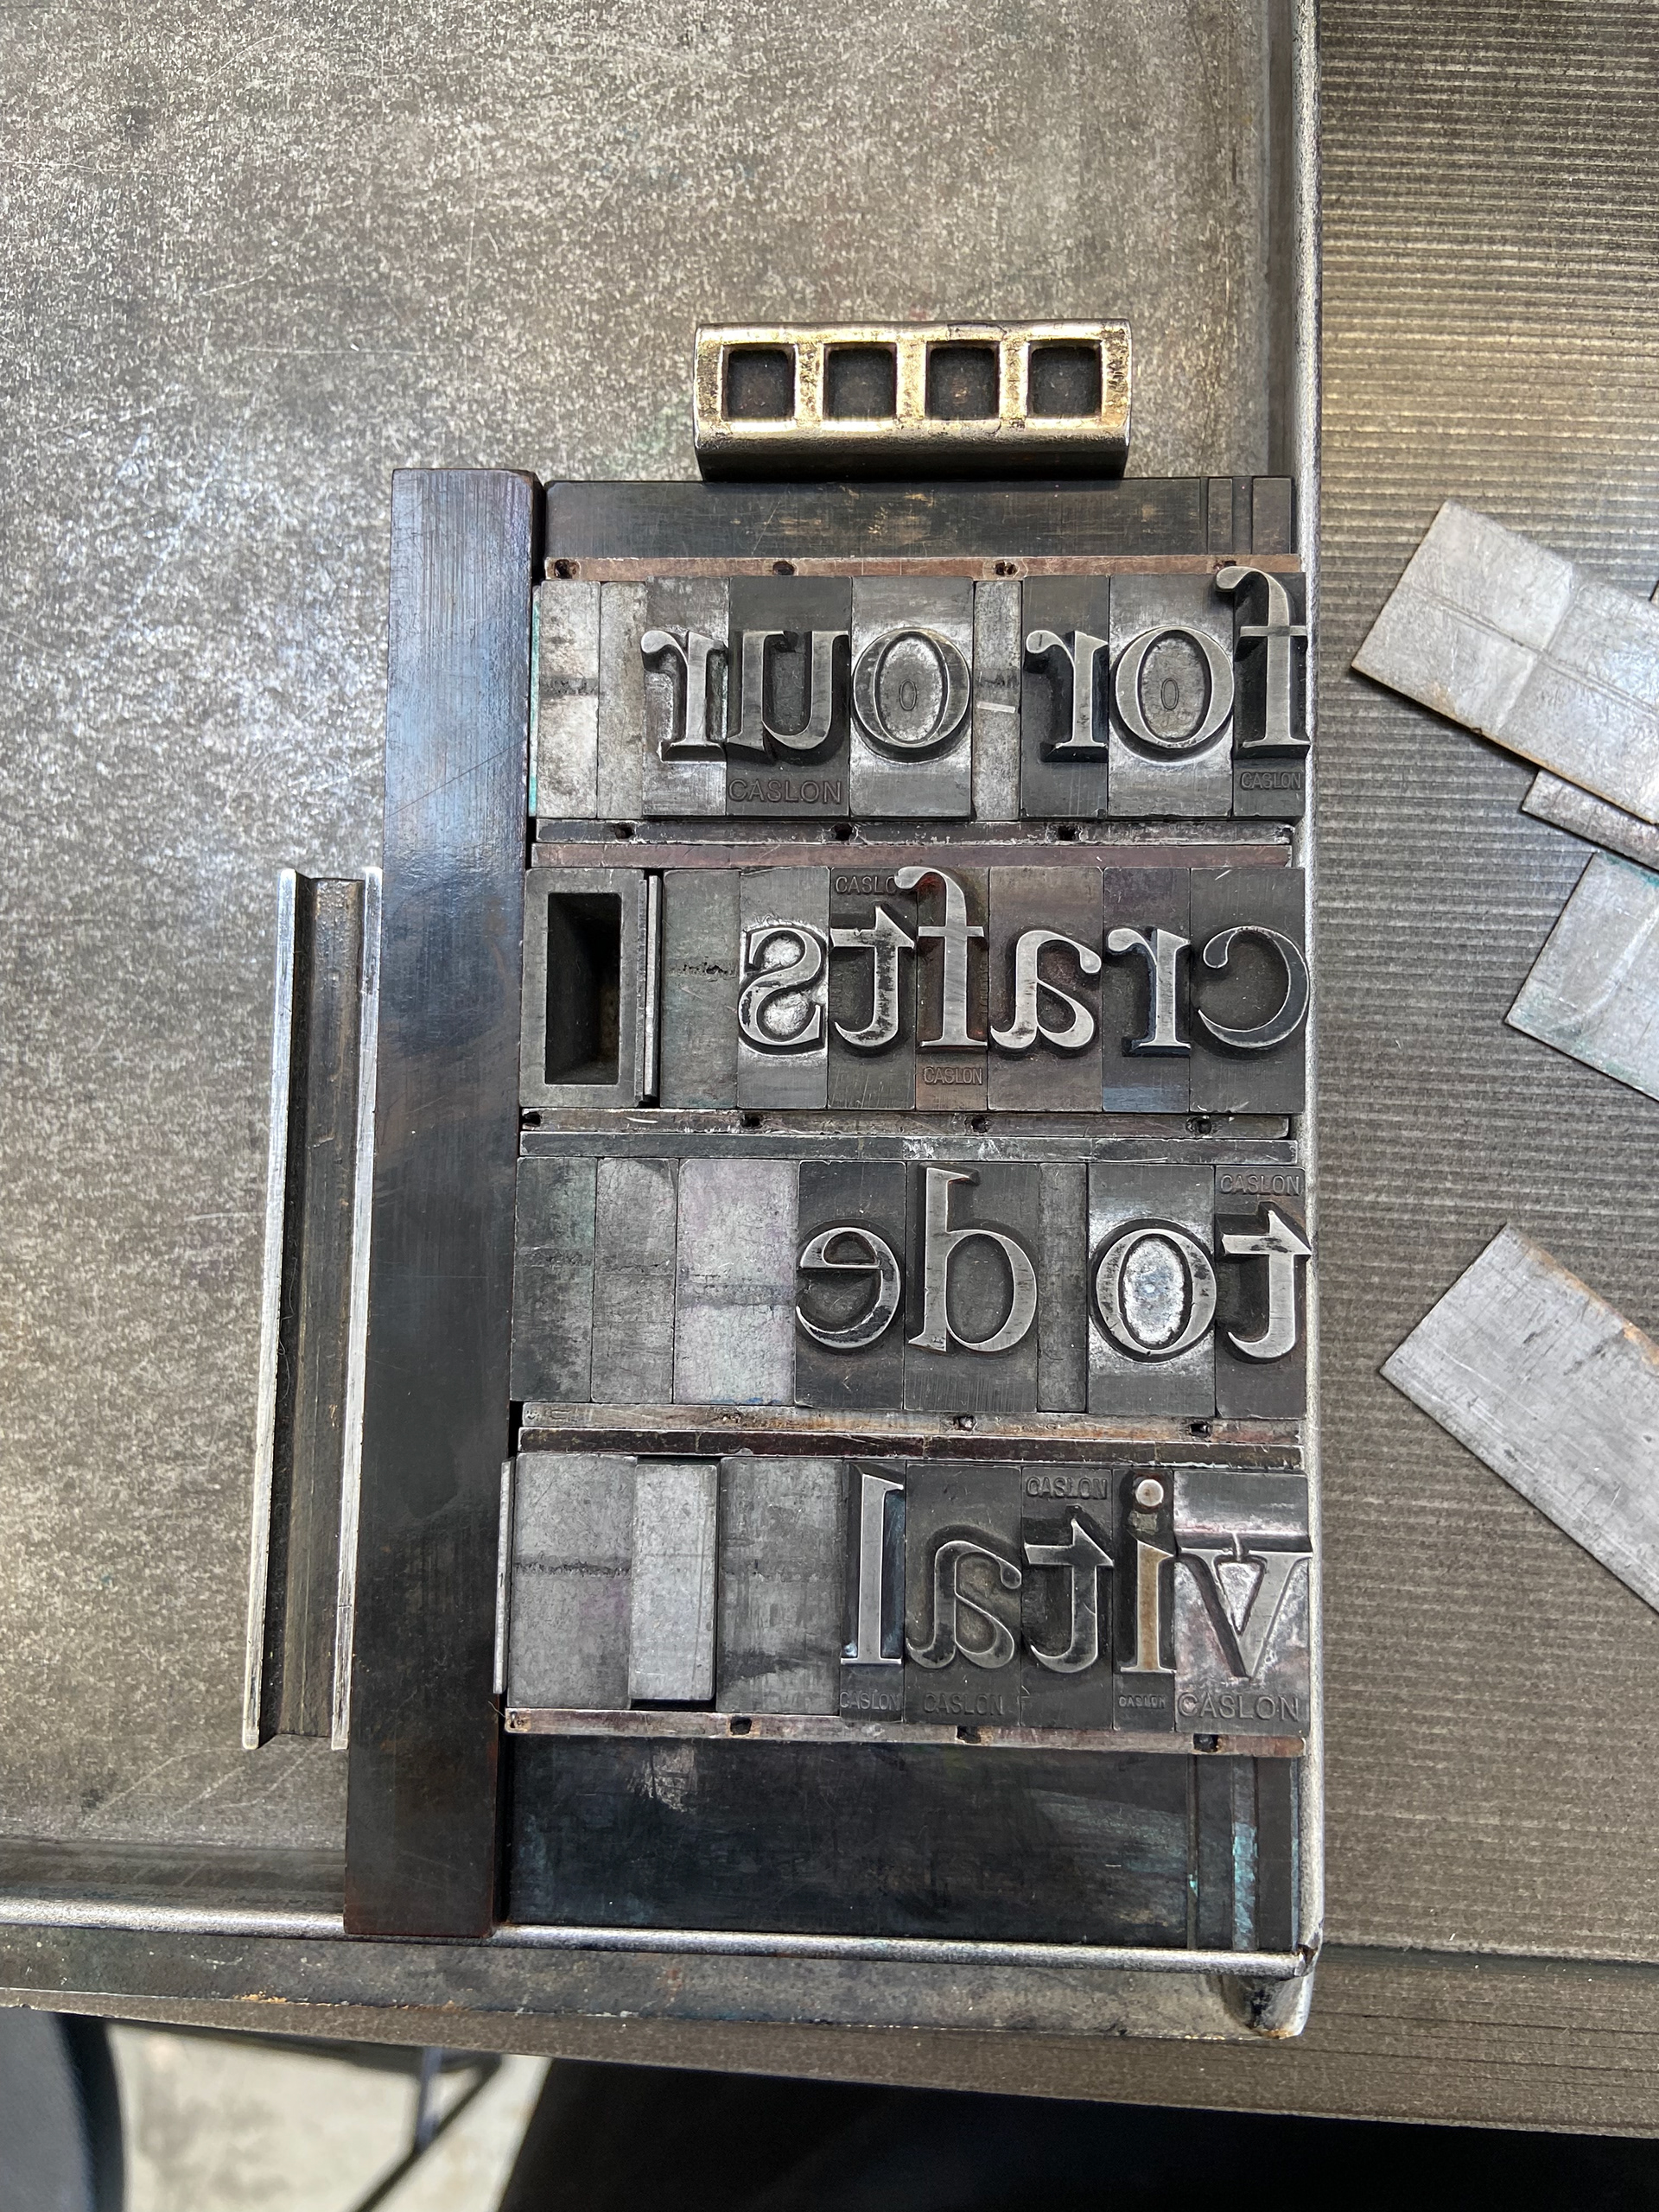
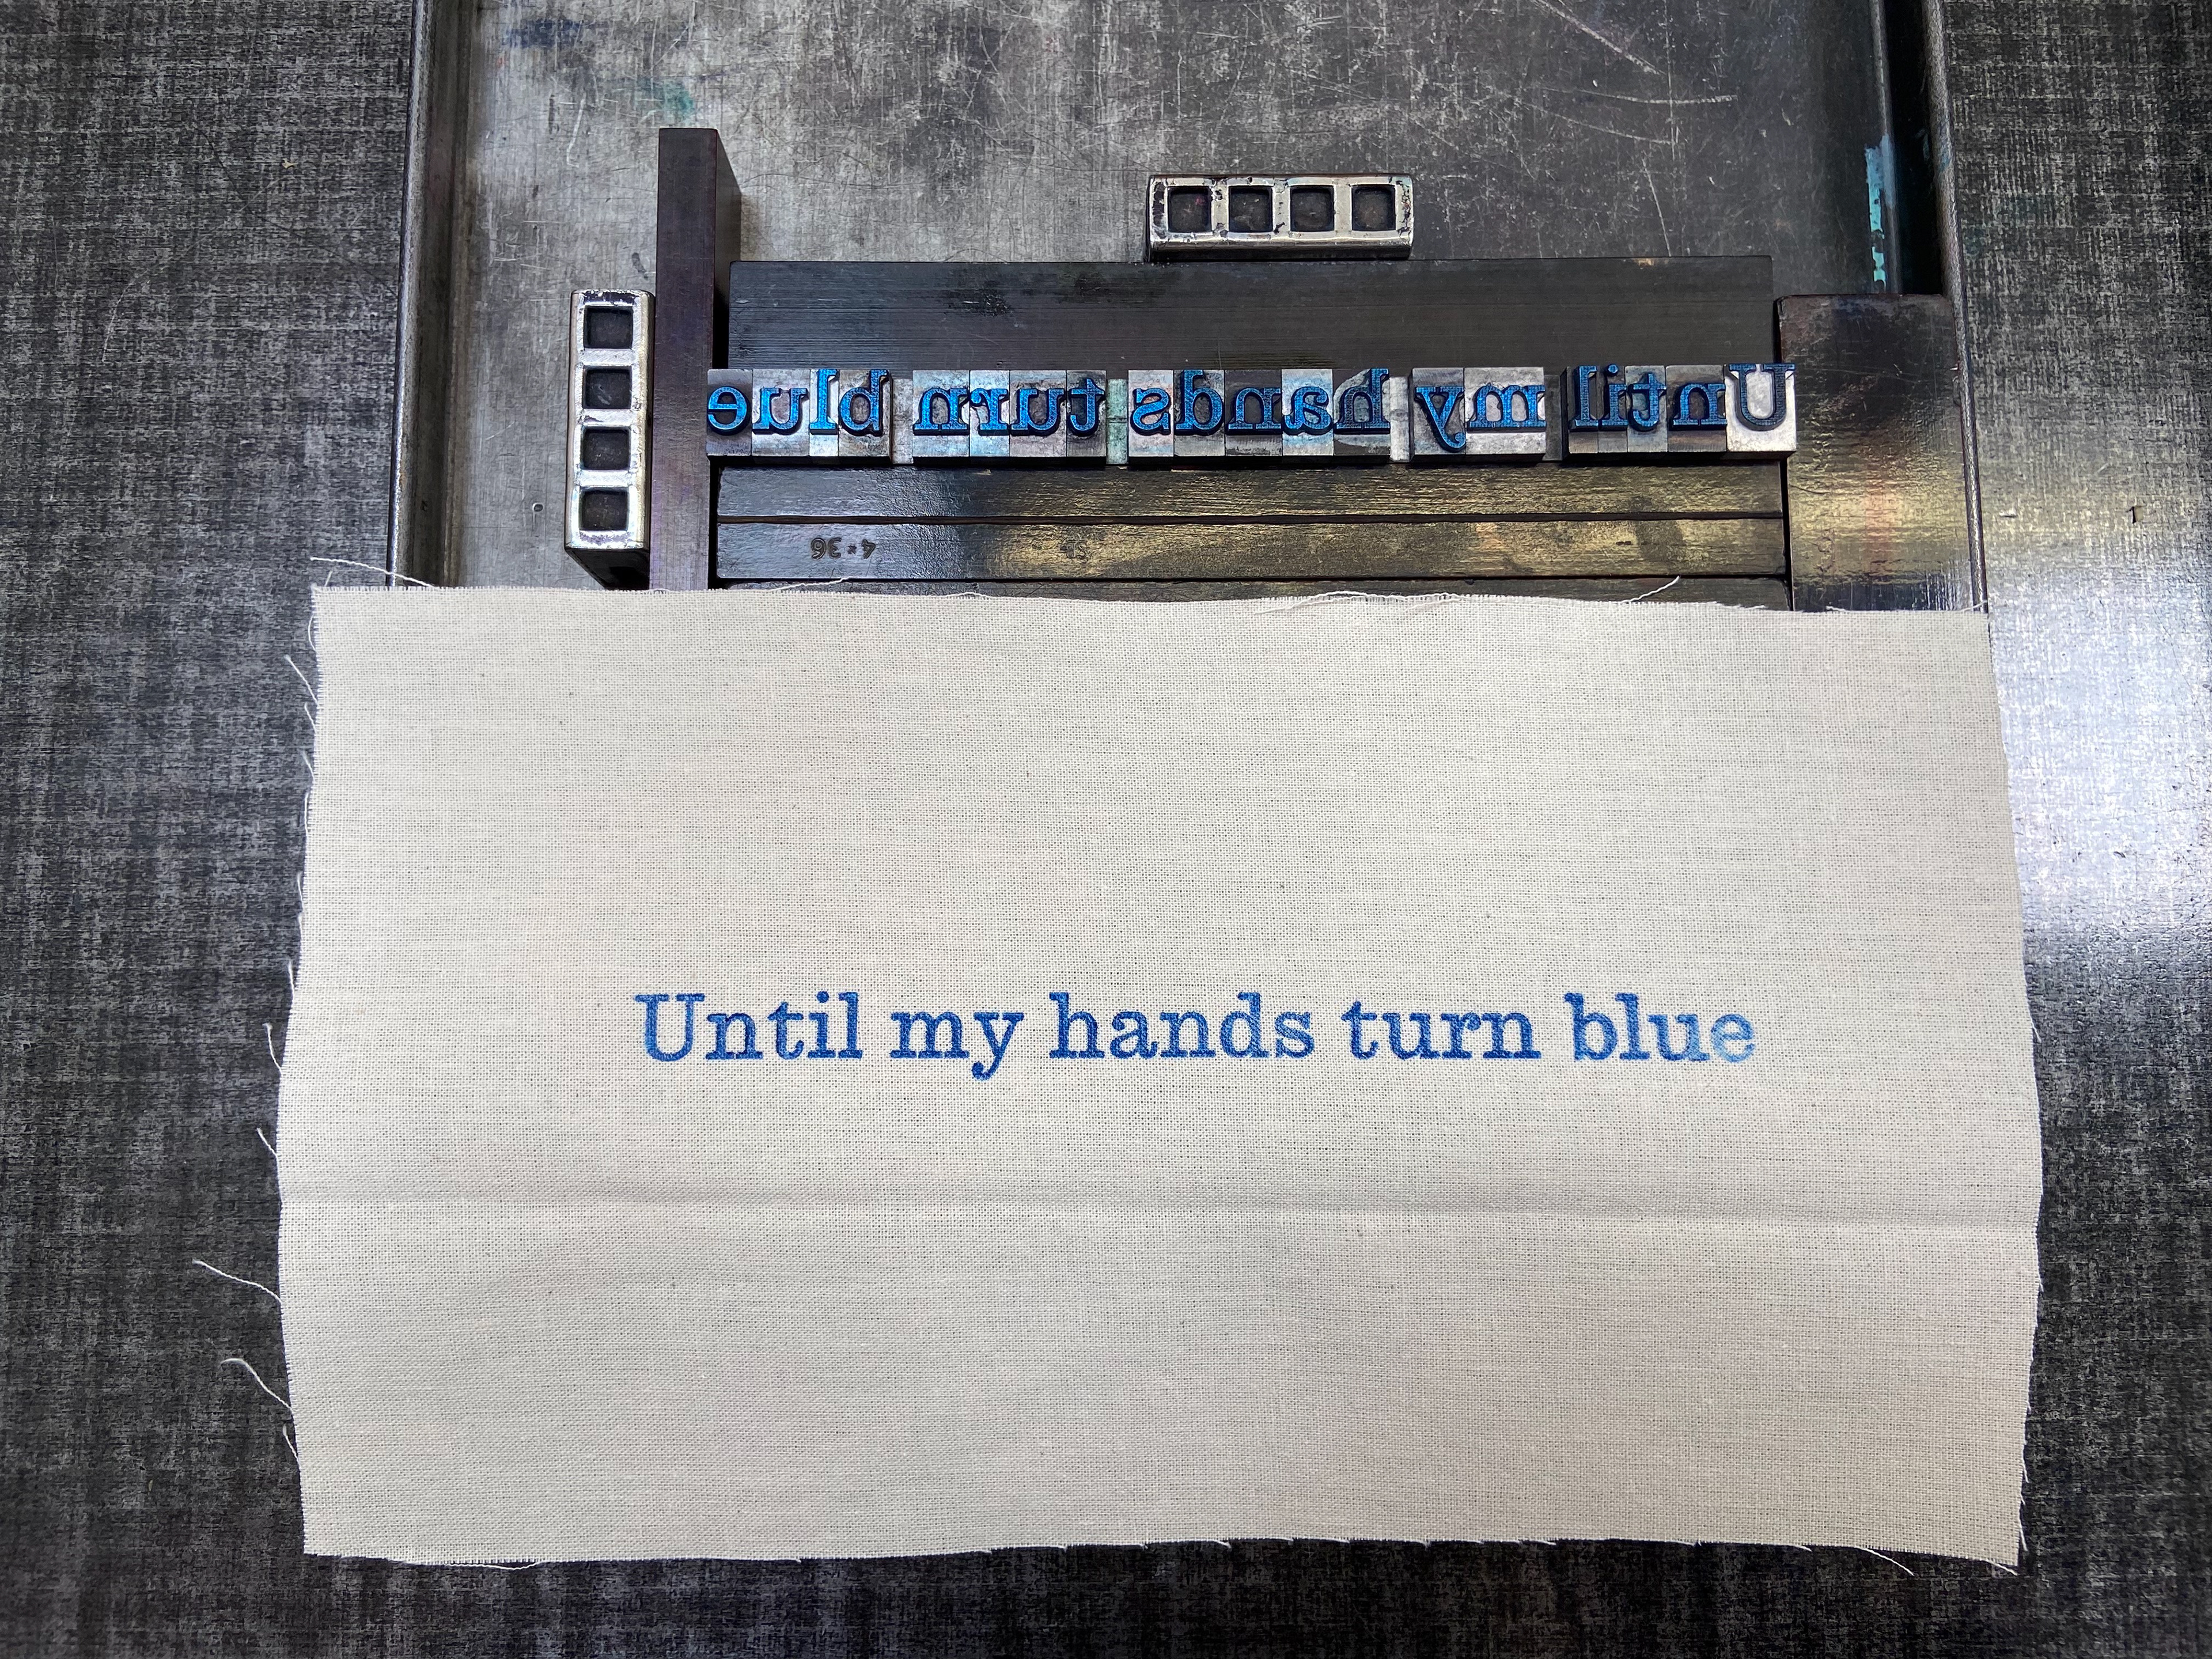
Letterpress lead type

Letterpress on fabric
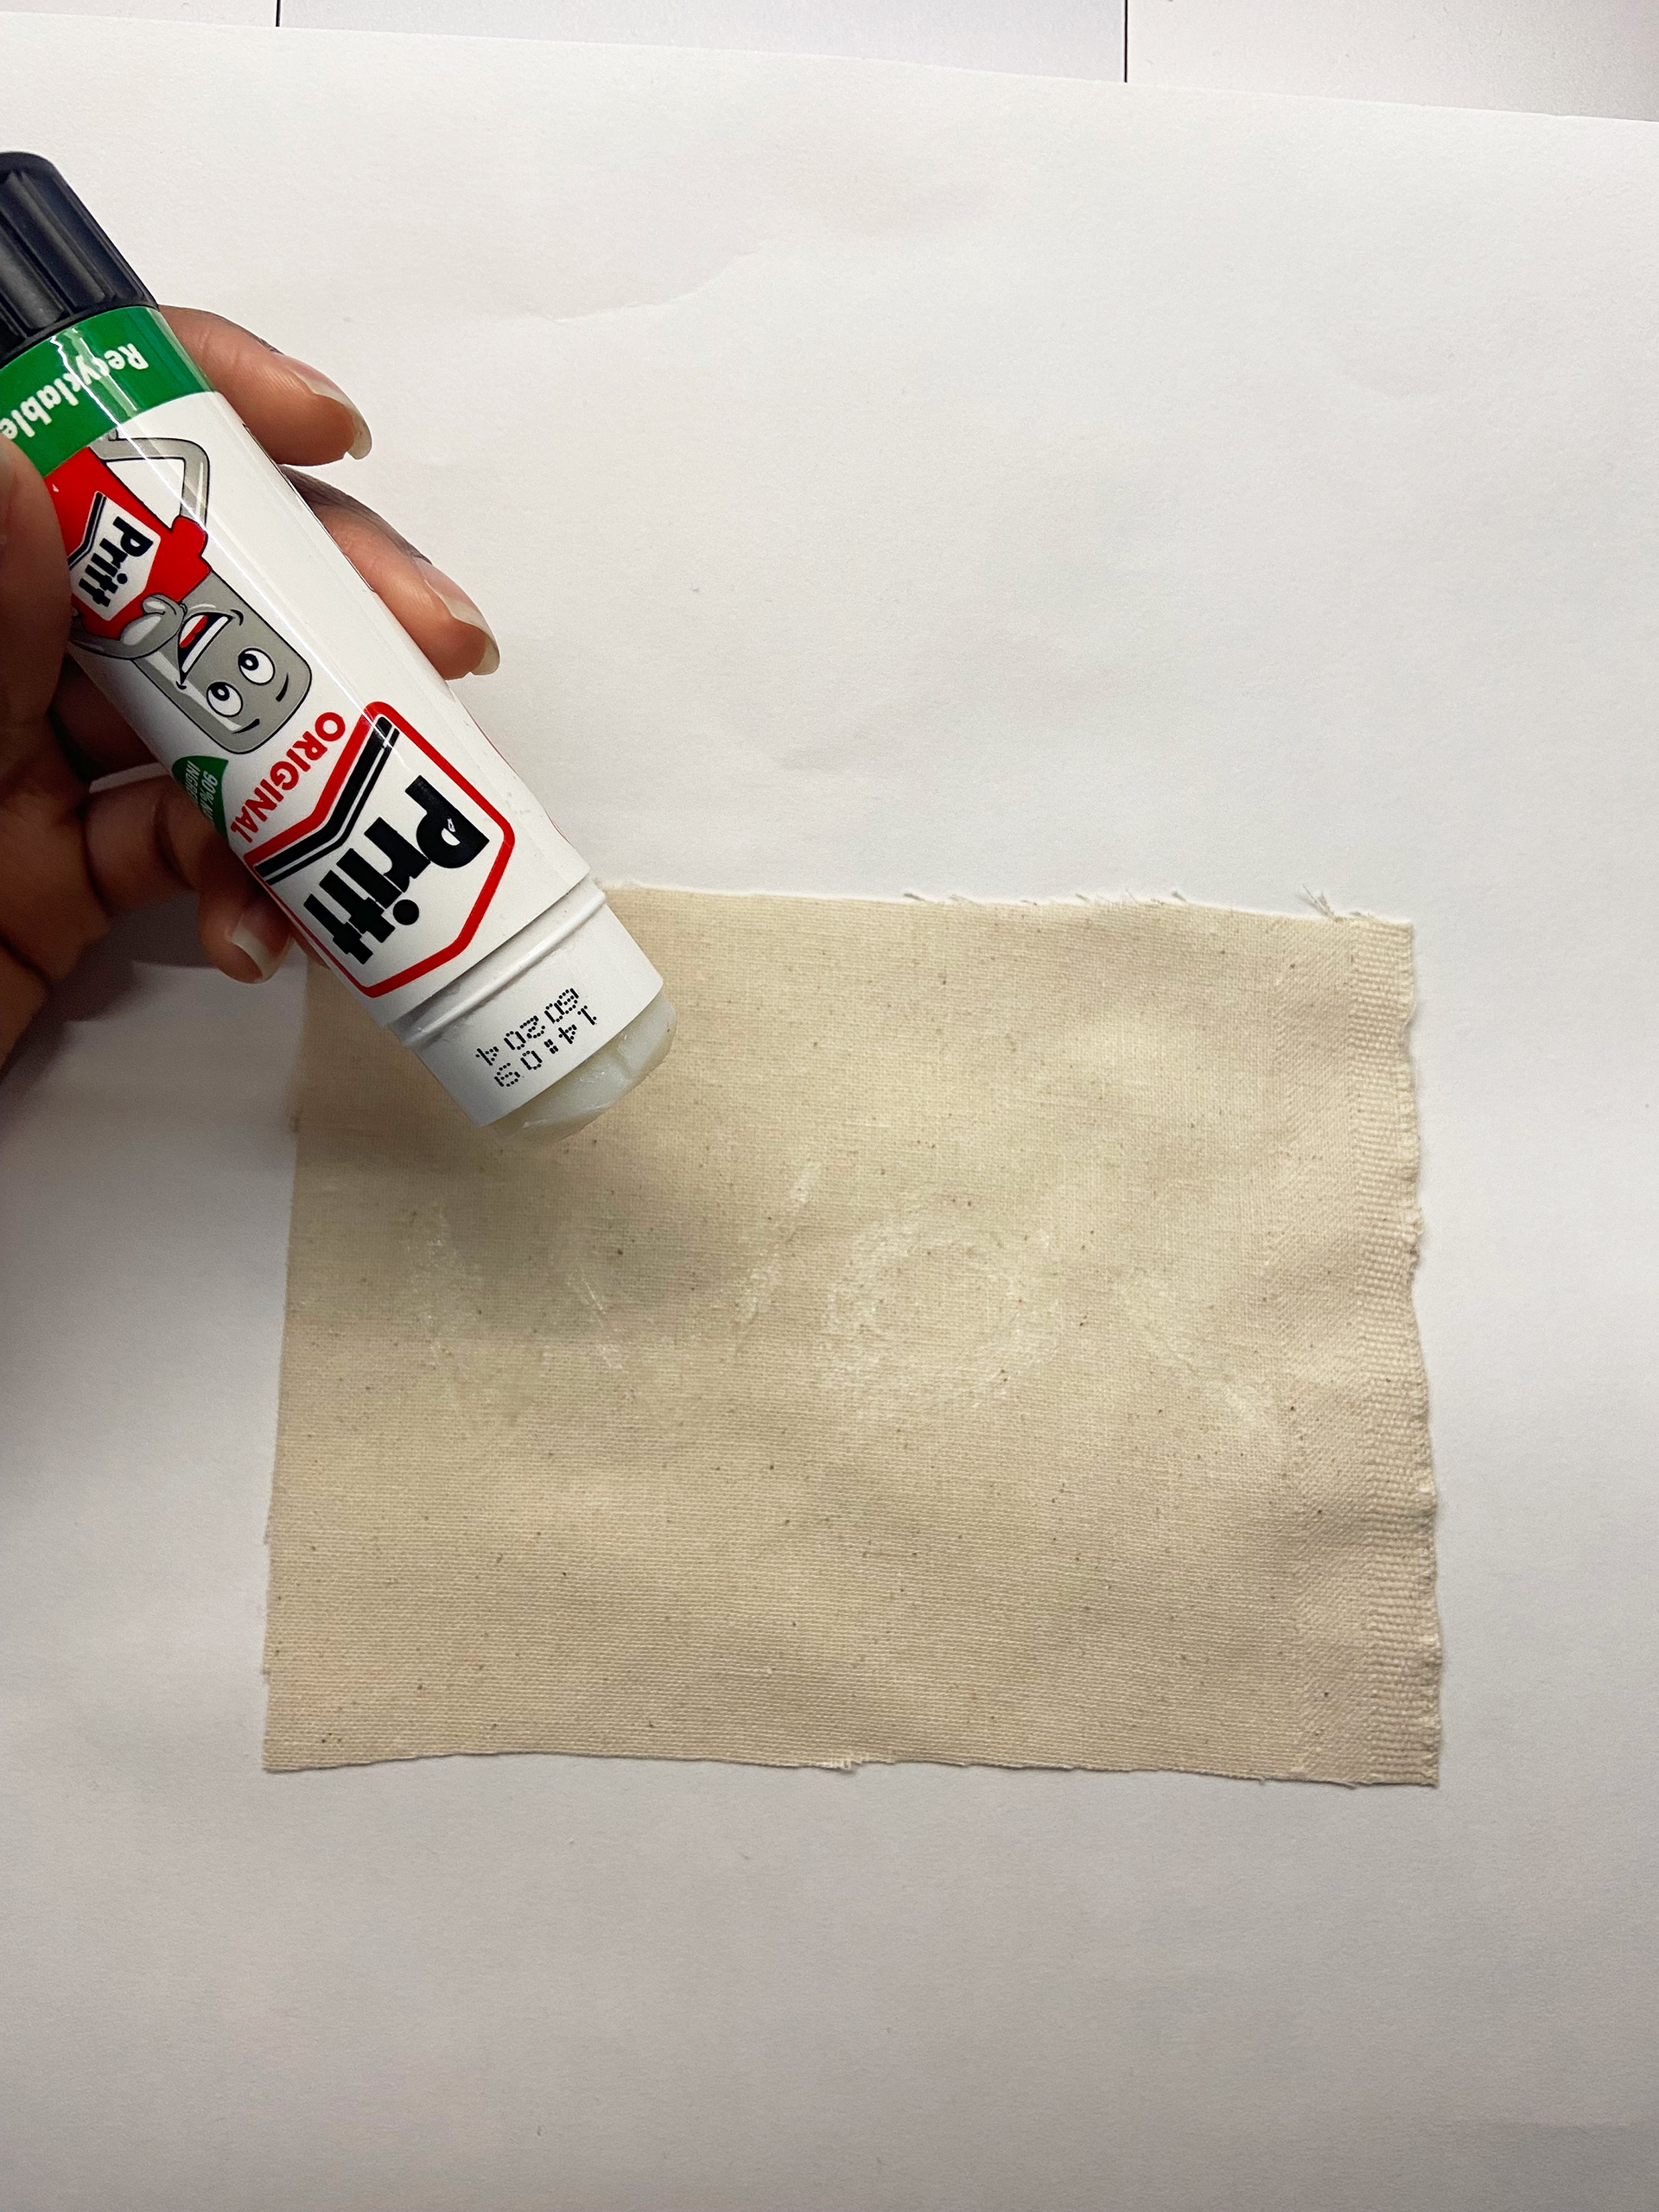
Using glue as a resist method to write on fabric
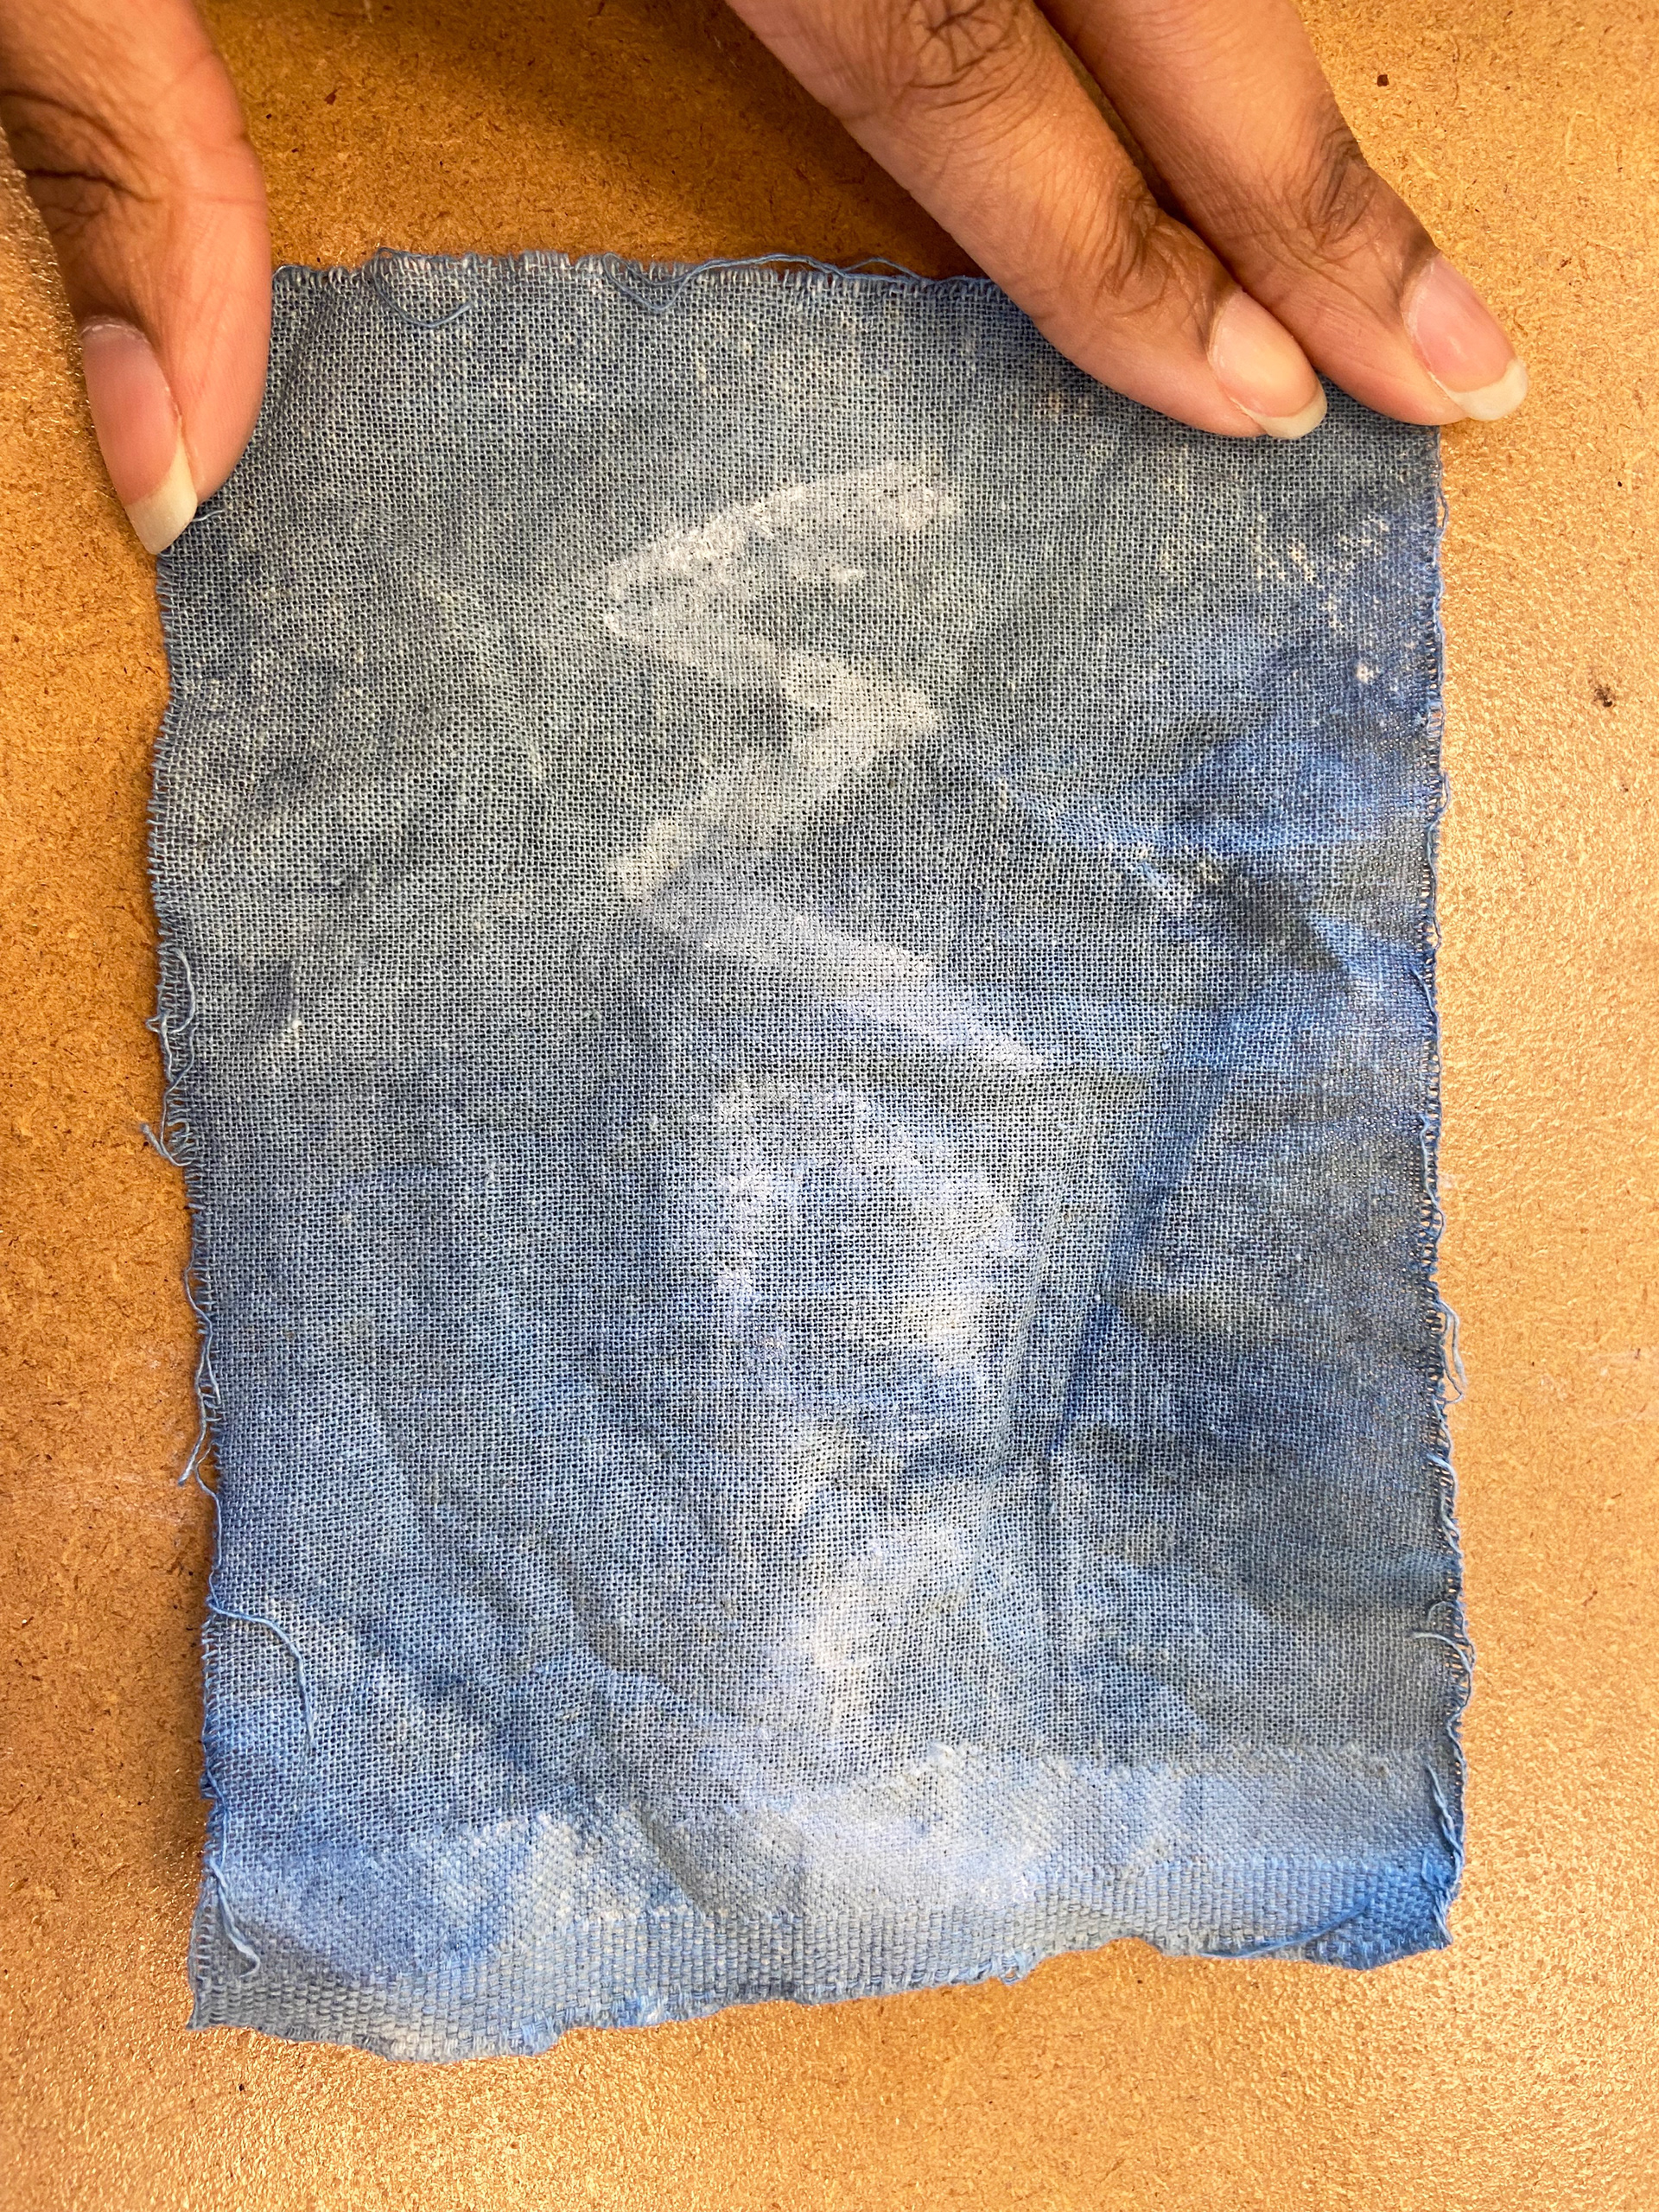
Glue resist on dyed fabric
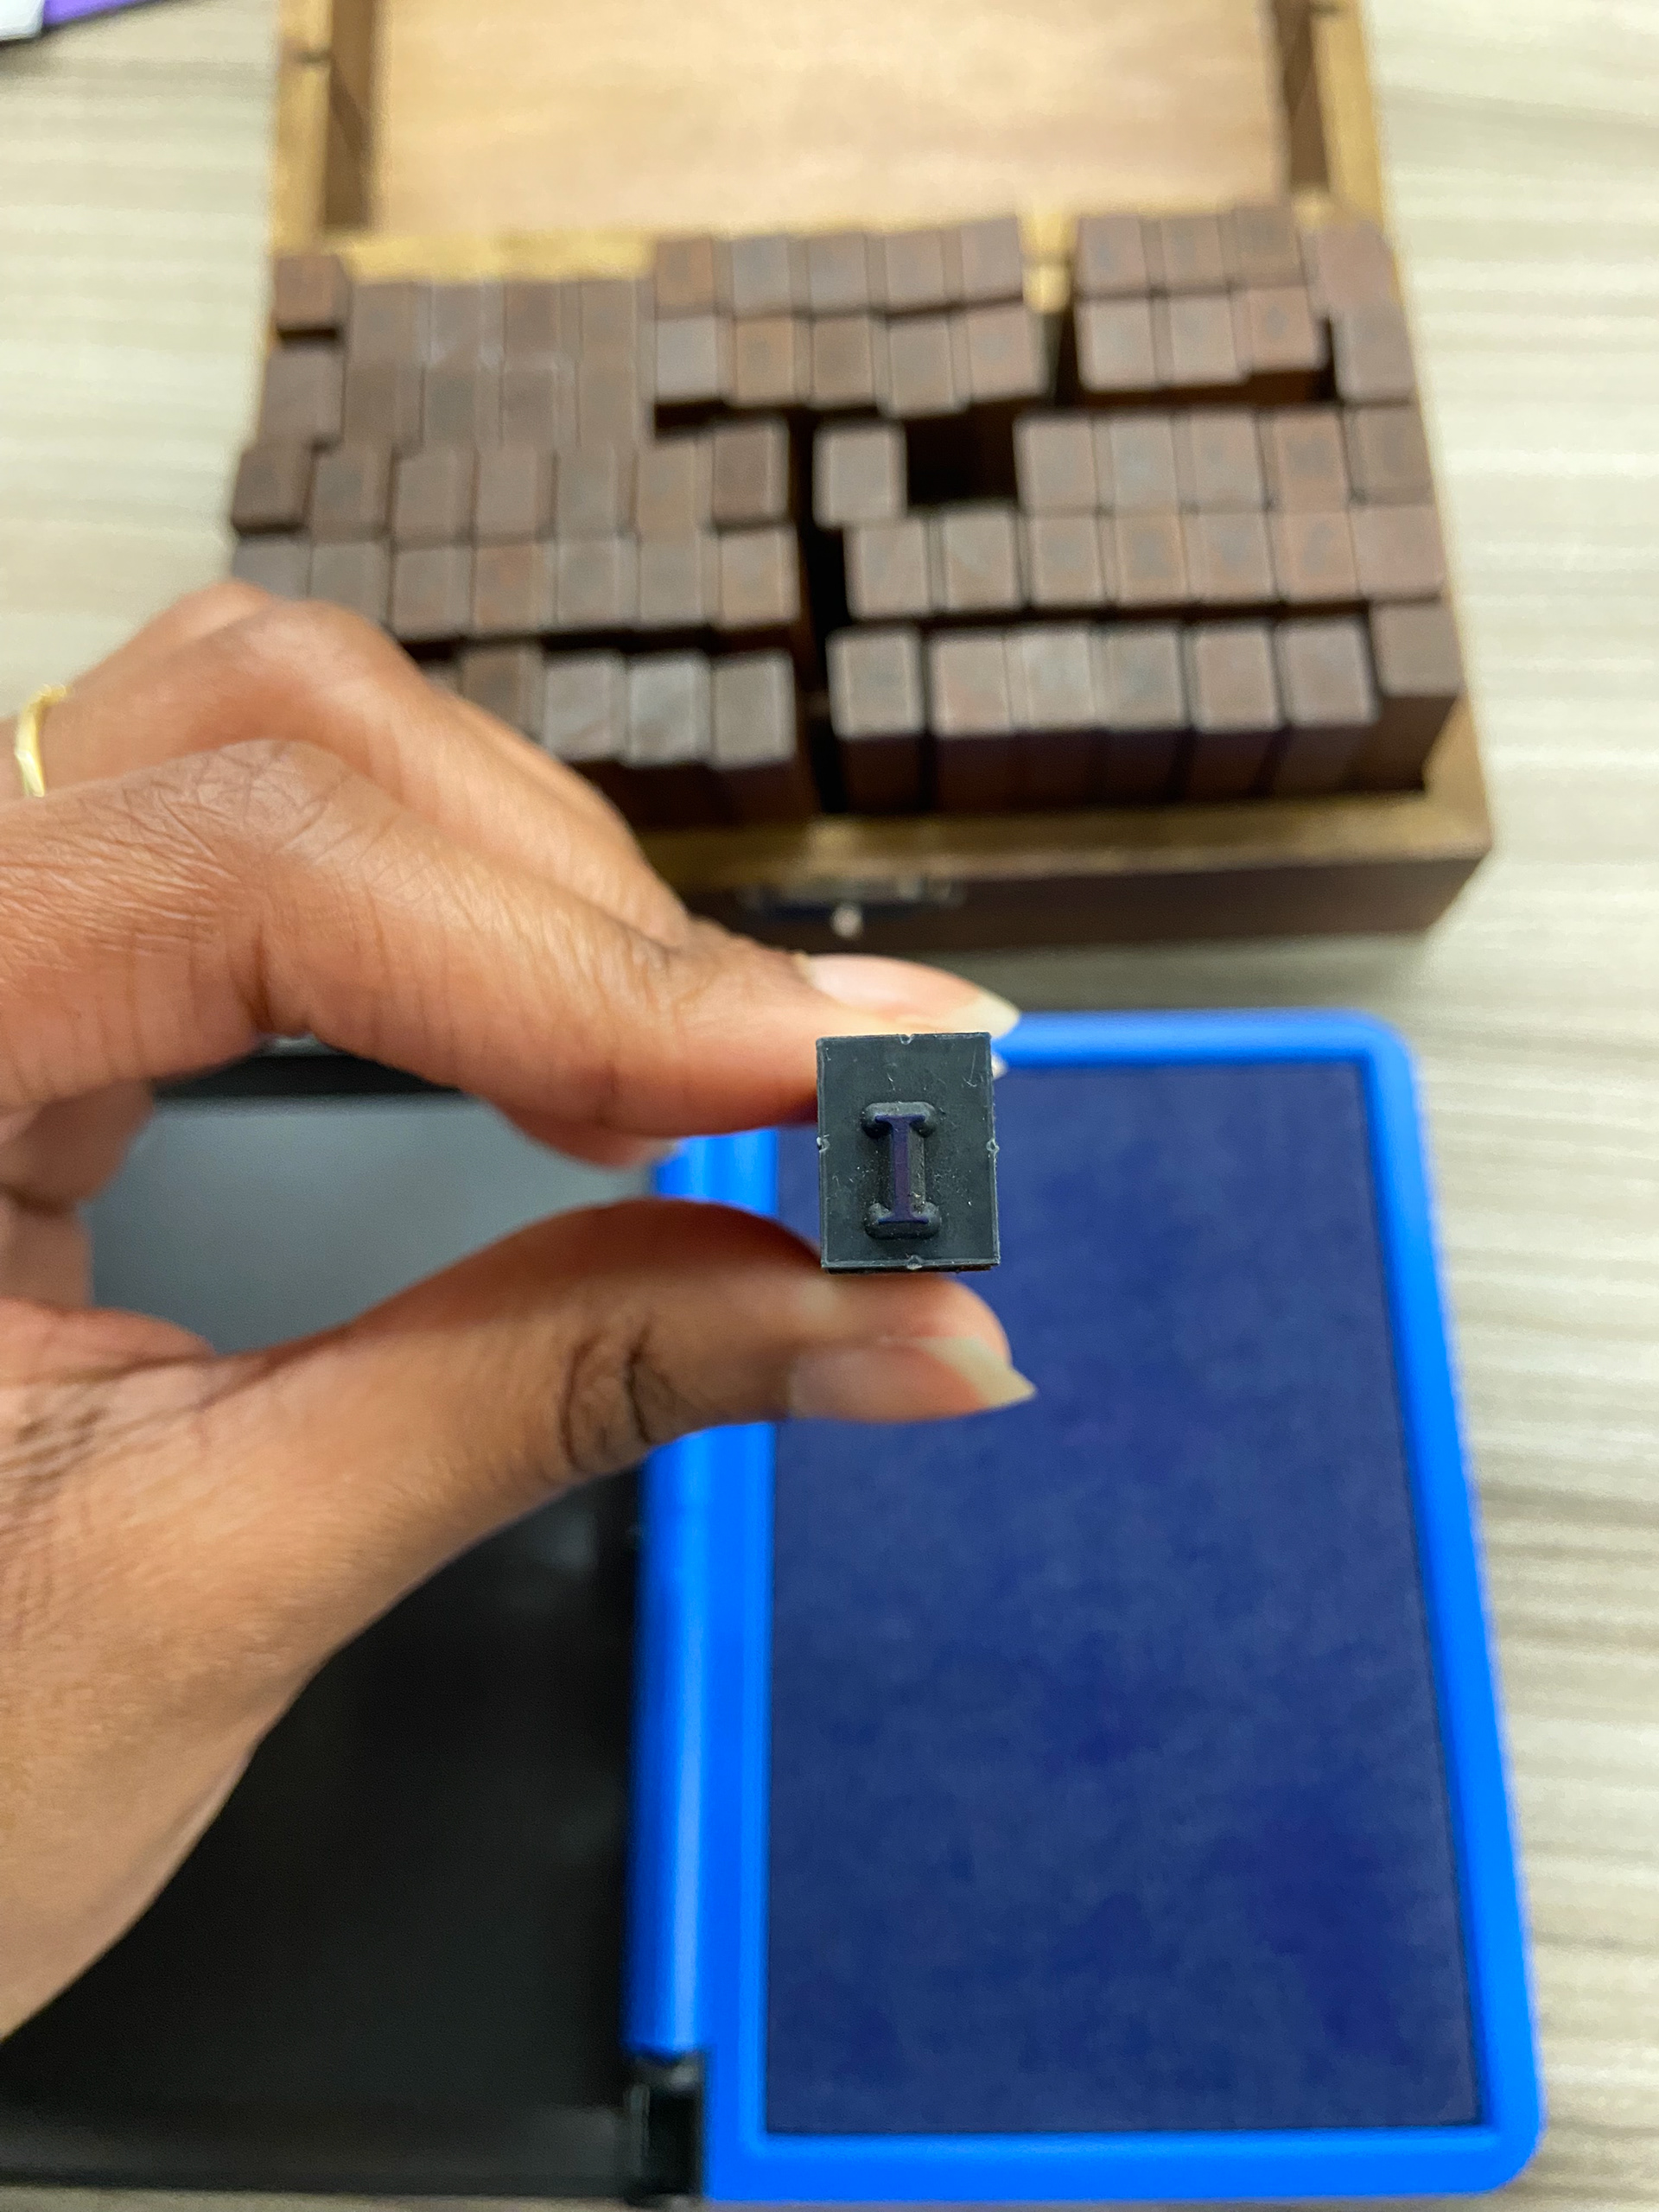
Using letter stamps
Letter stamps on fabric
At this point I started thinking of how I could implement type onto the fabric. I experimented with letterpress, letter stamps and using glue as a resist before dyeing.
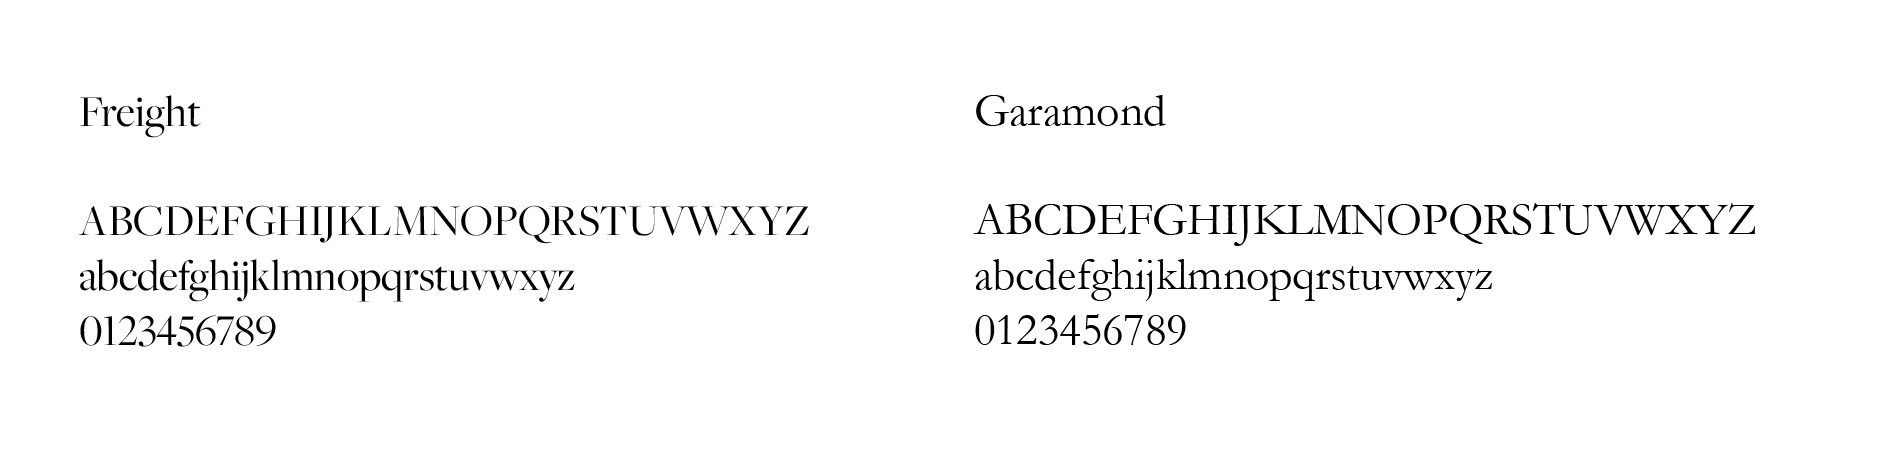
I decided to use letterpress because out of all of the methods that I tried, that one had the cleanest and most polished results. For the typeface, I wanted to use one called 'Freight' because it was made by an African designer, however, this typeface was not available thus I used one that was similar to it, this being 'Garamond'.
38pt

30pt
24pt
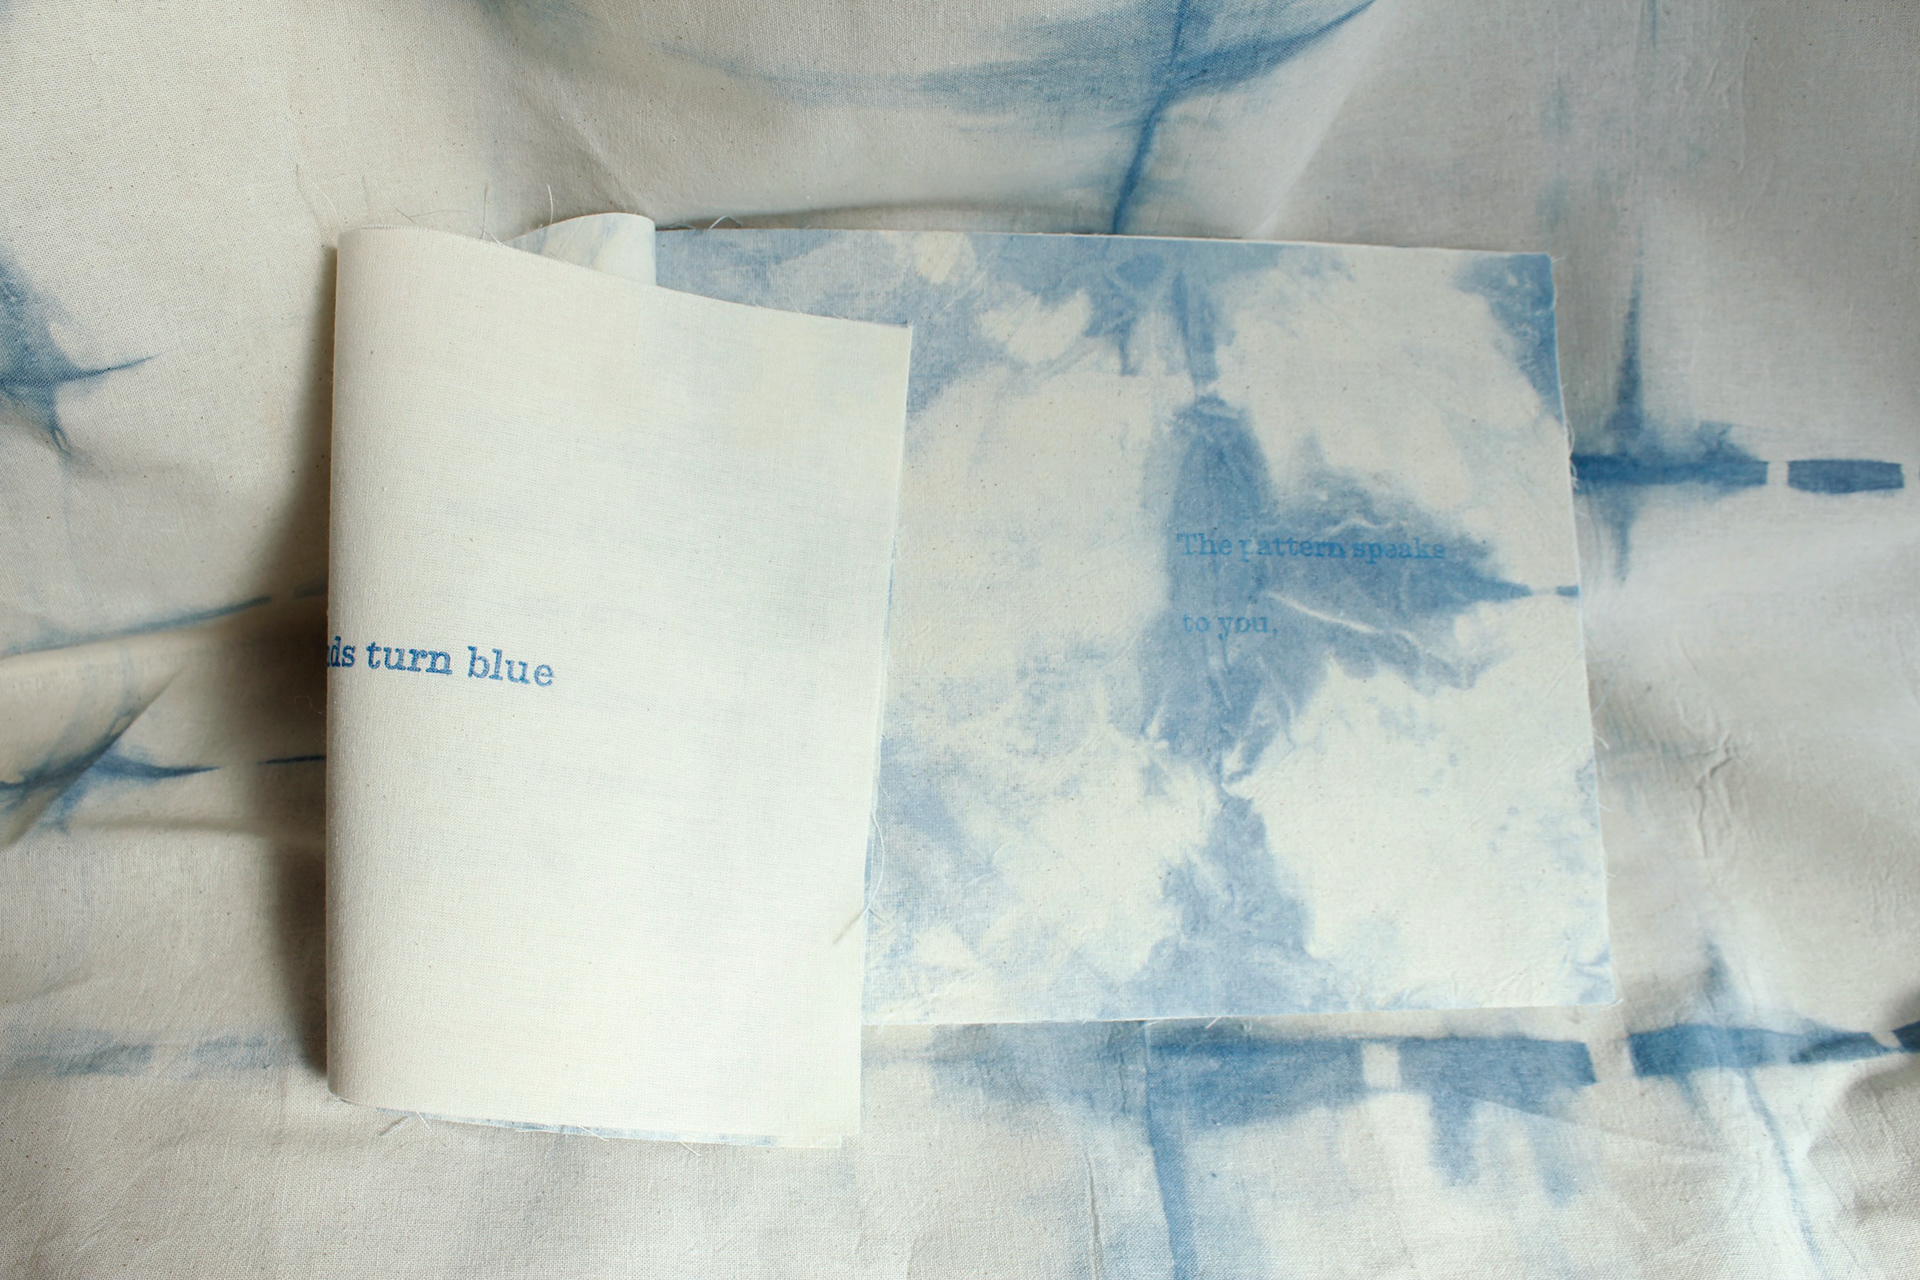
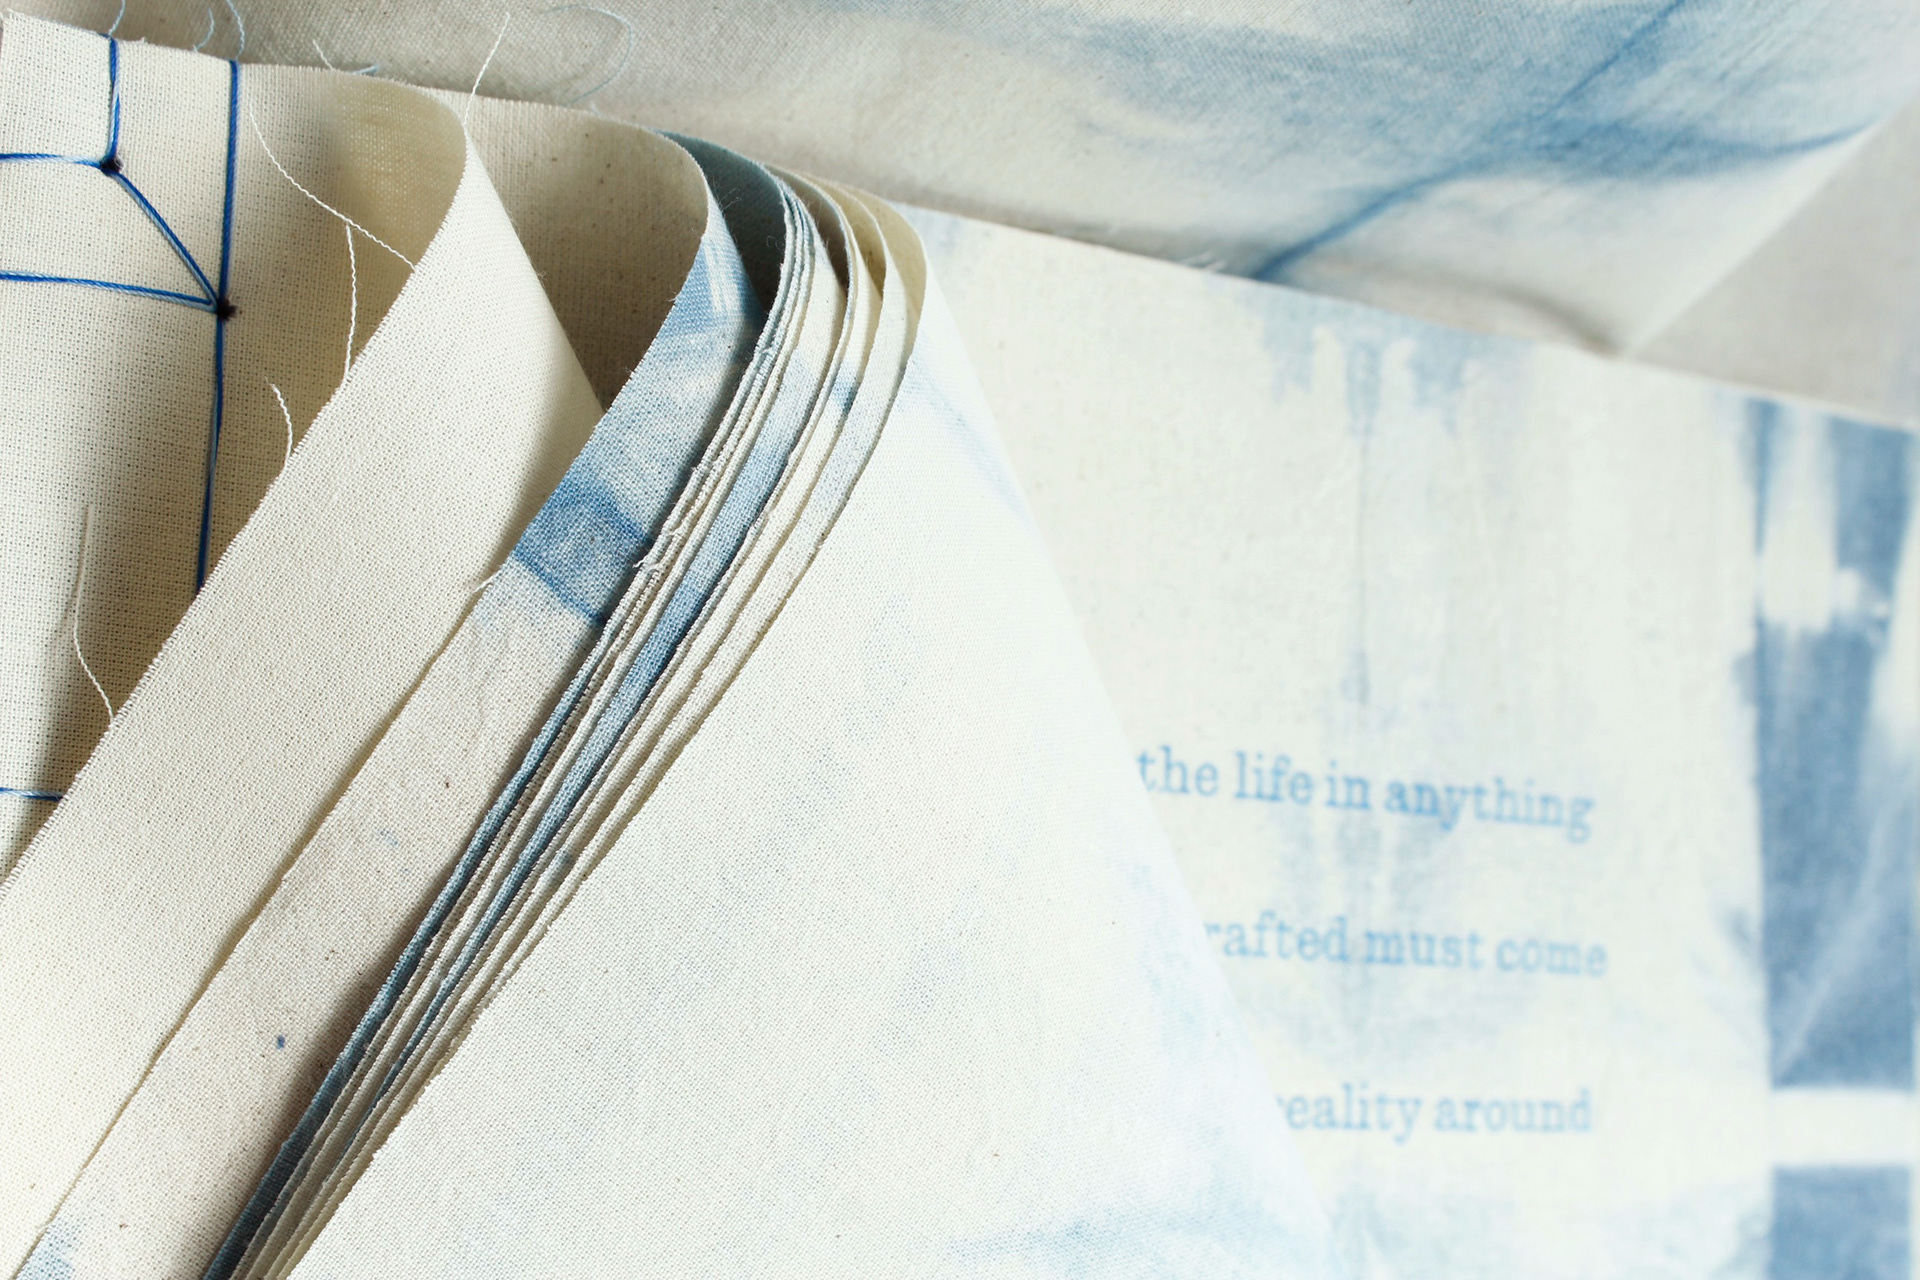
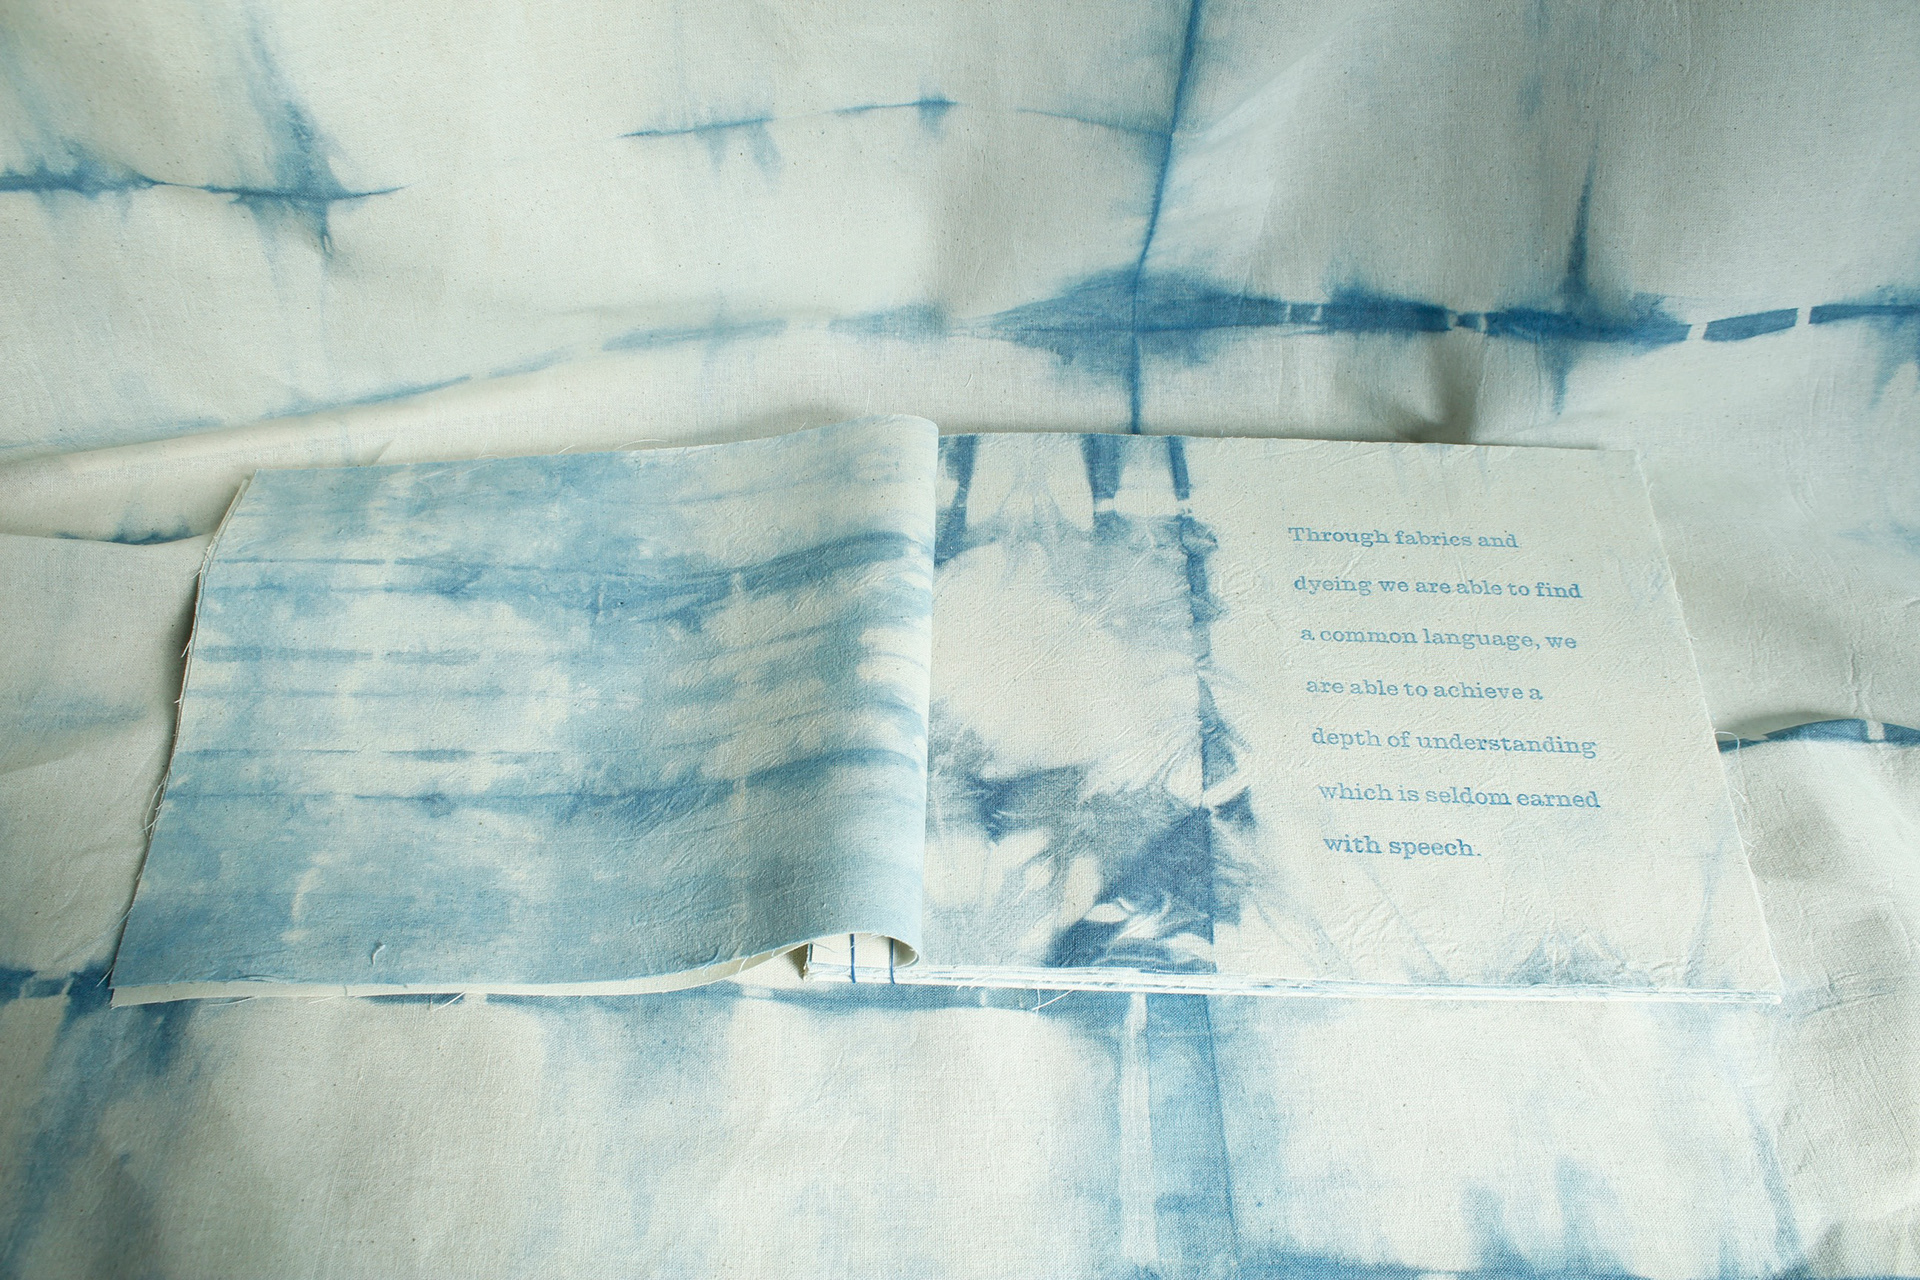
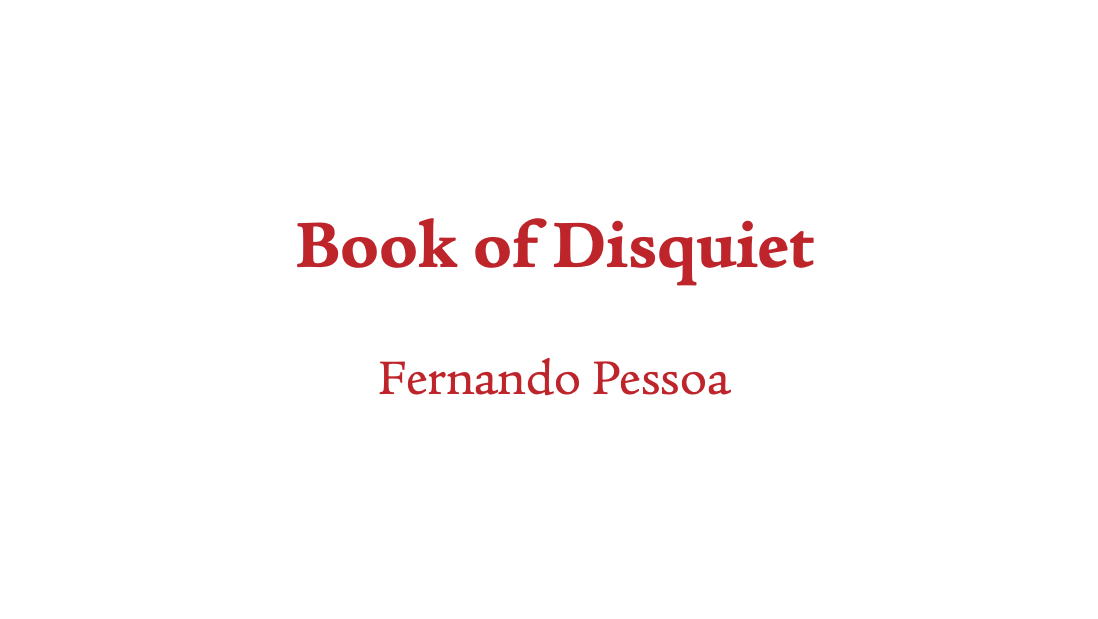
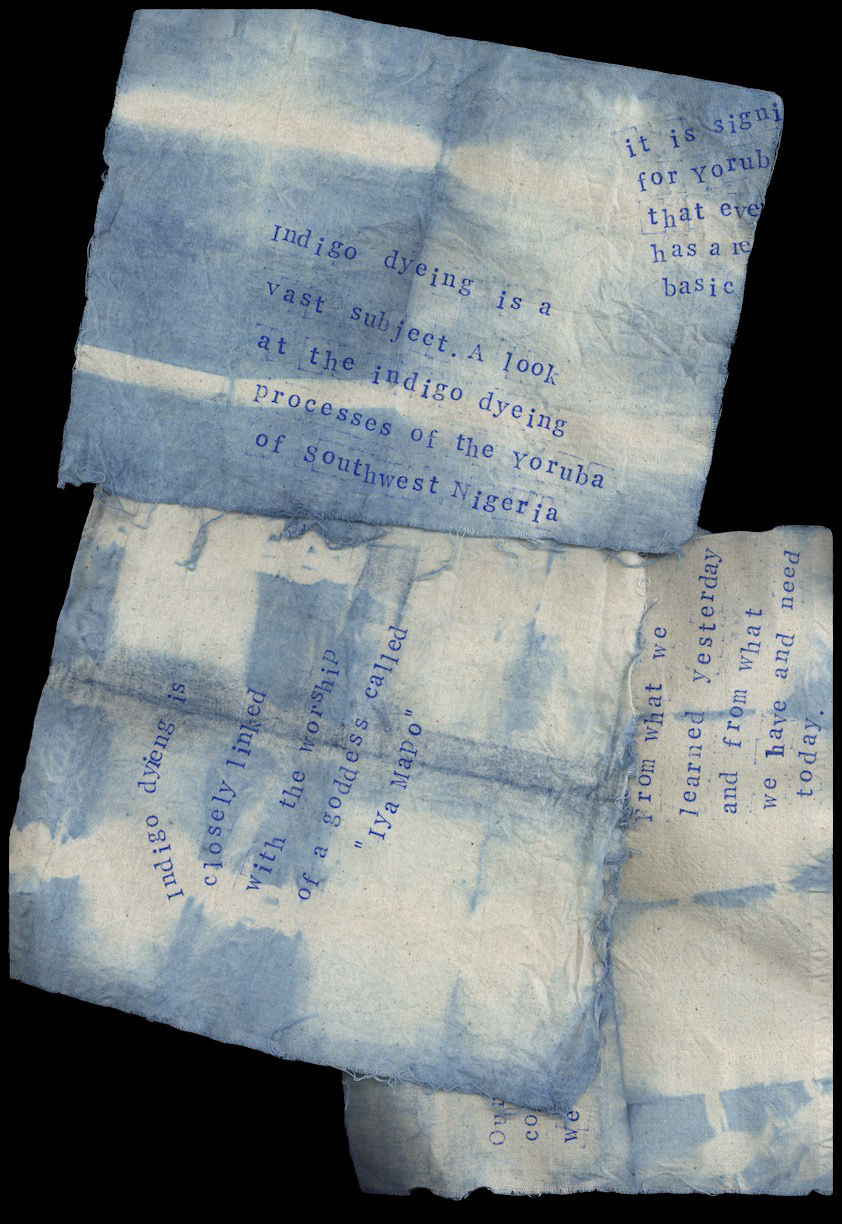
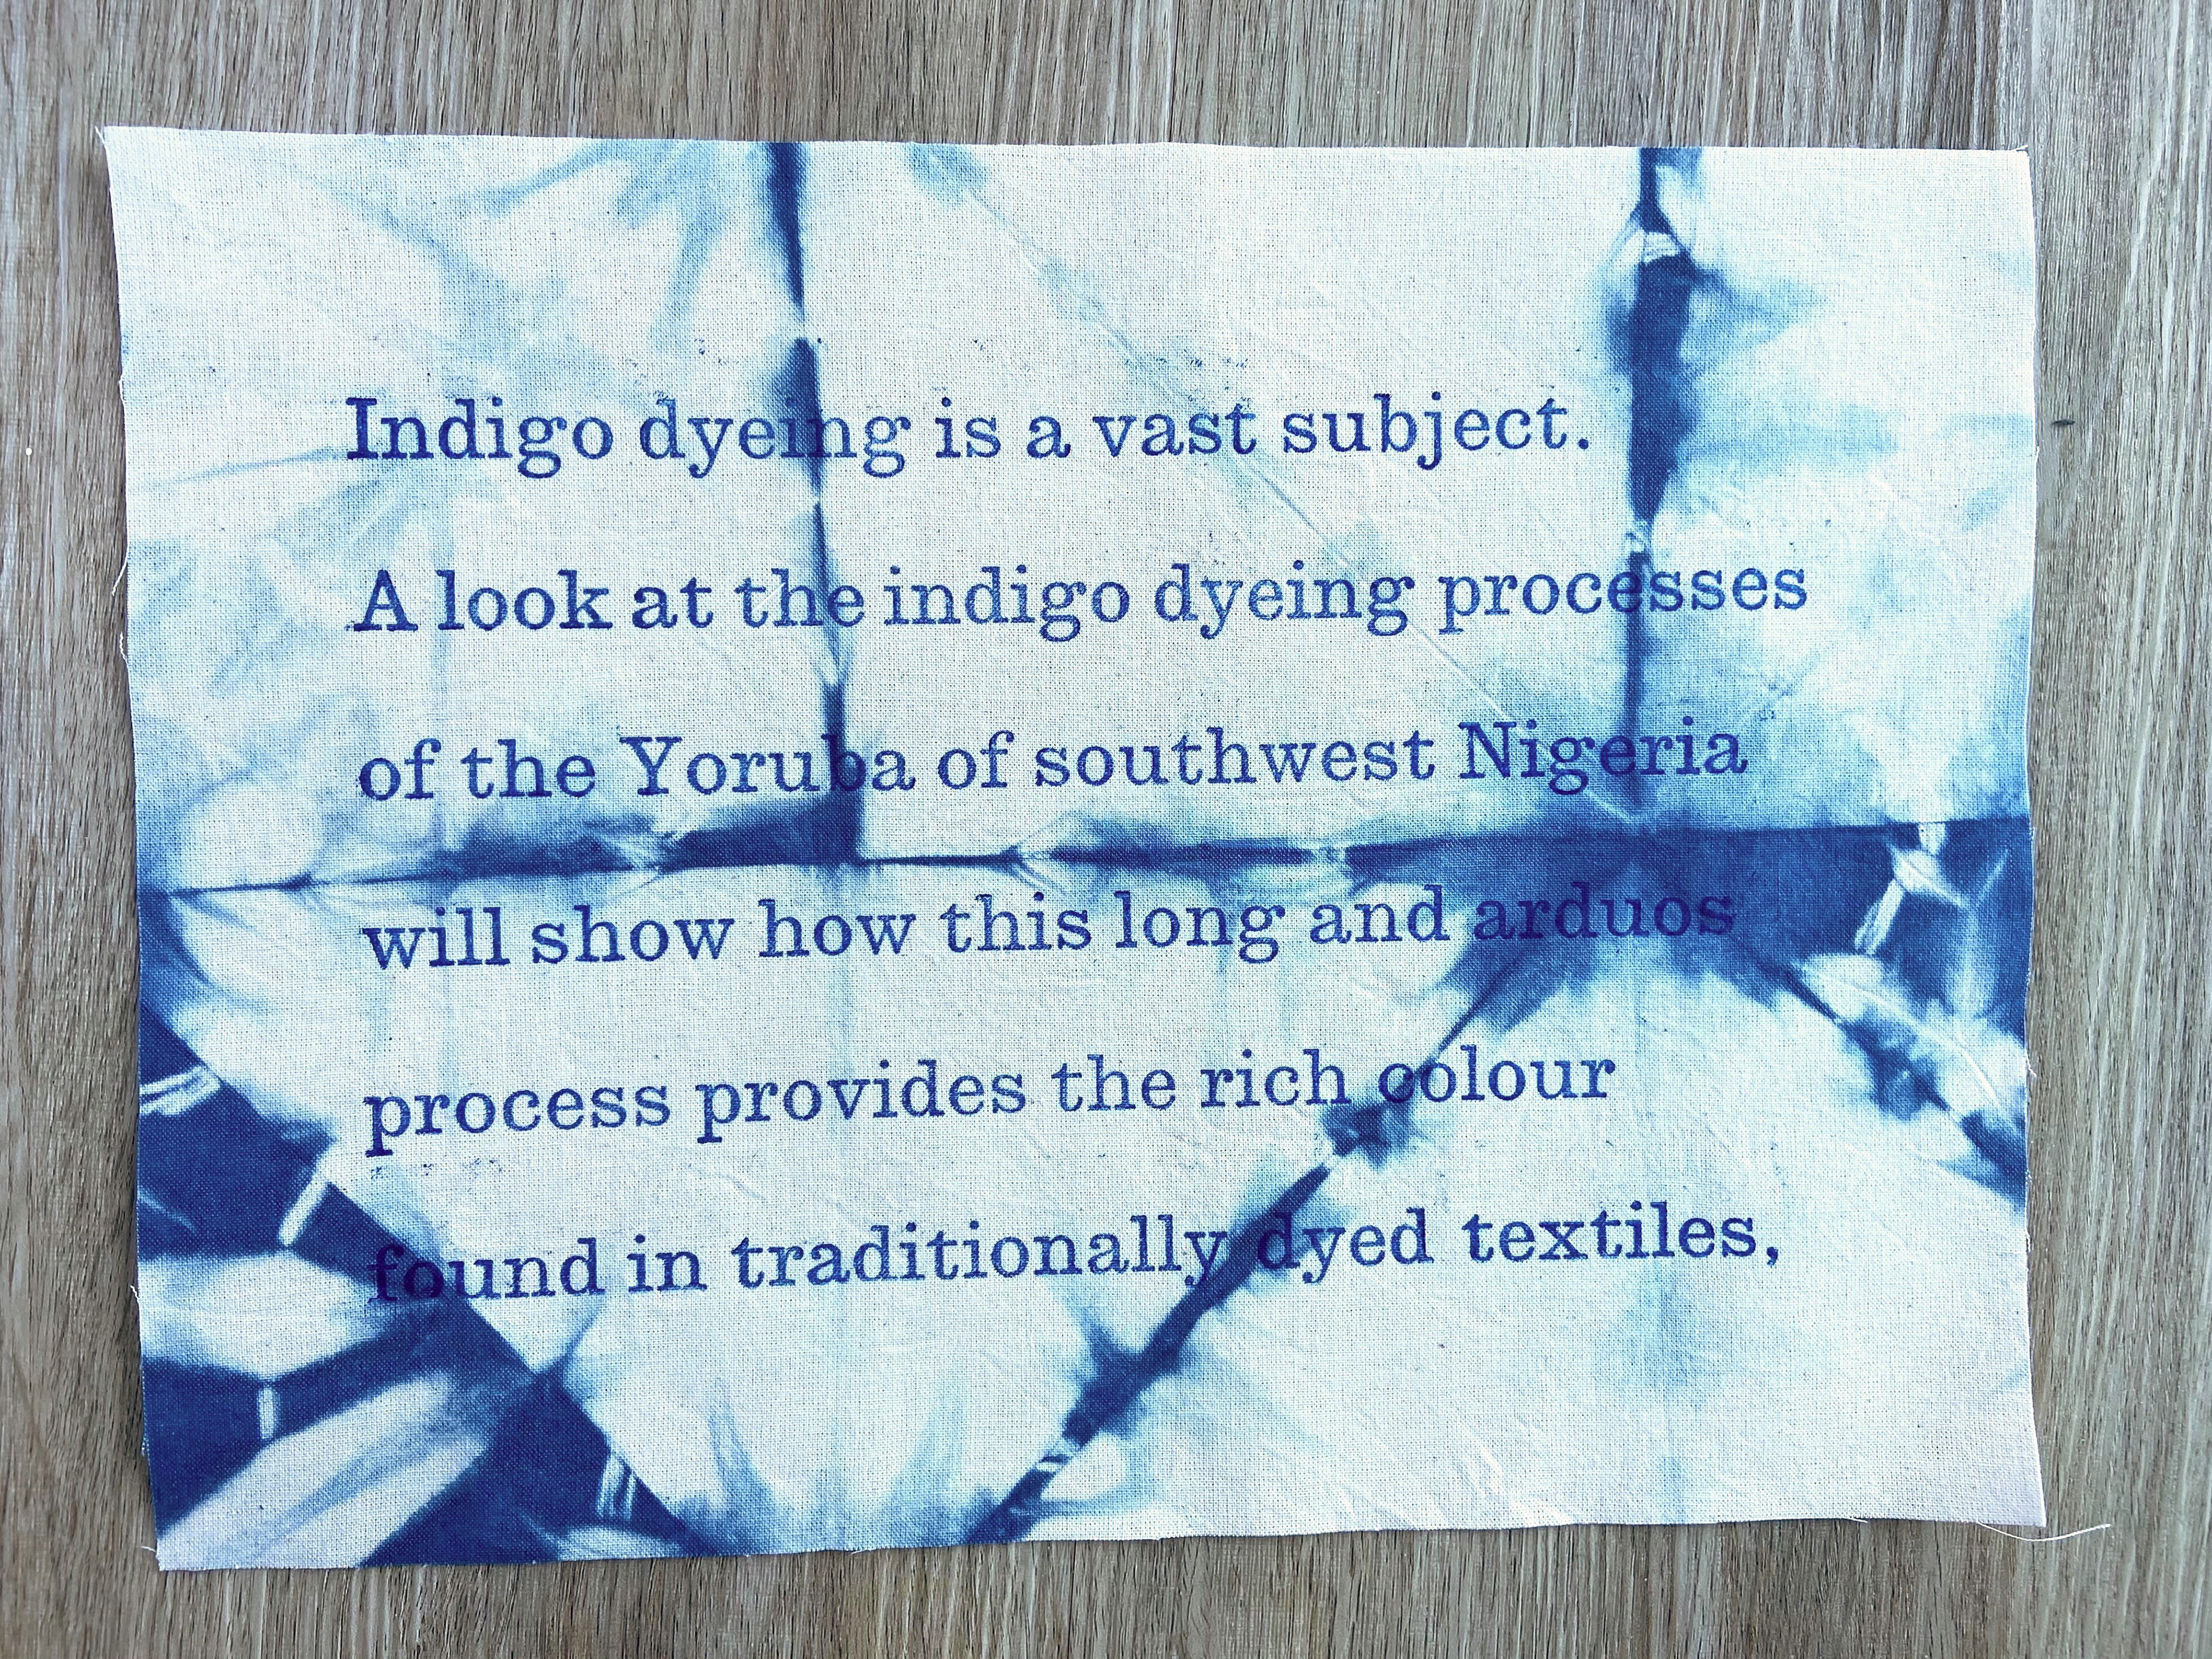
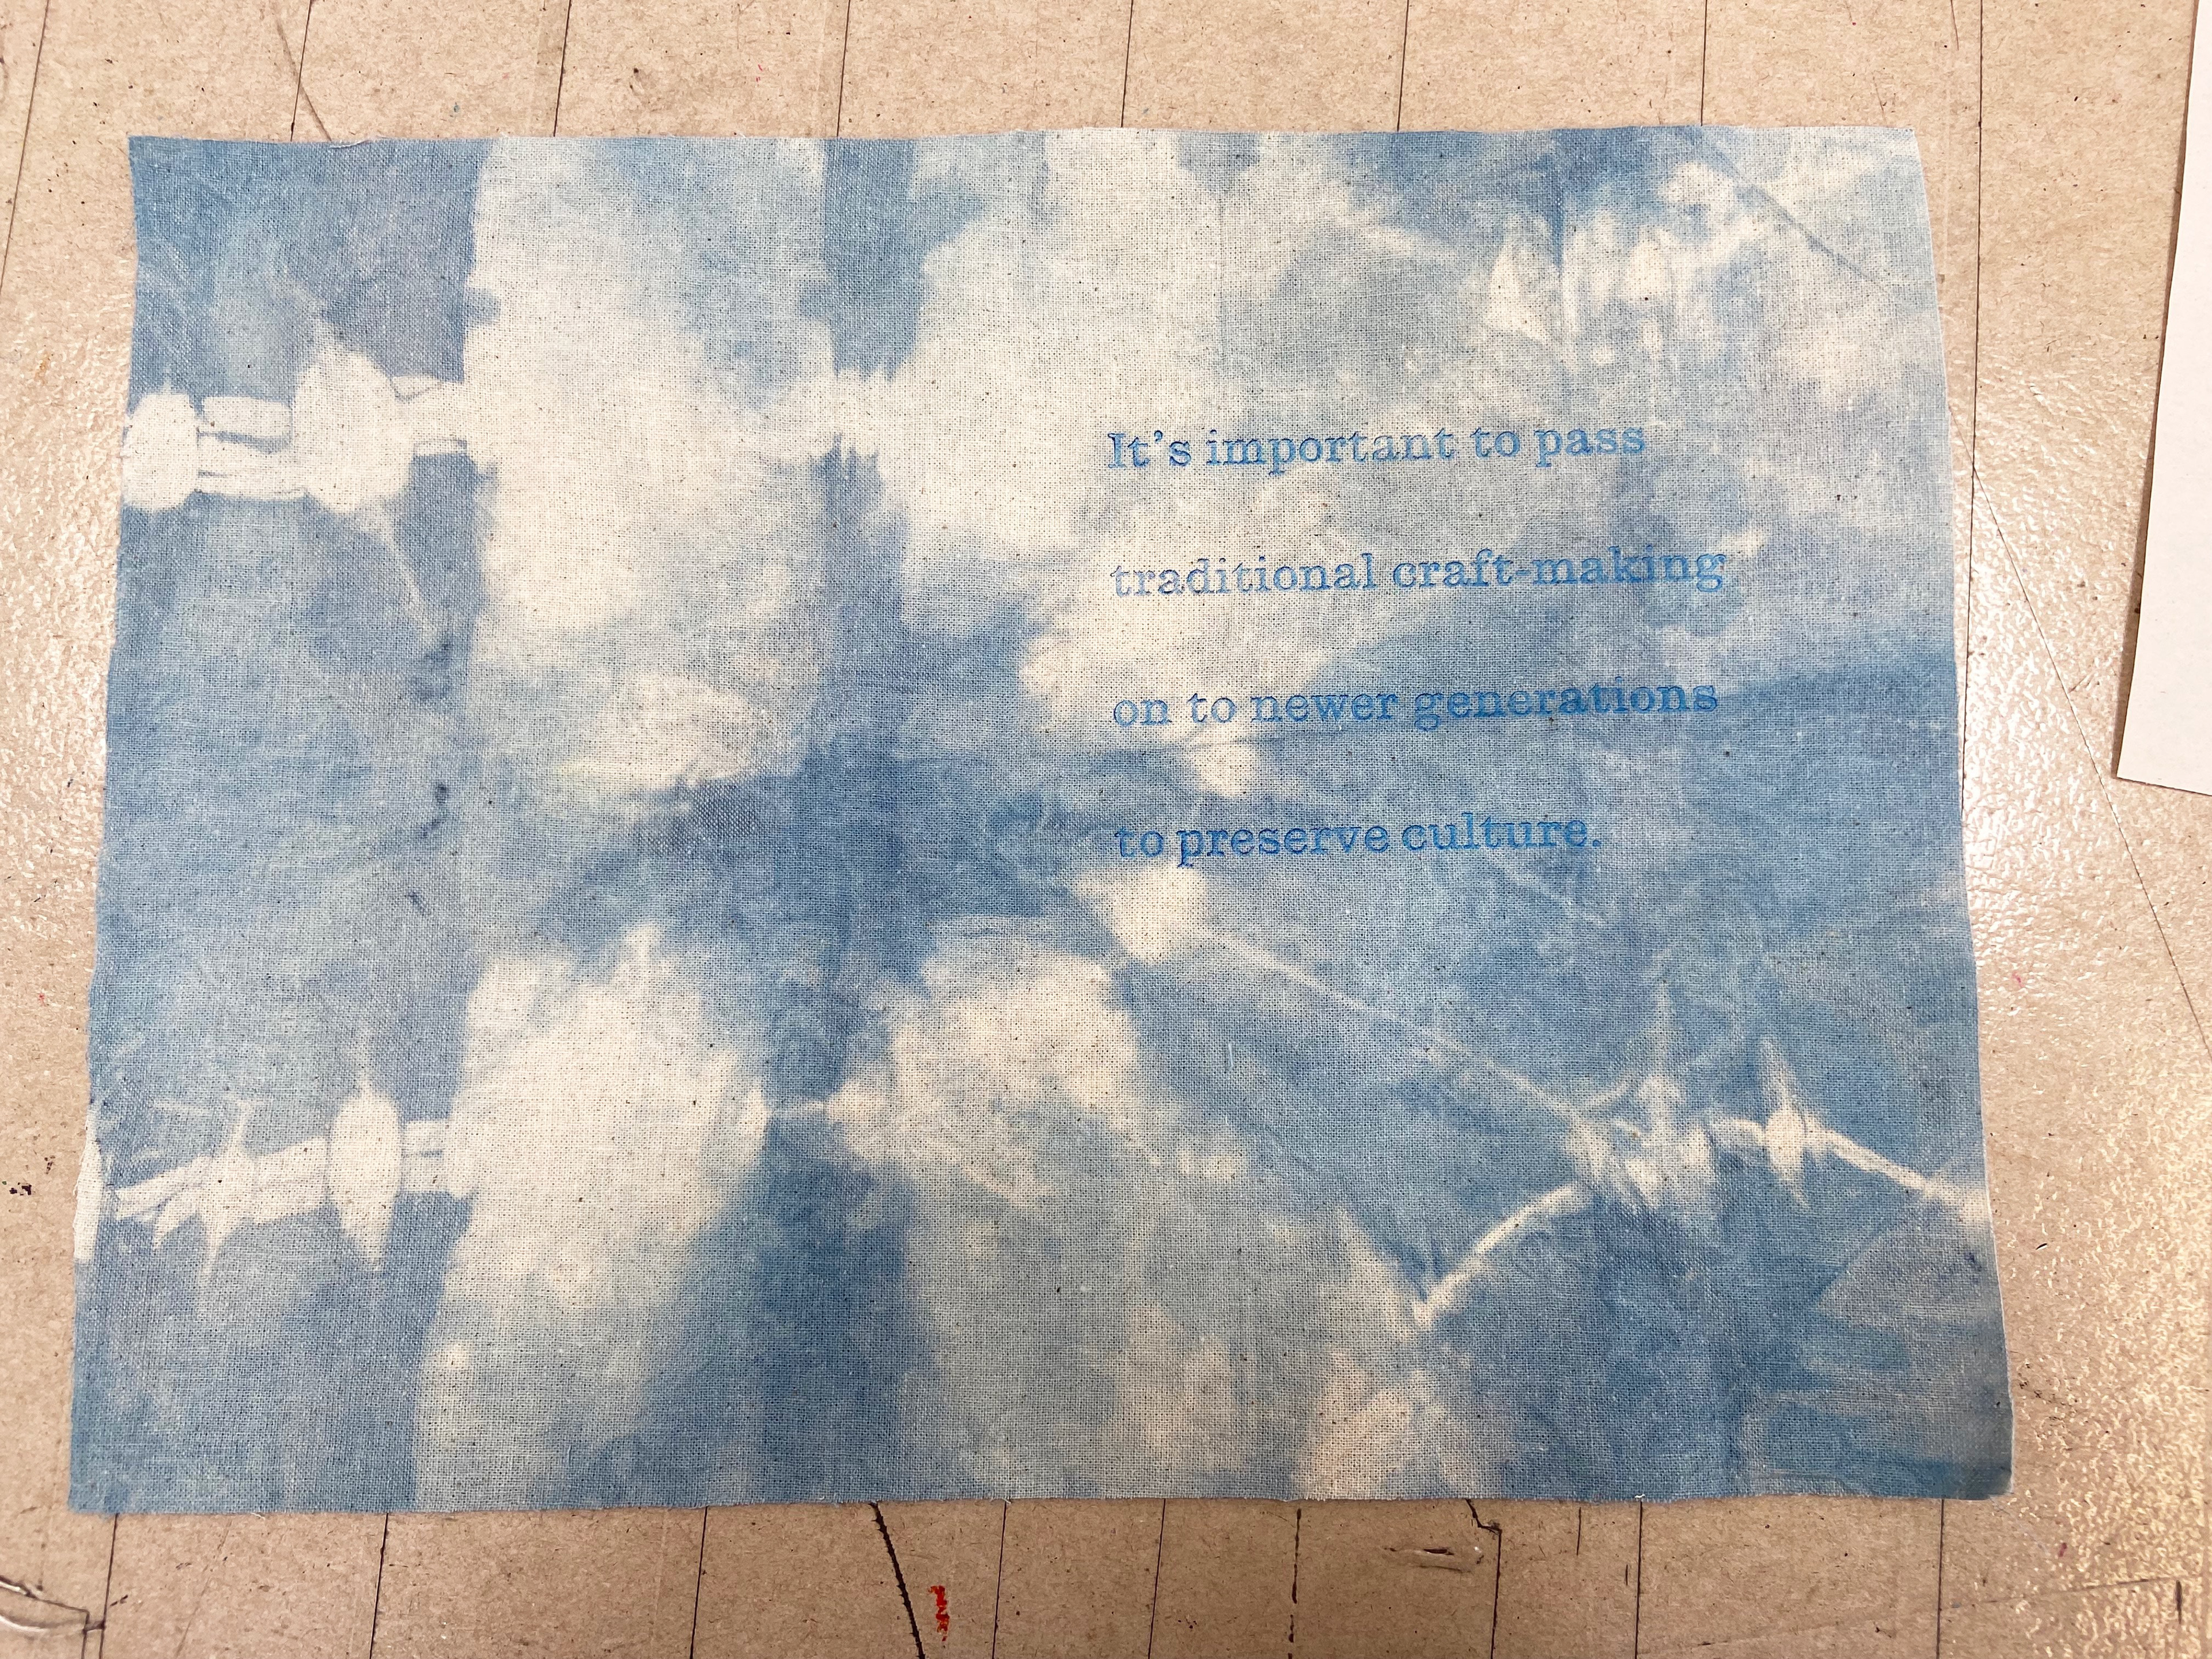
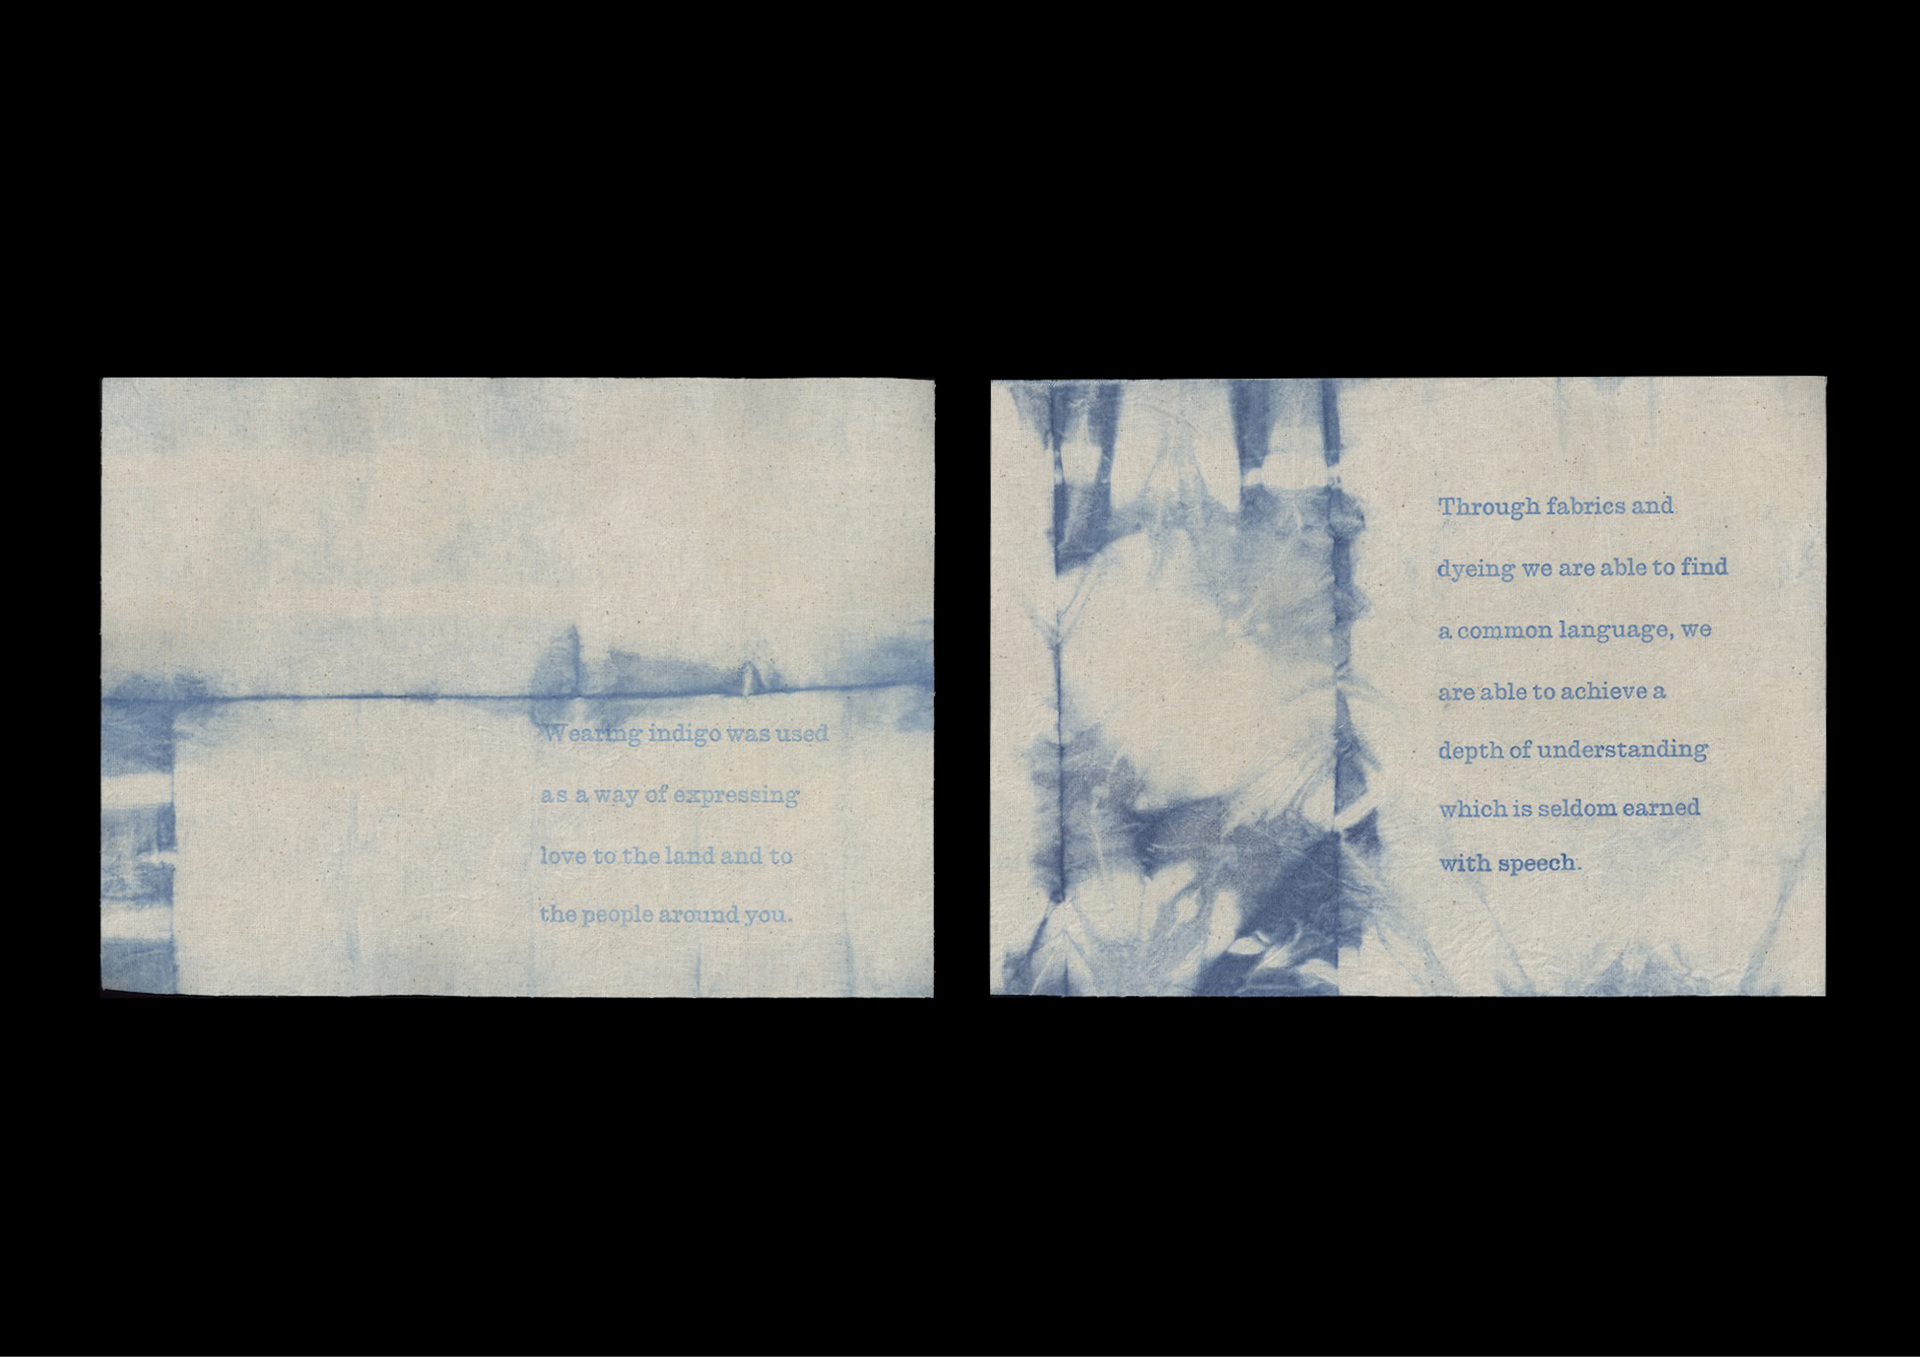
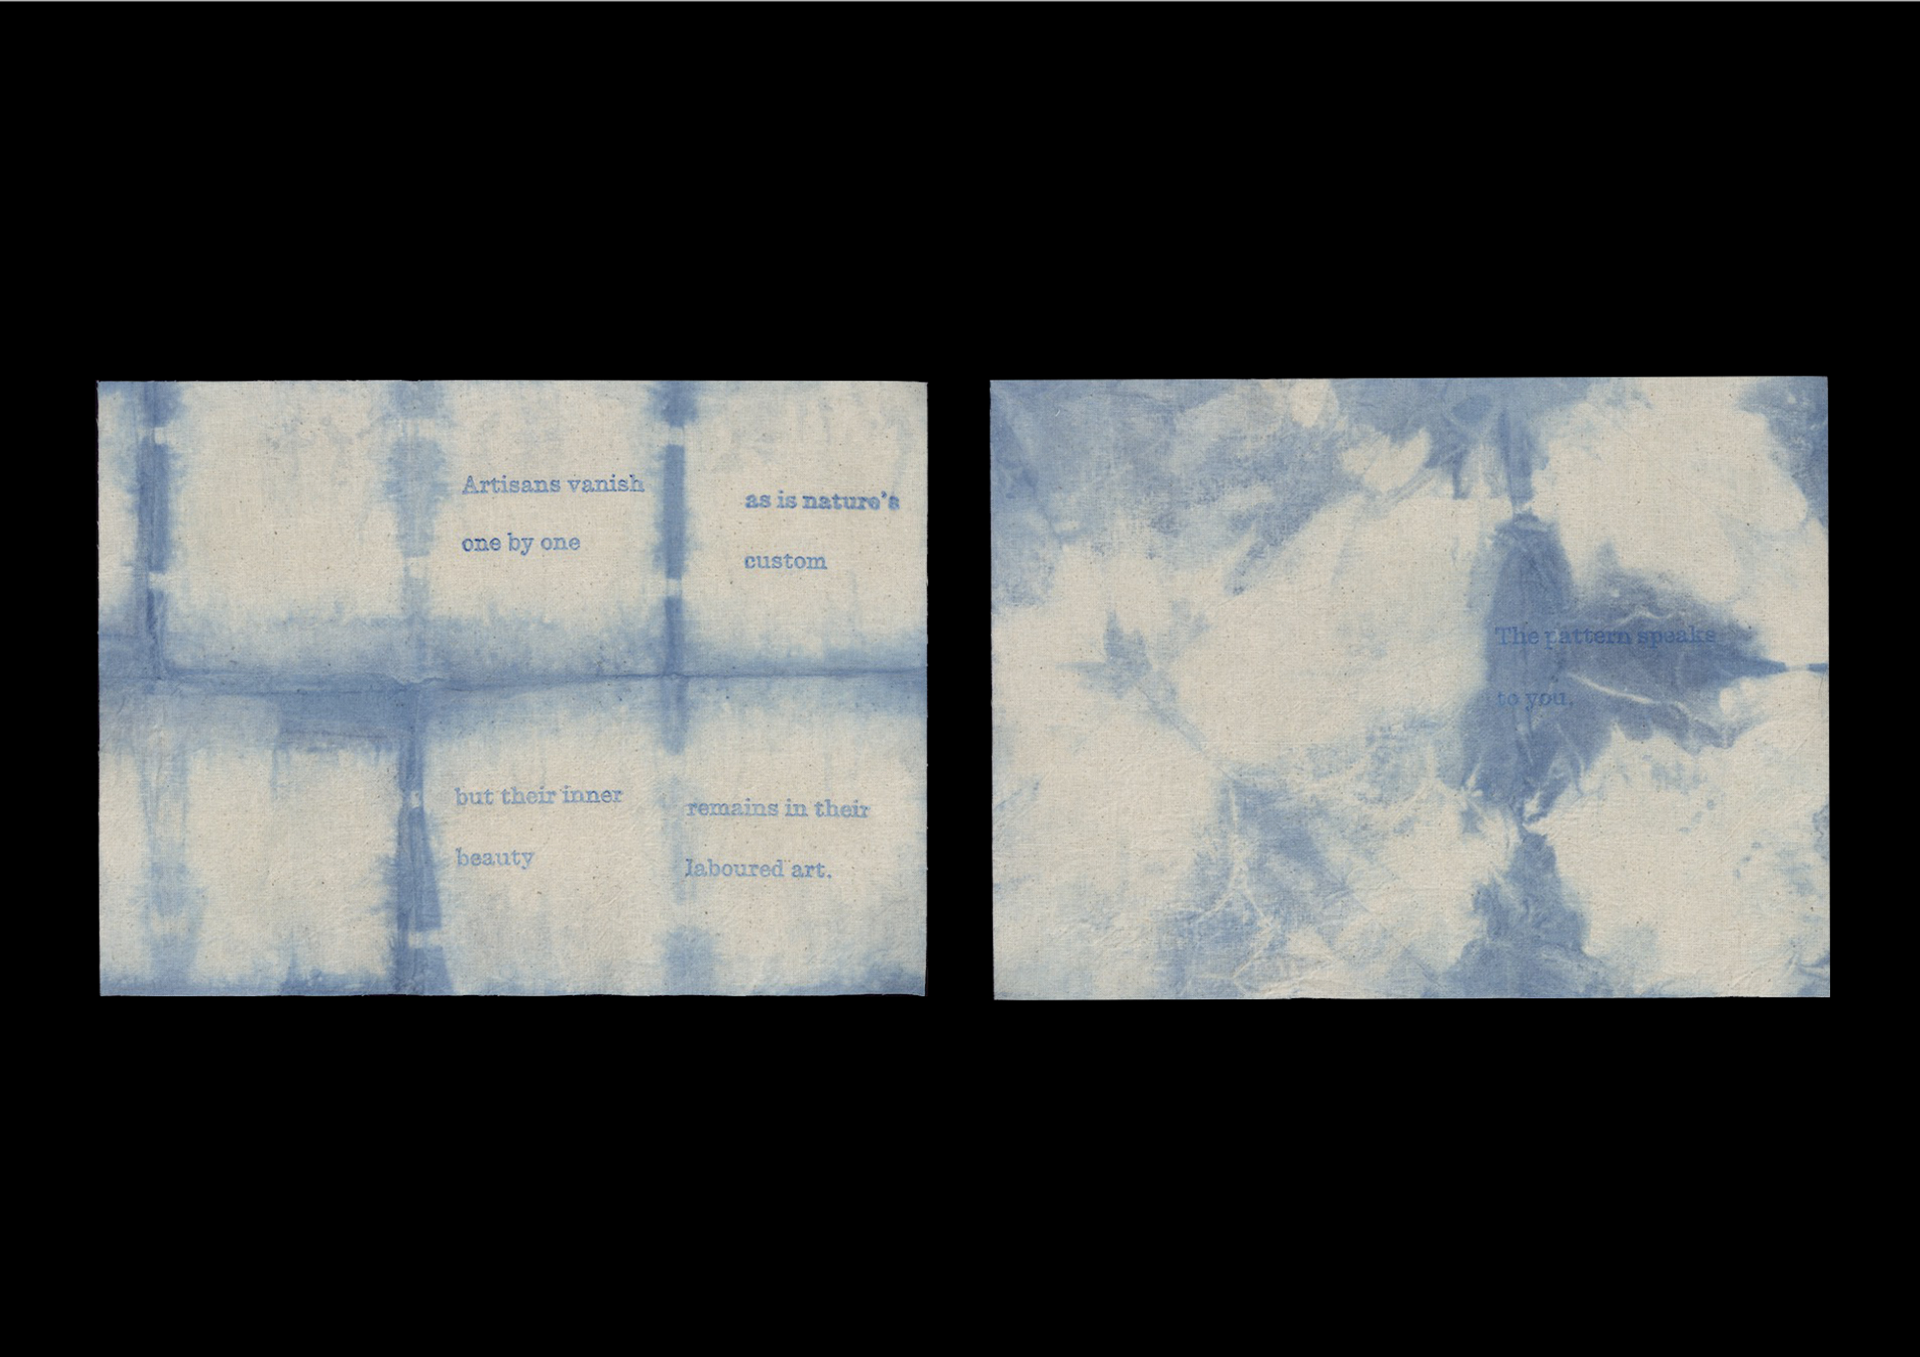
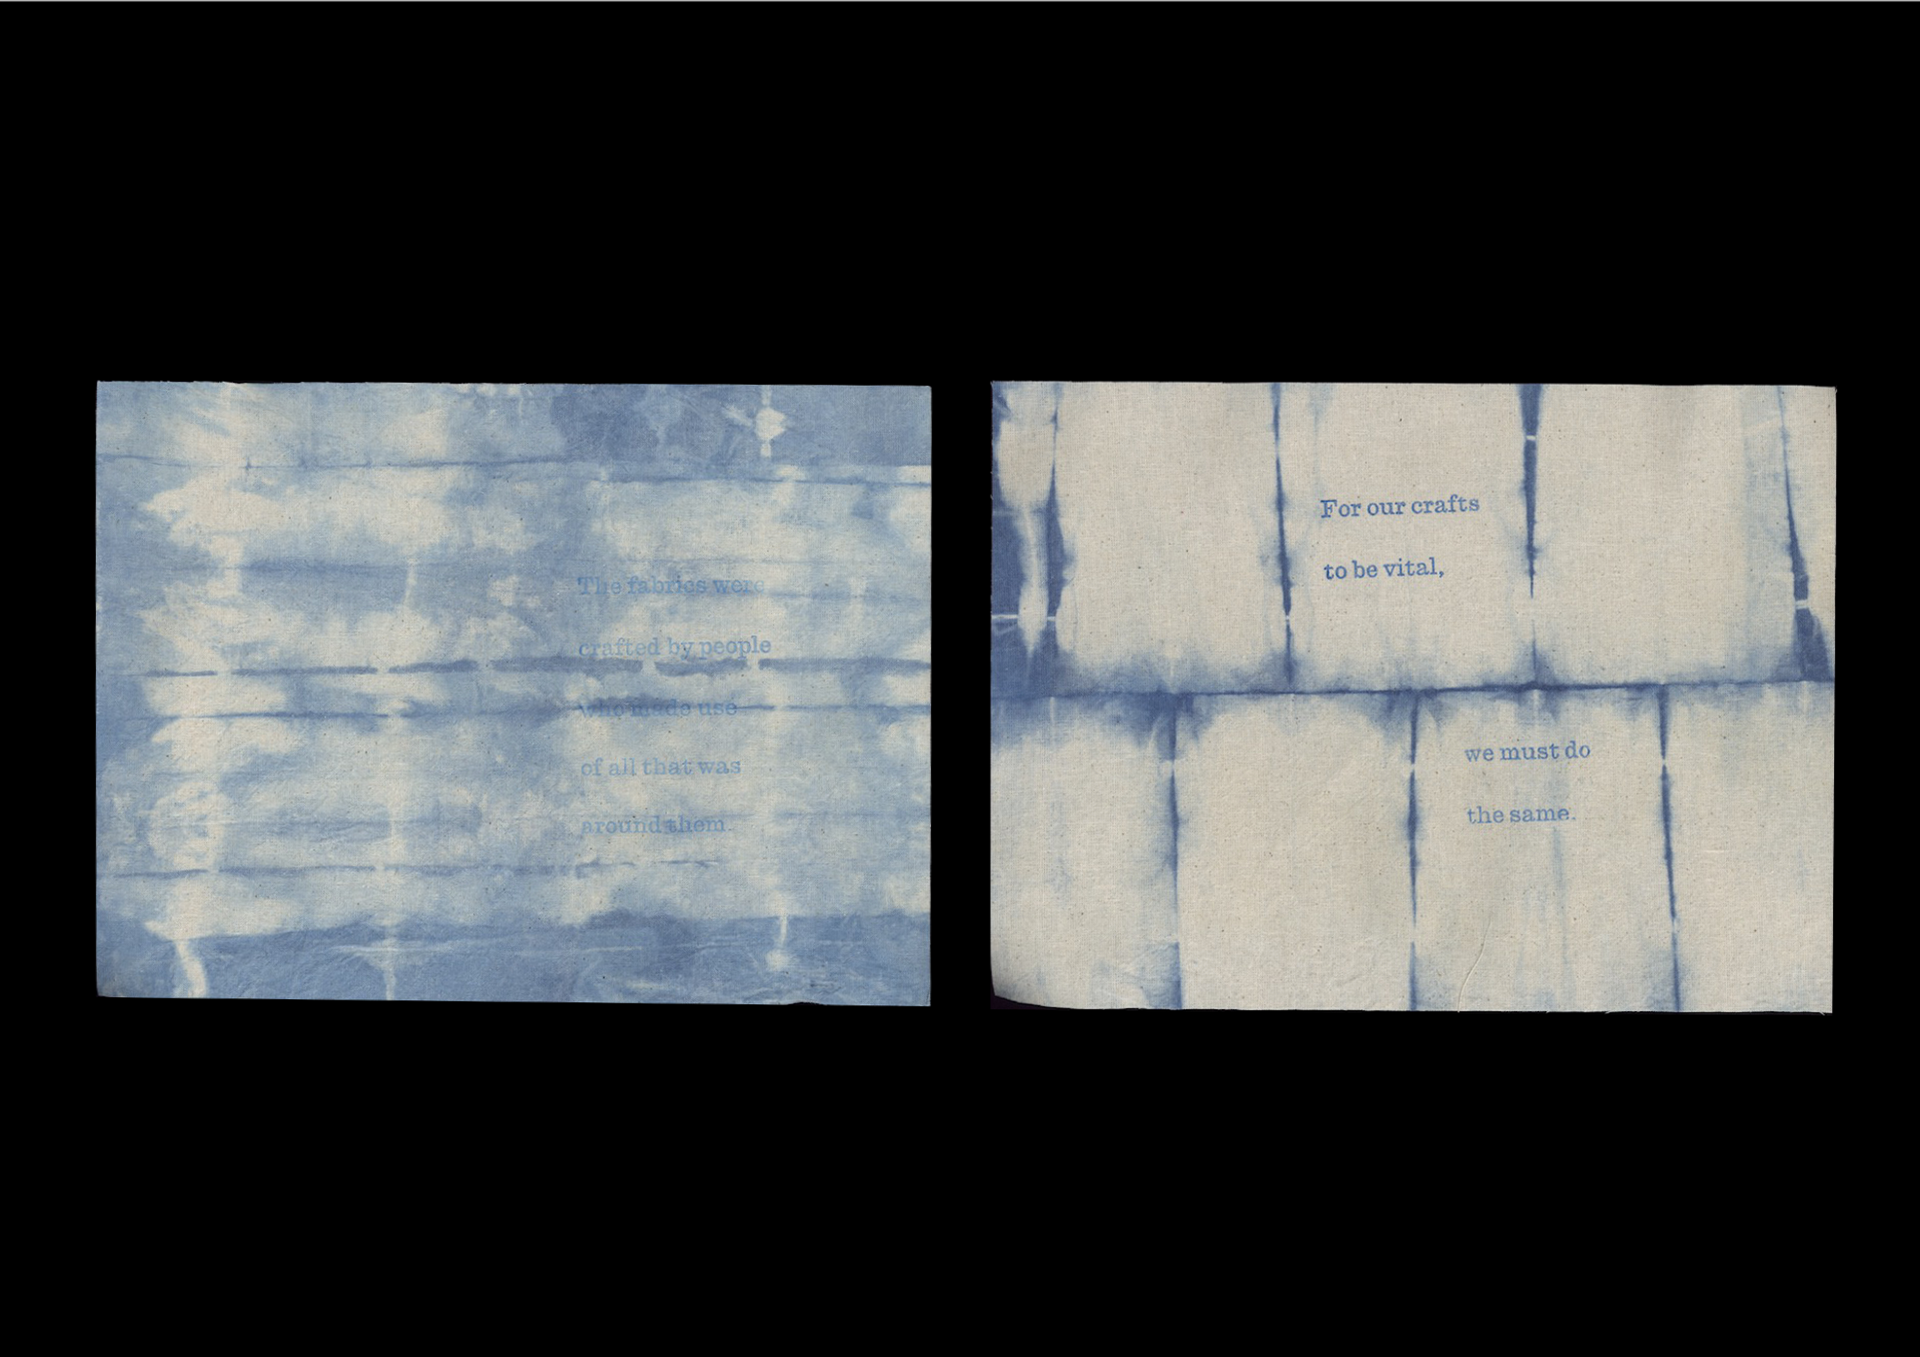
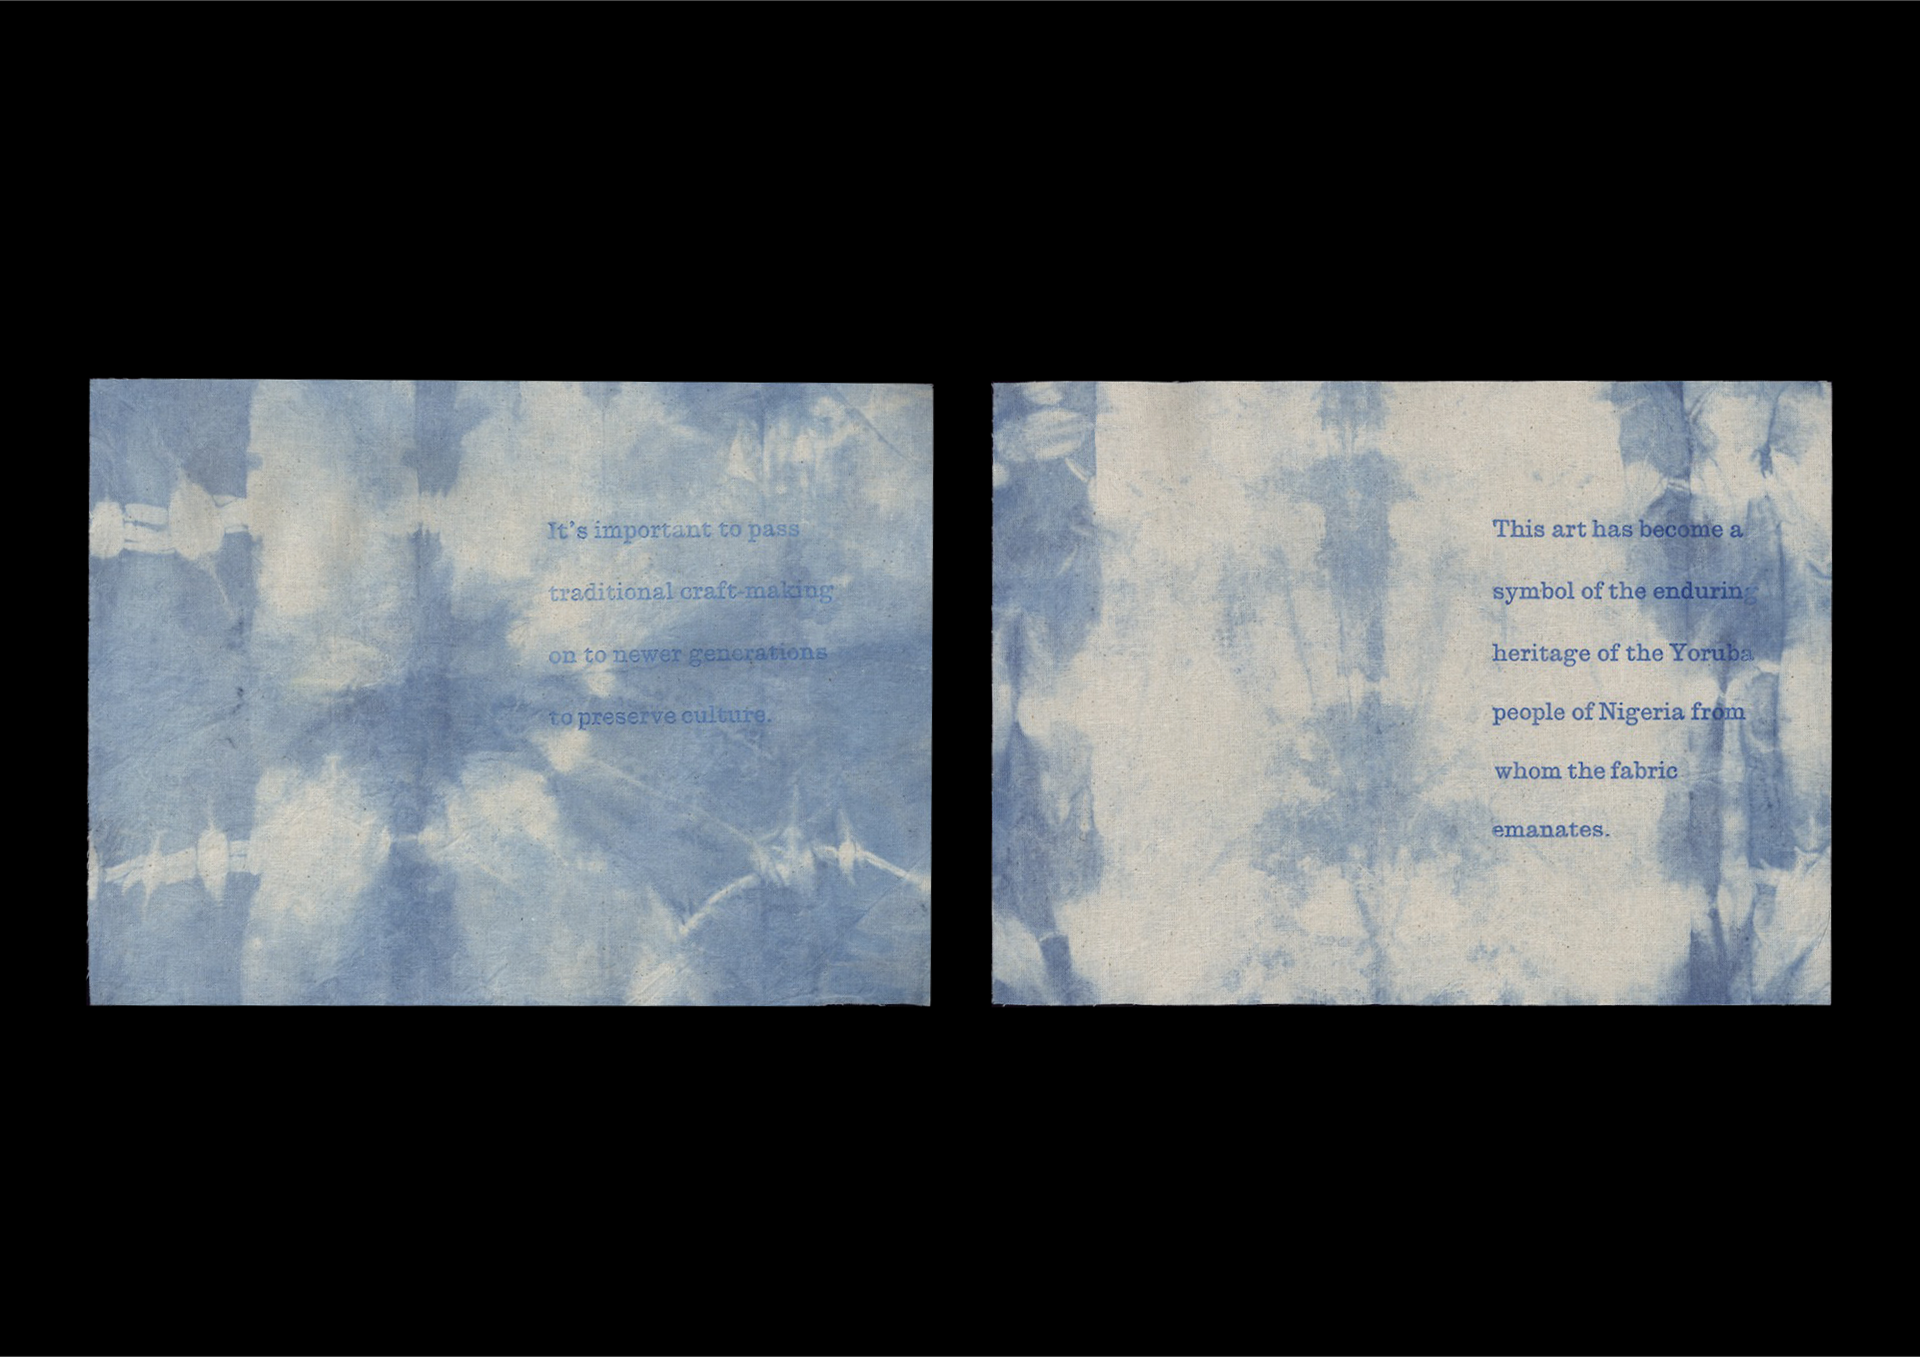
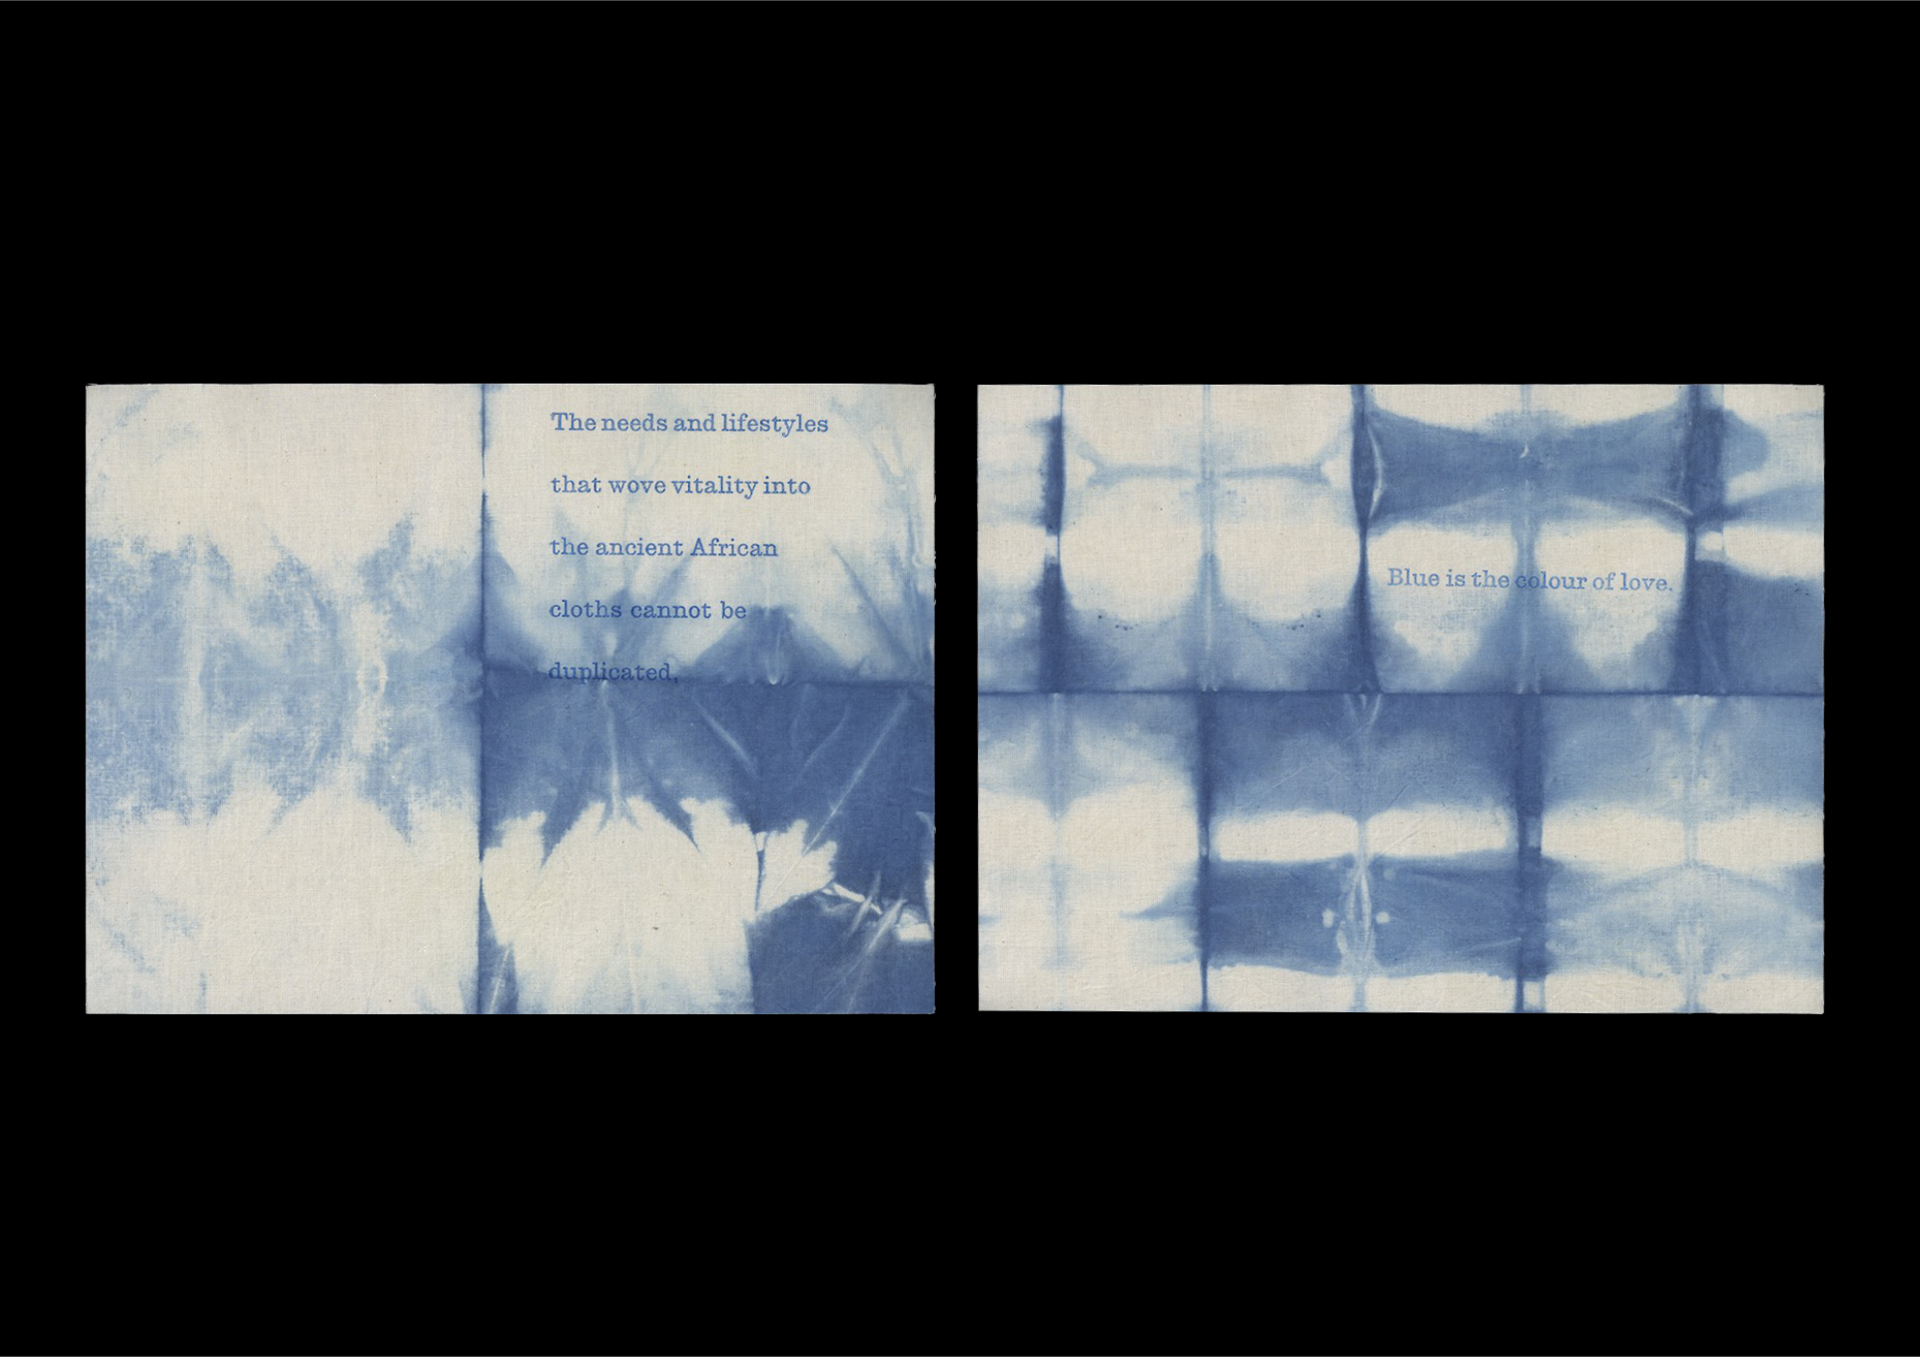
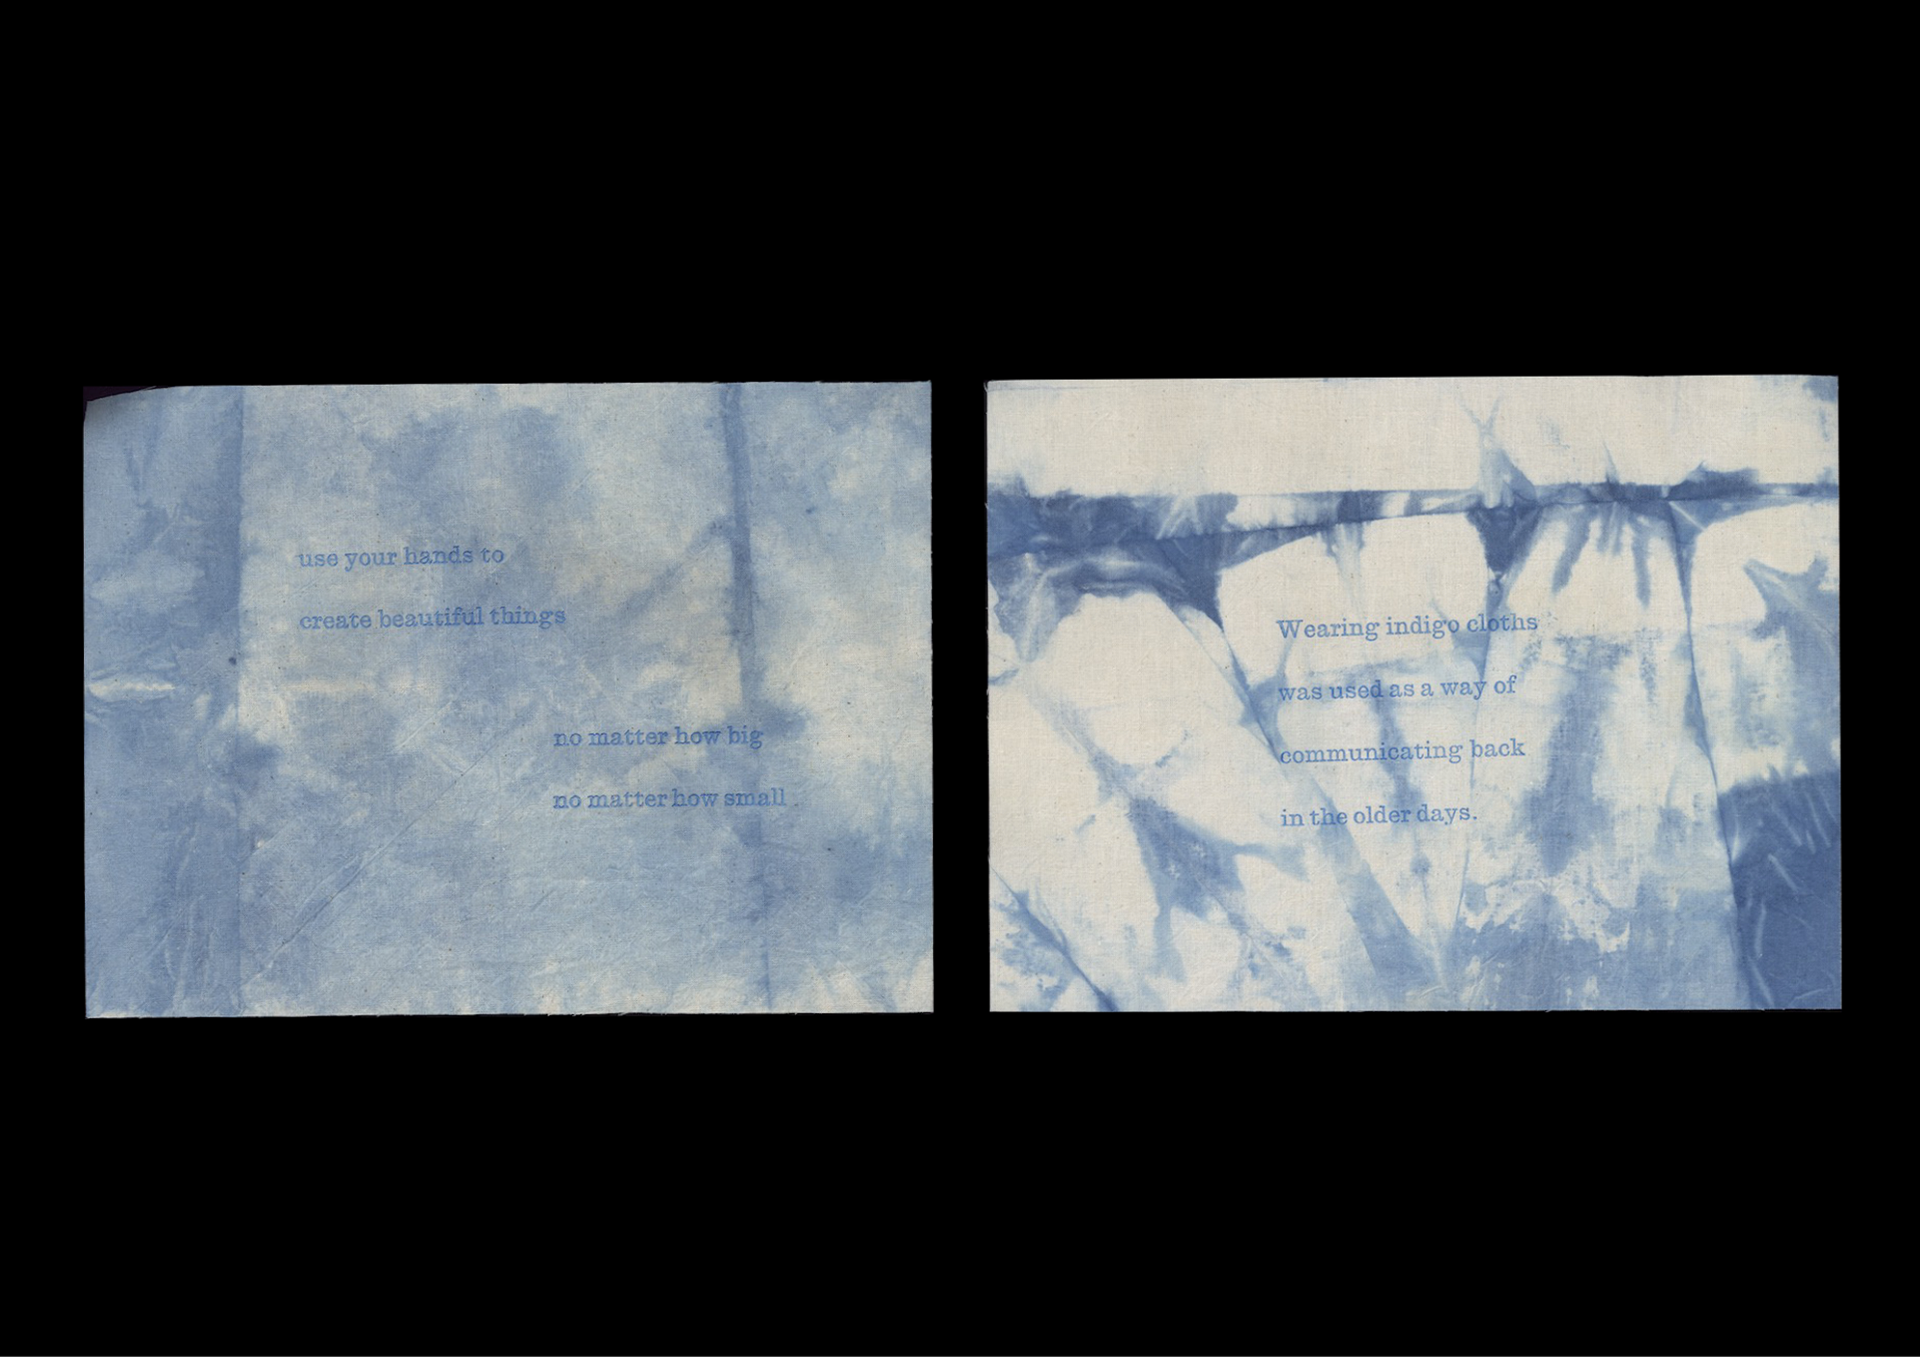
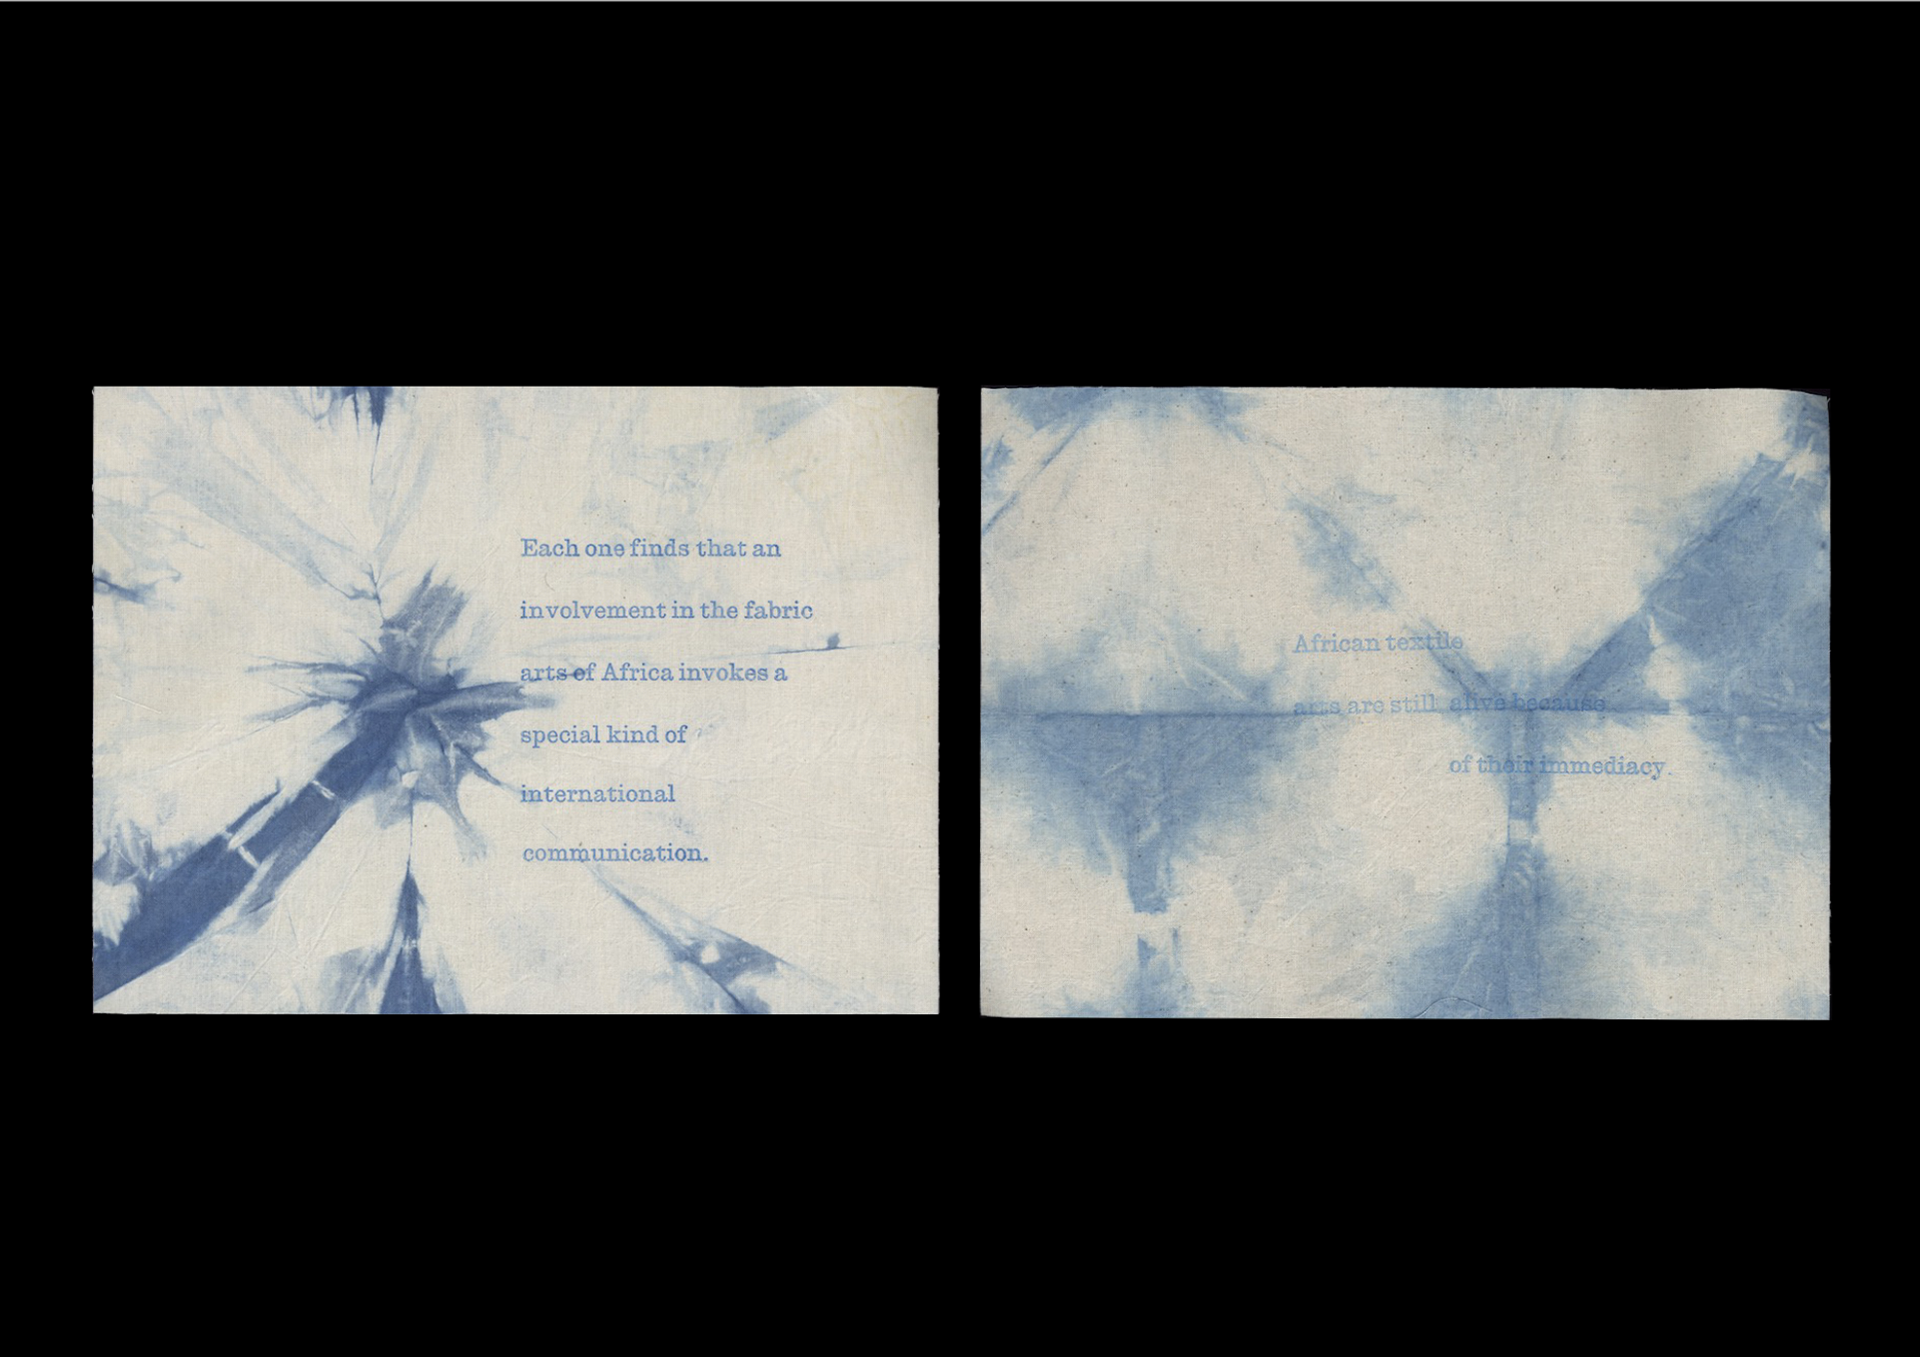
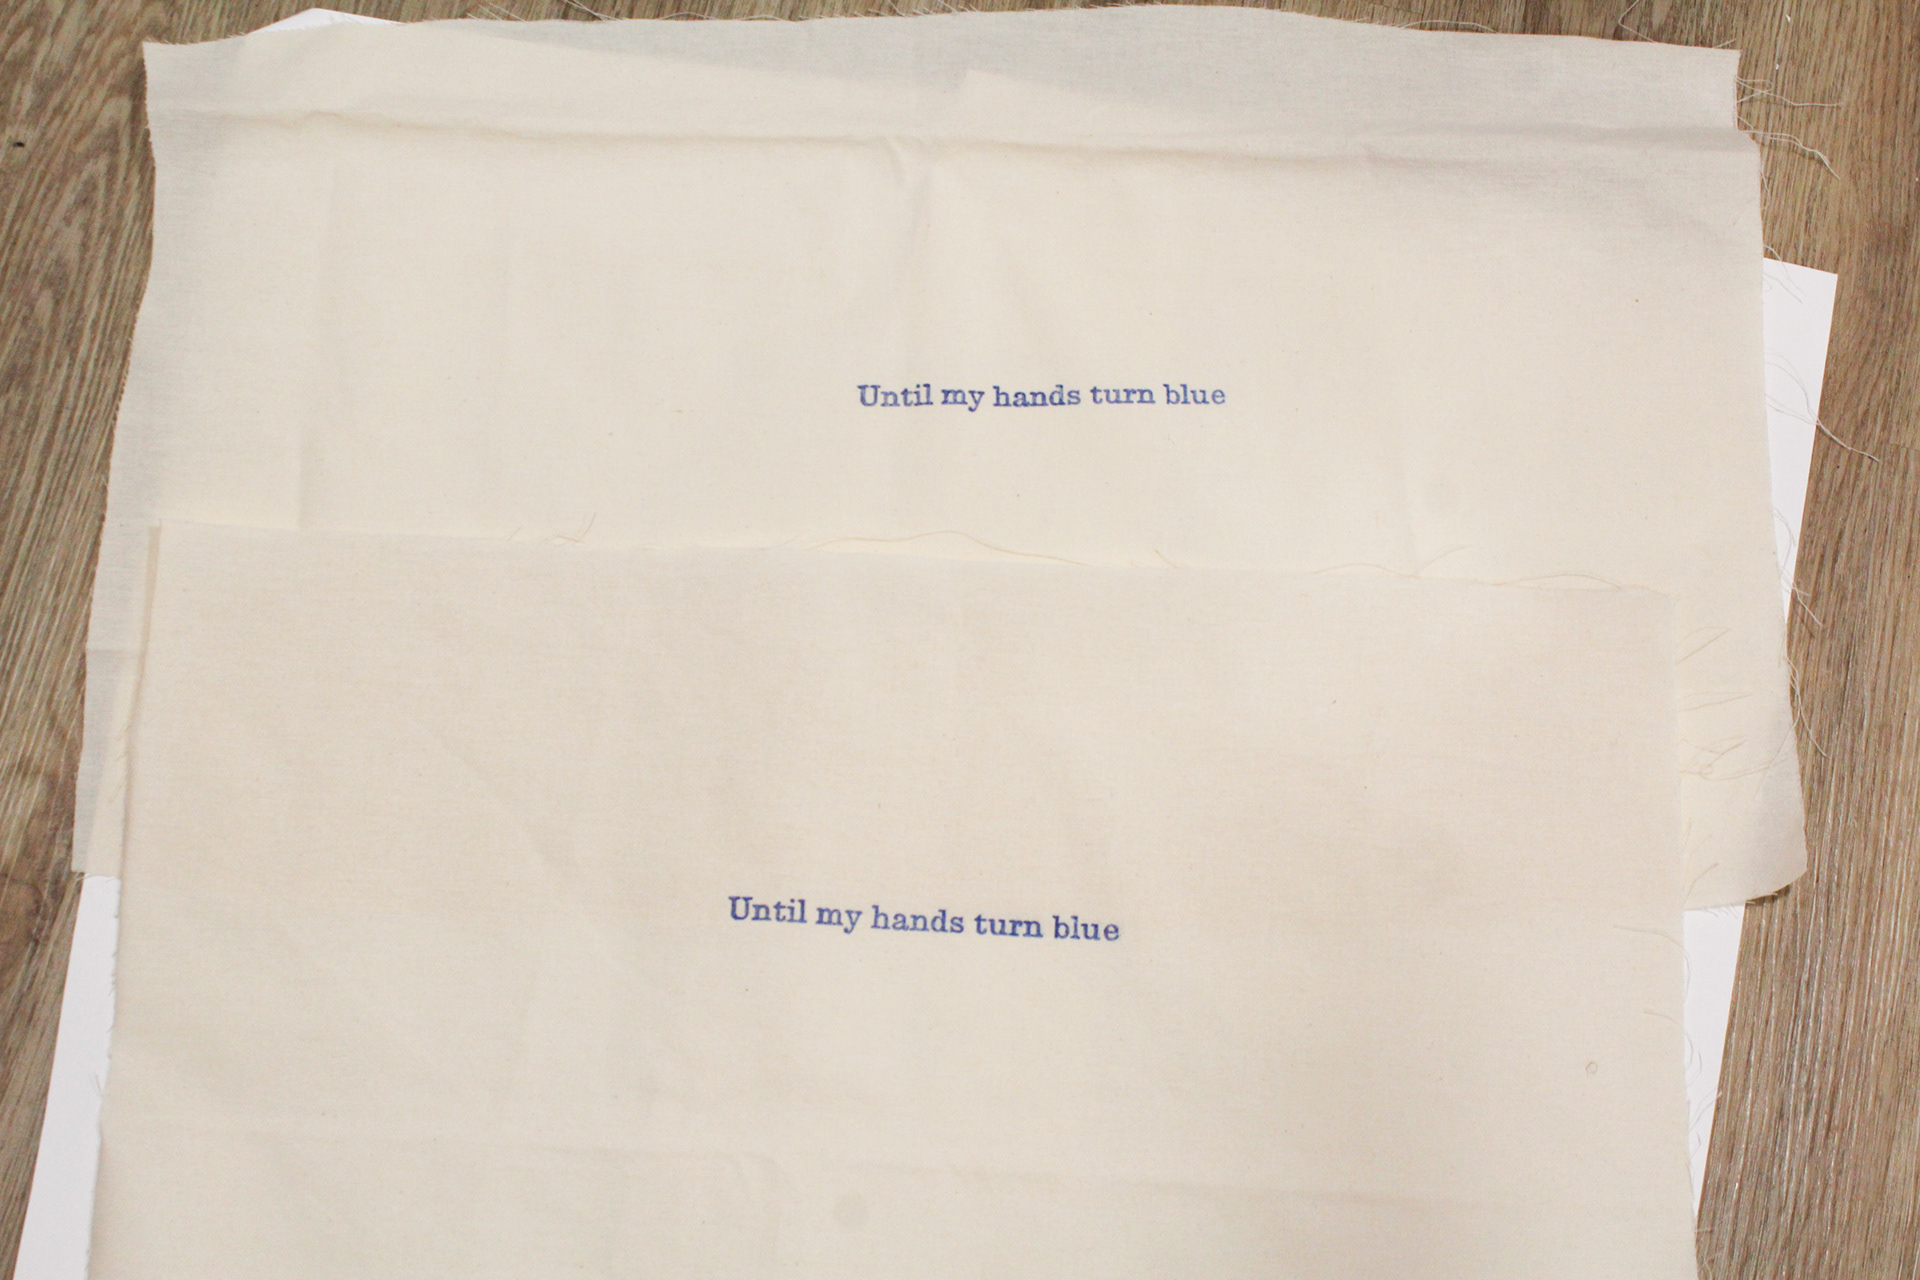
The text that I used is excerpts from a book called 'Into Indigo' by Claire Polakoff, which talks about the techniques and significance of indigo dyeing in African countries. After selecting the excerpts that I wanted to use, I printed them onto the fabrics in a blue colour. At first I used 38pt and later 30pt, however, both of those seemed too large and overwhelming on the cloths. But I finally settled on 24pt which felt more adequate and made the page look less busy.

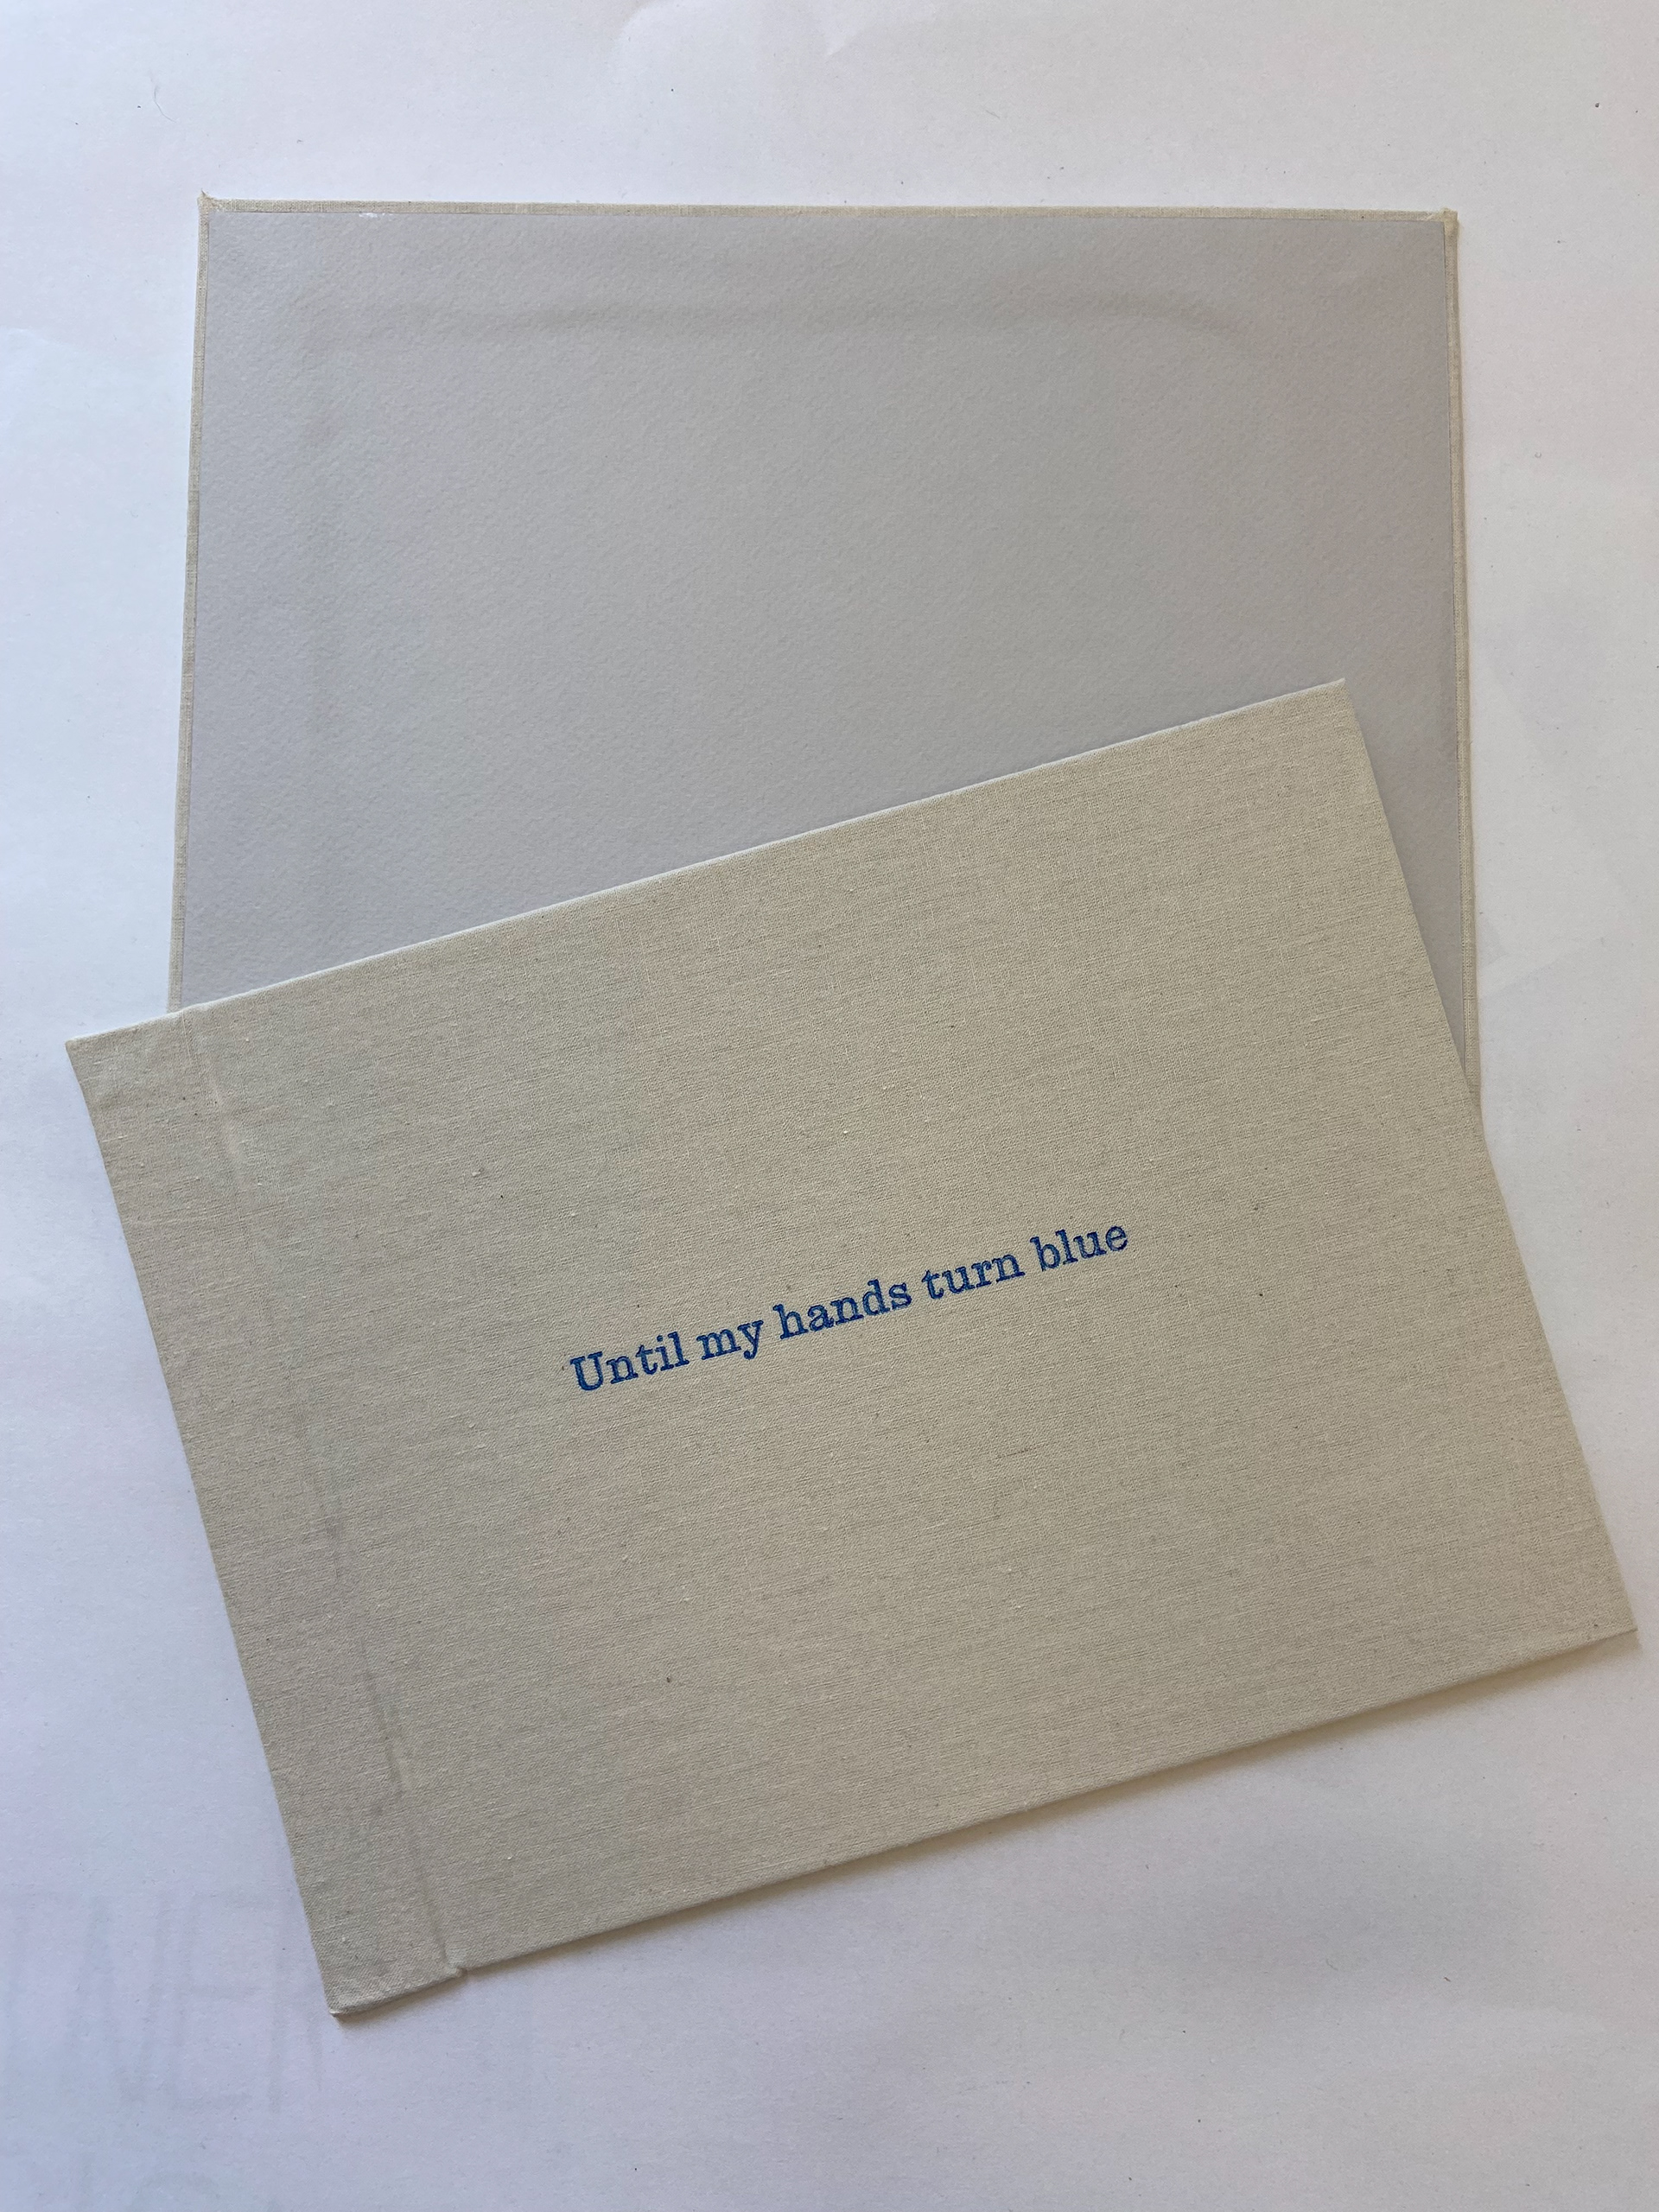
24pt, 36pt and 48pt
30pt
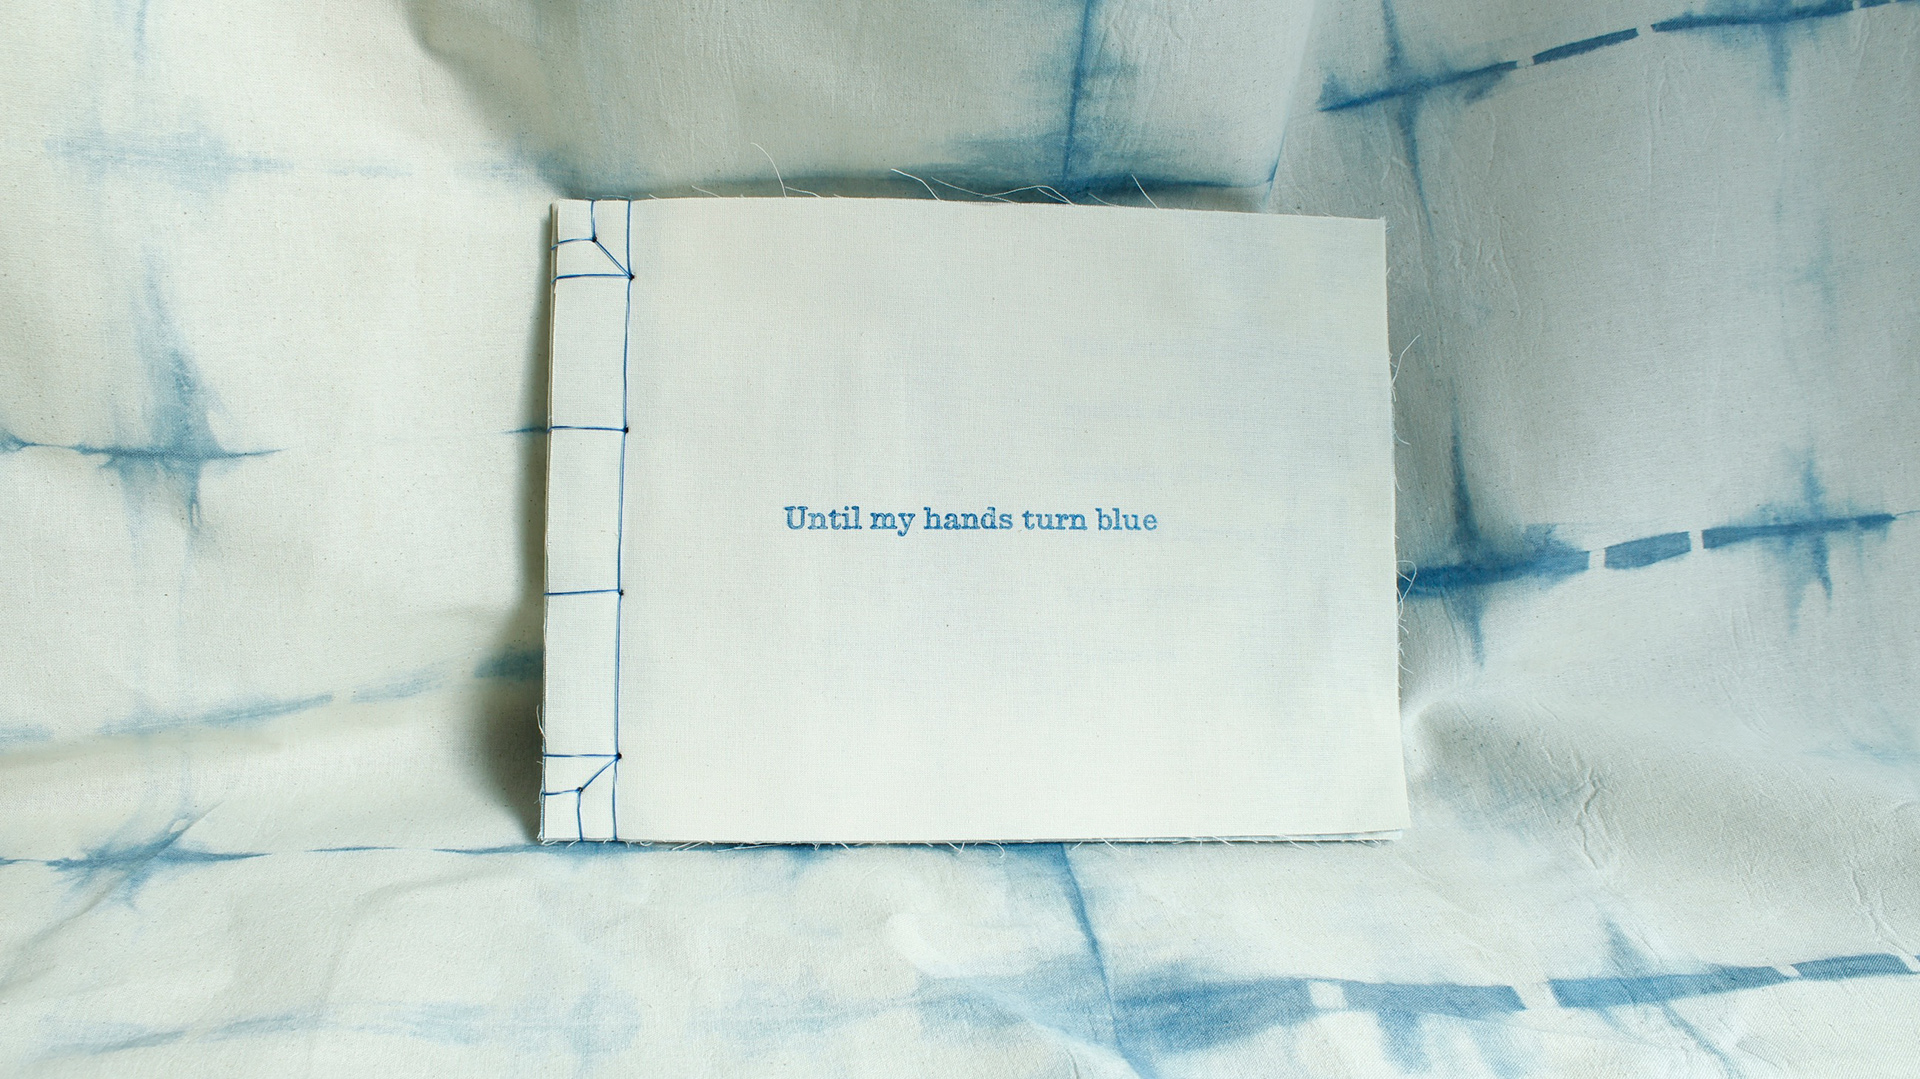
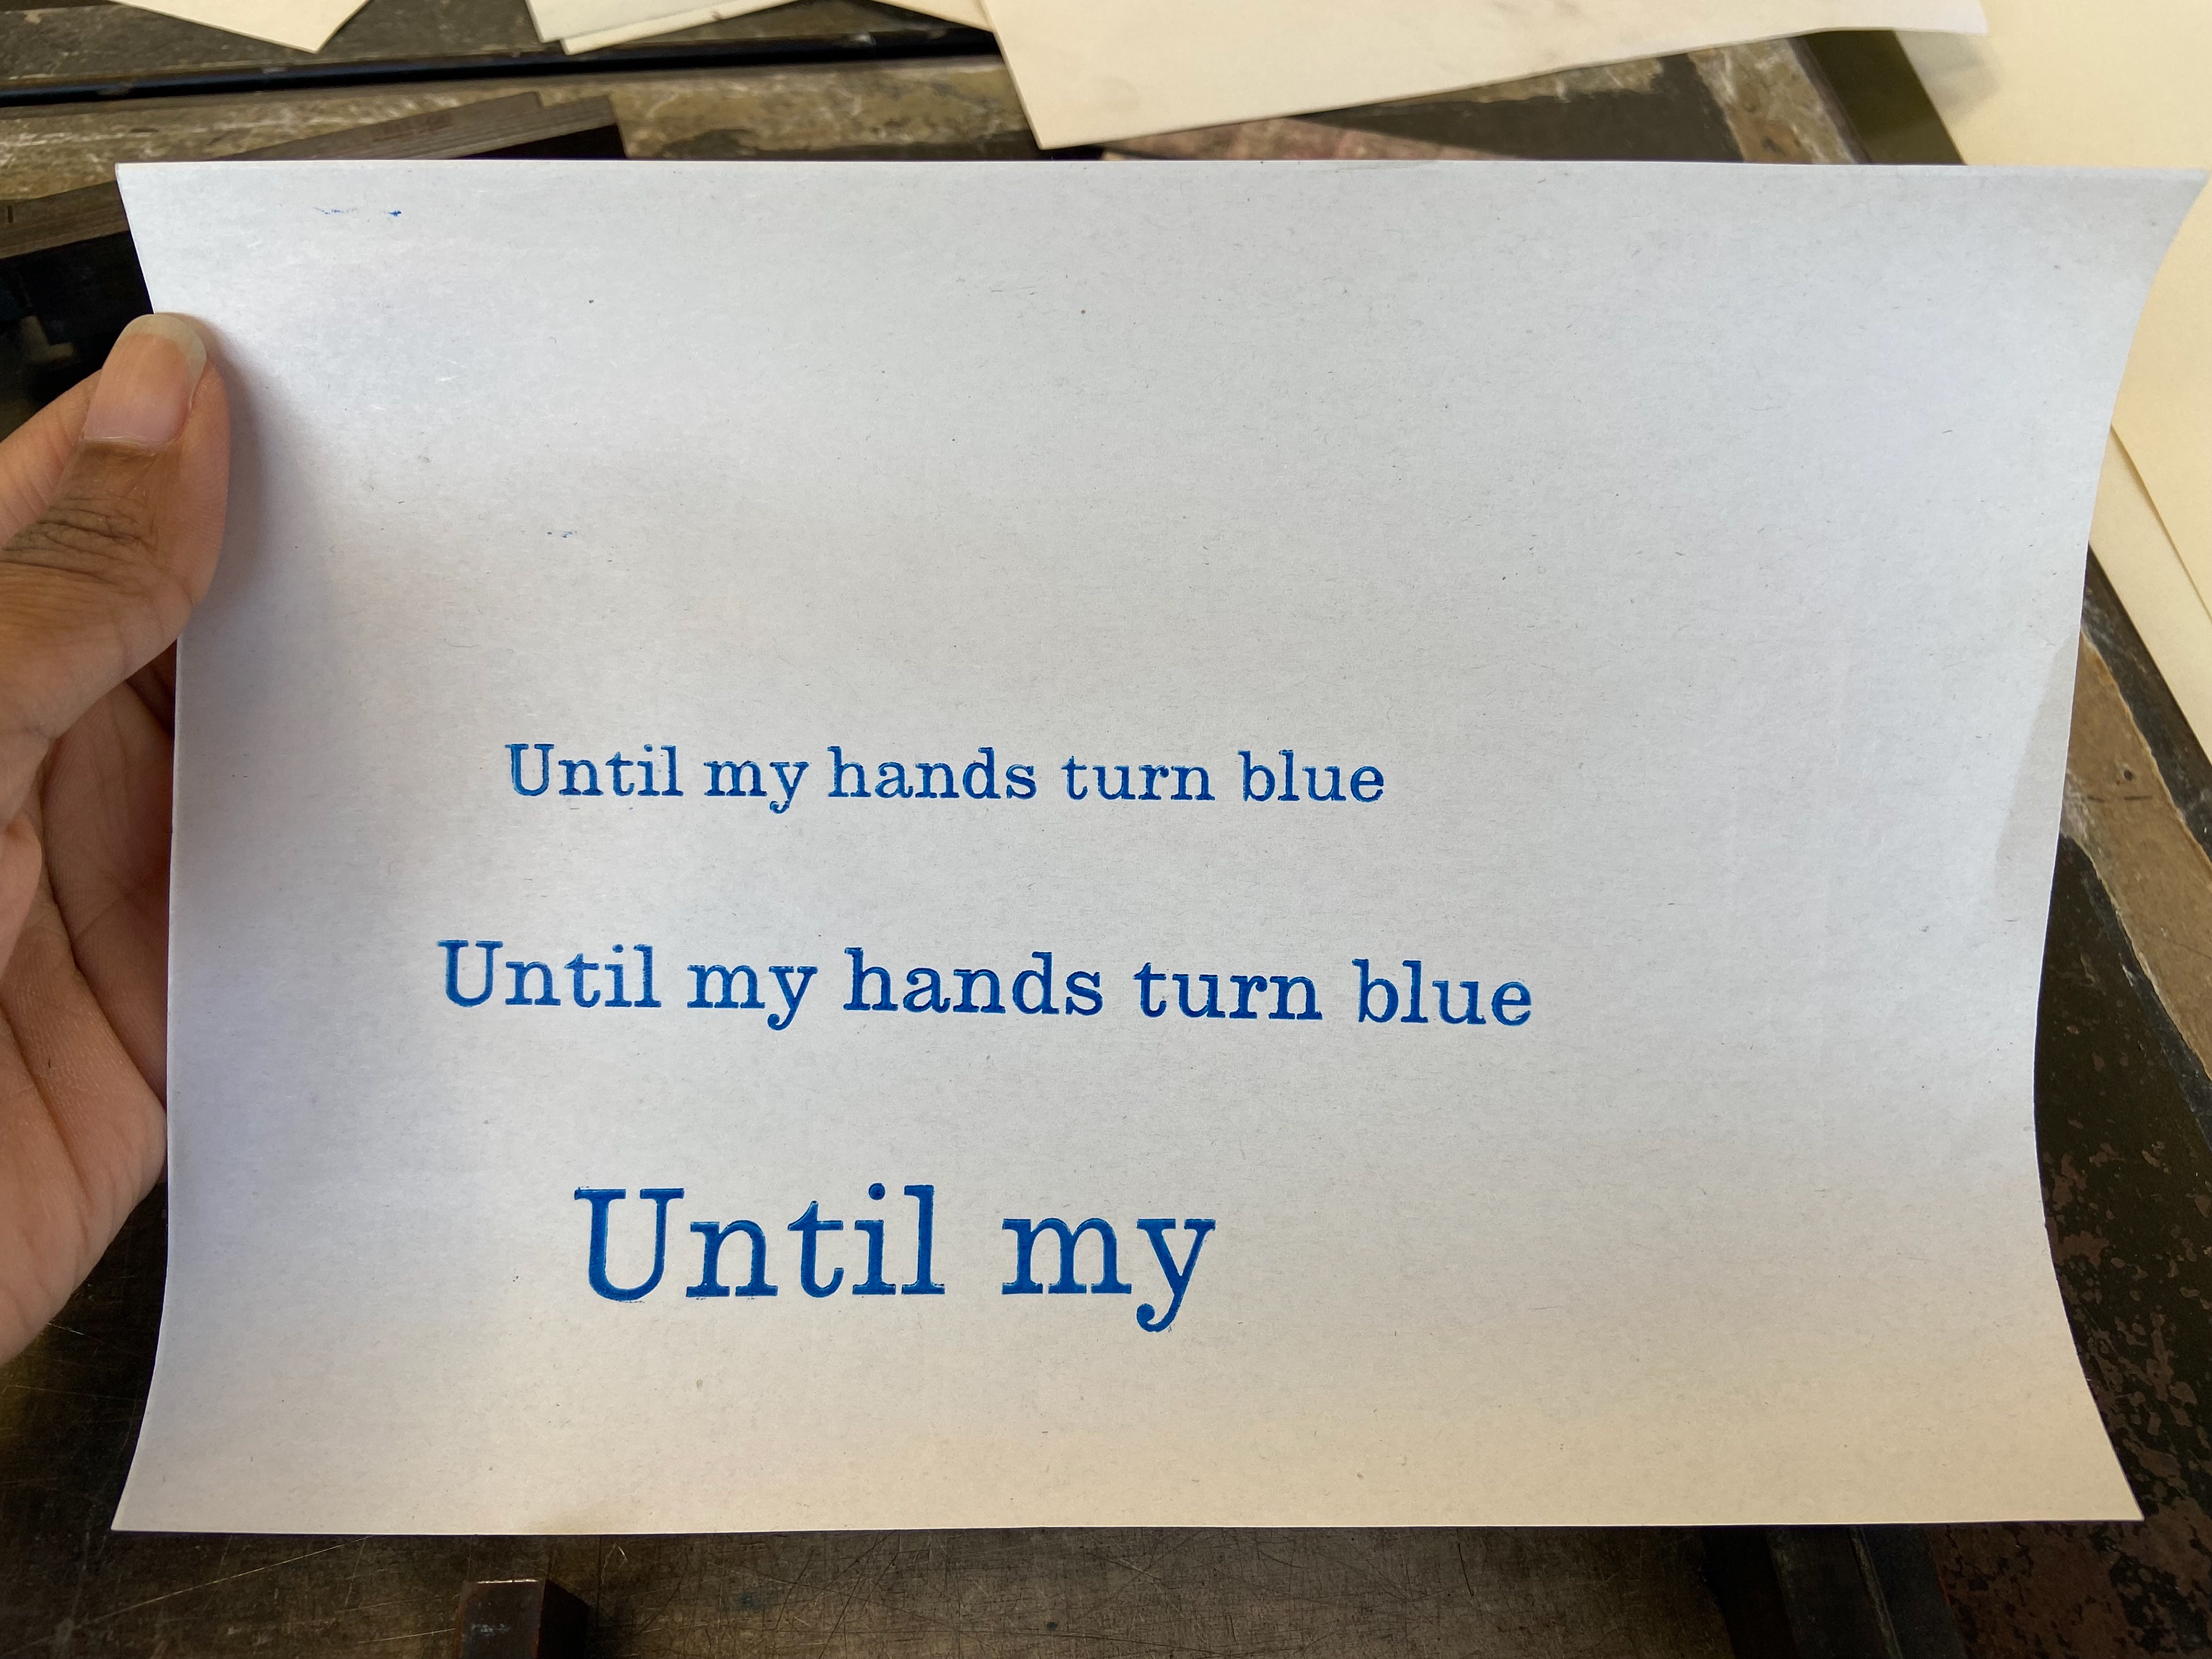
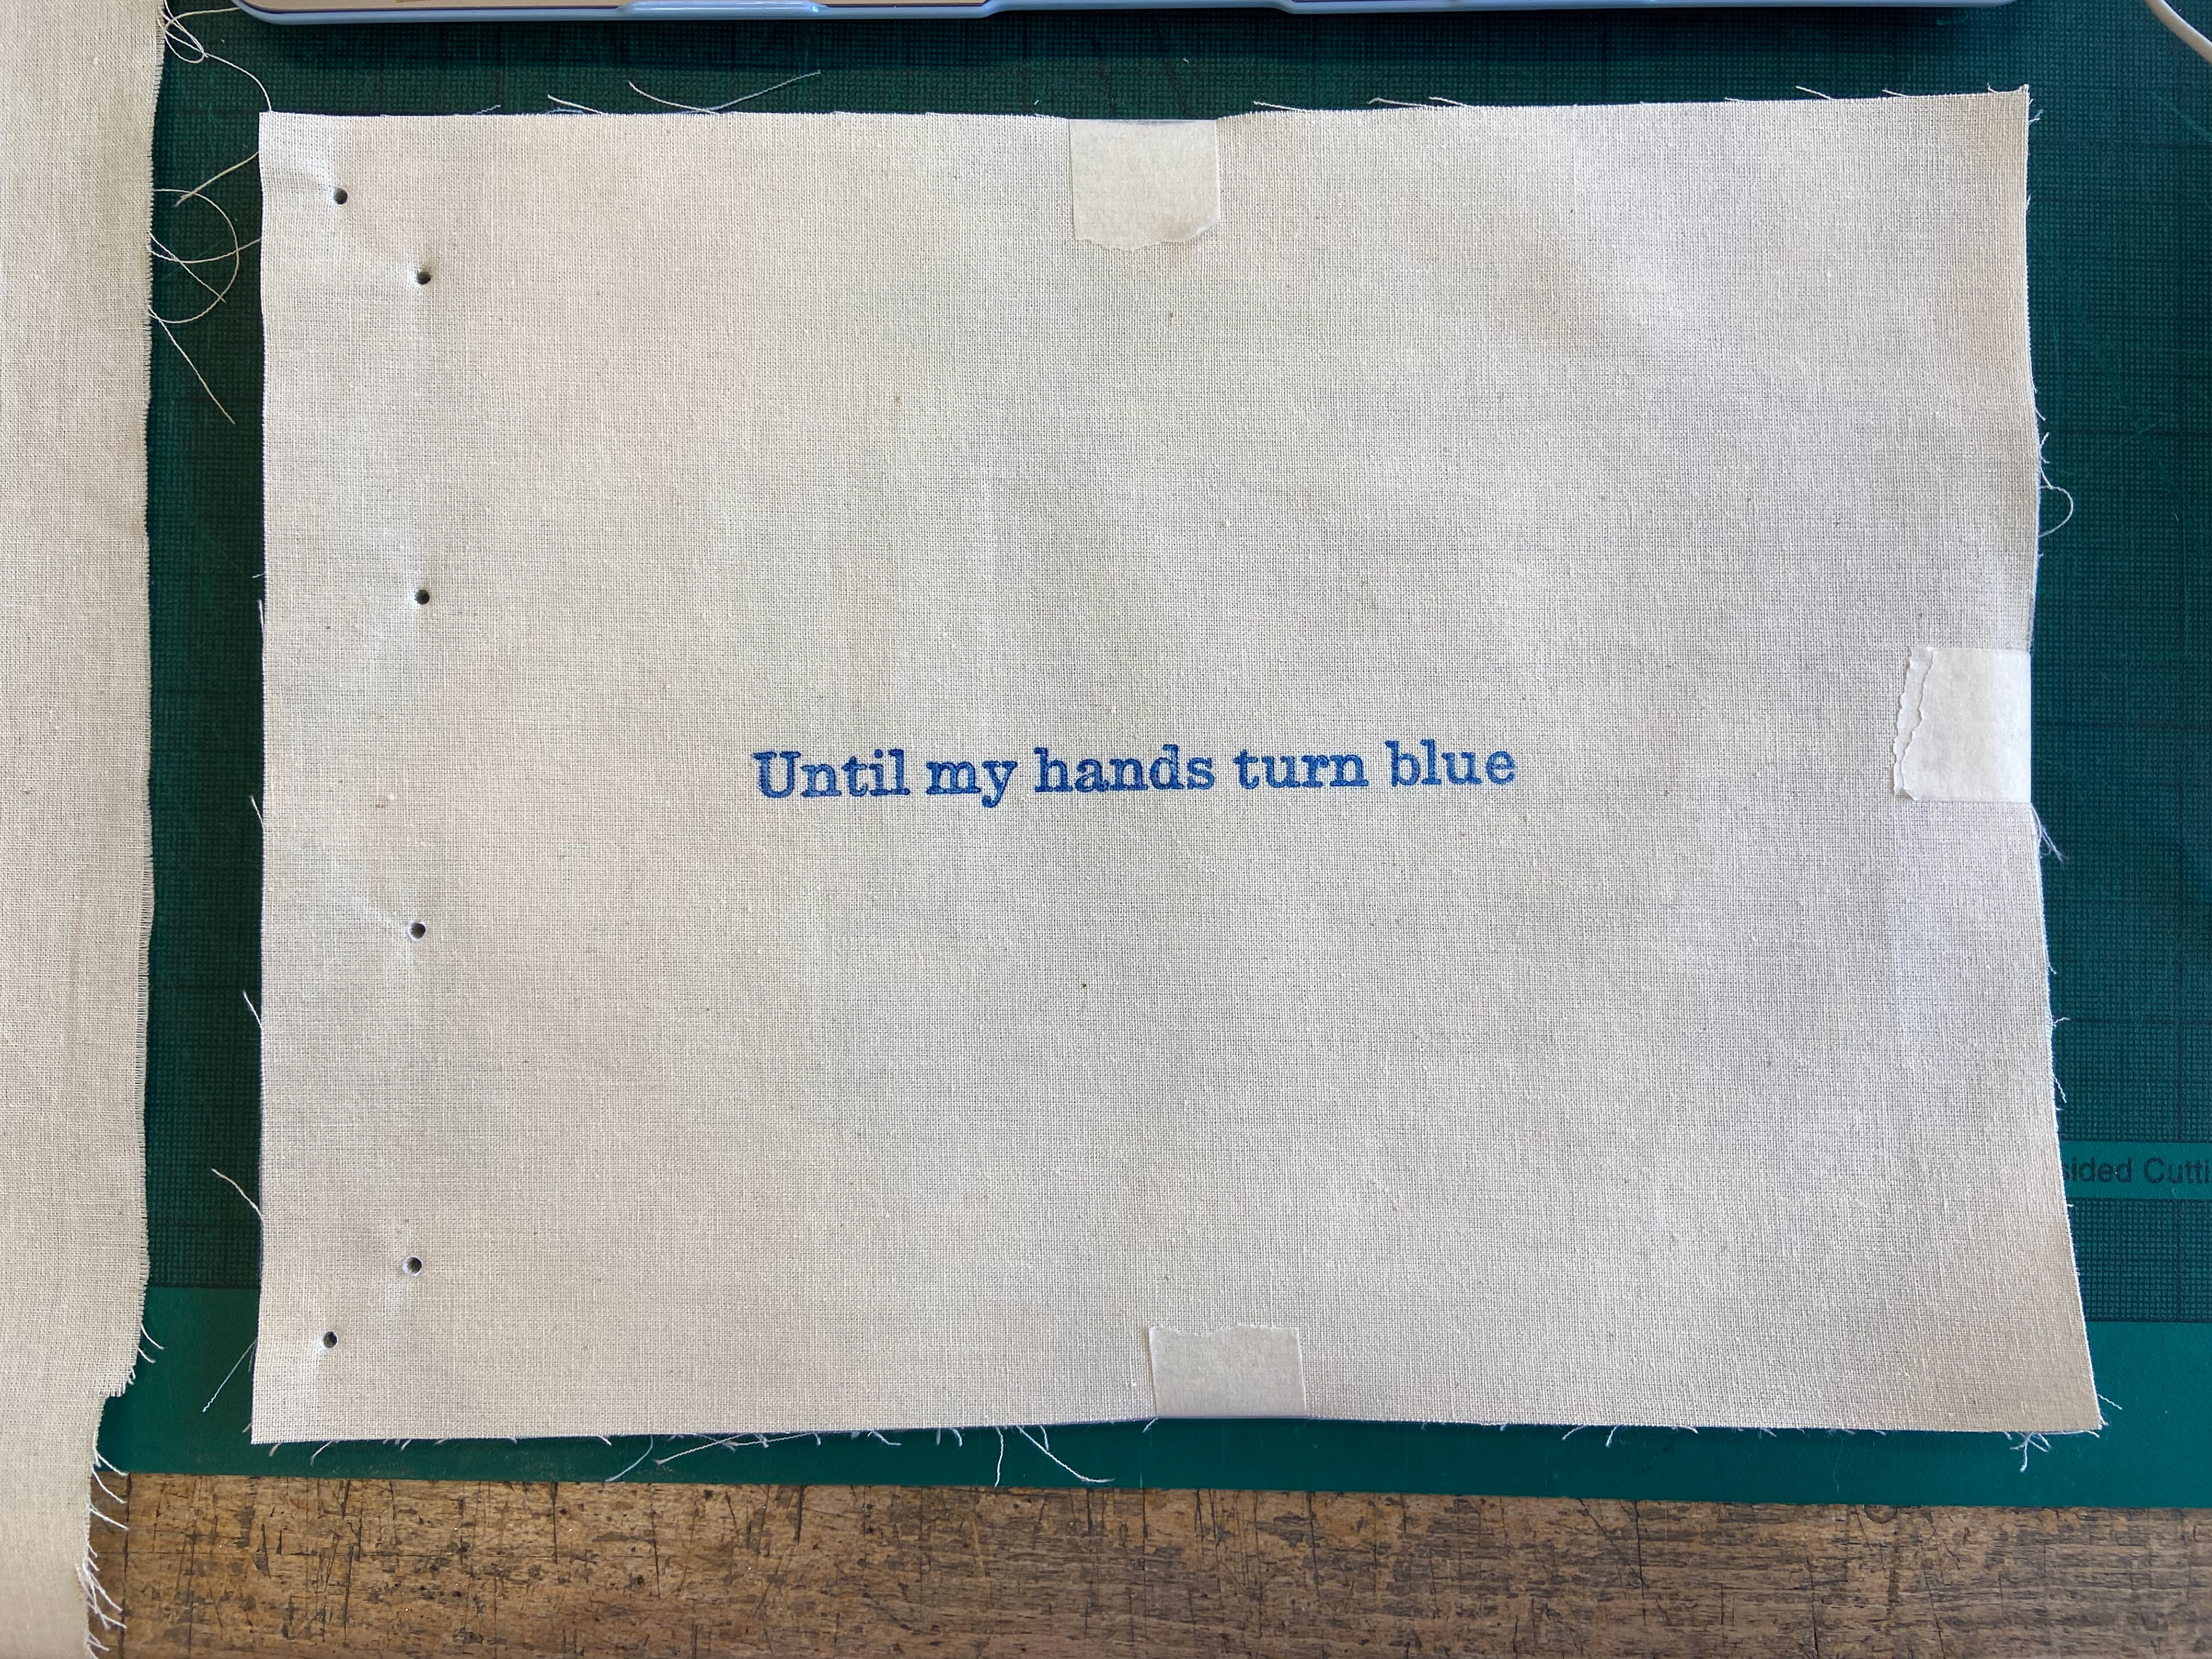
I later started working on the front cover of the book. I wanted to keep it minimal due to the inside of the book having a lot of patterns, therefore, I just printed the title 'Until my hands turn blue' onto it. I used the same typeface and tried the sizes 24pt and 30pt. I ended up choosing 30pt because the size felt the most adequate, not too big and not too small.
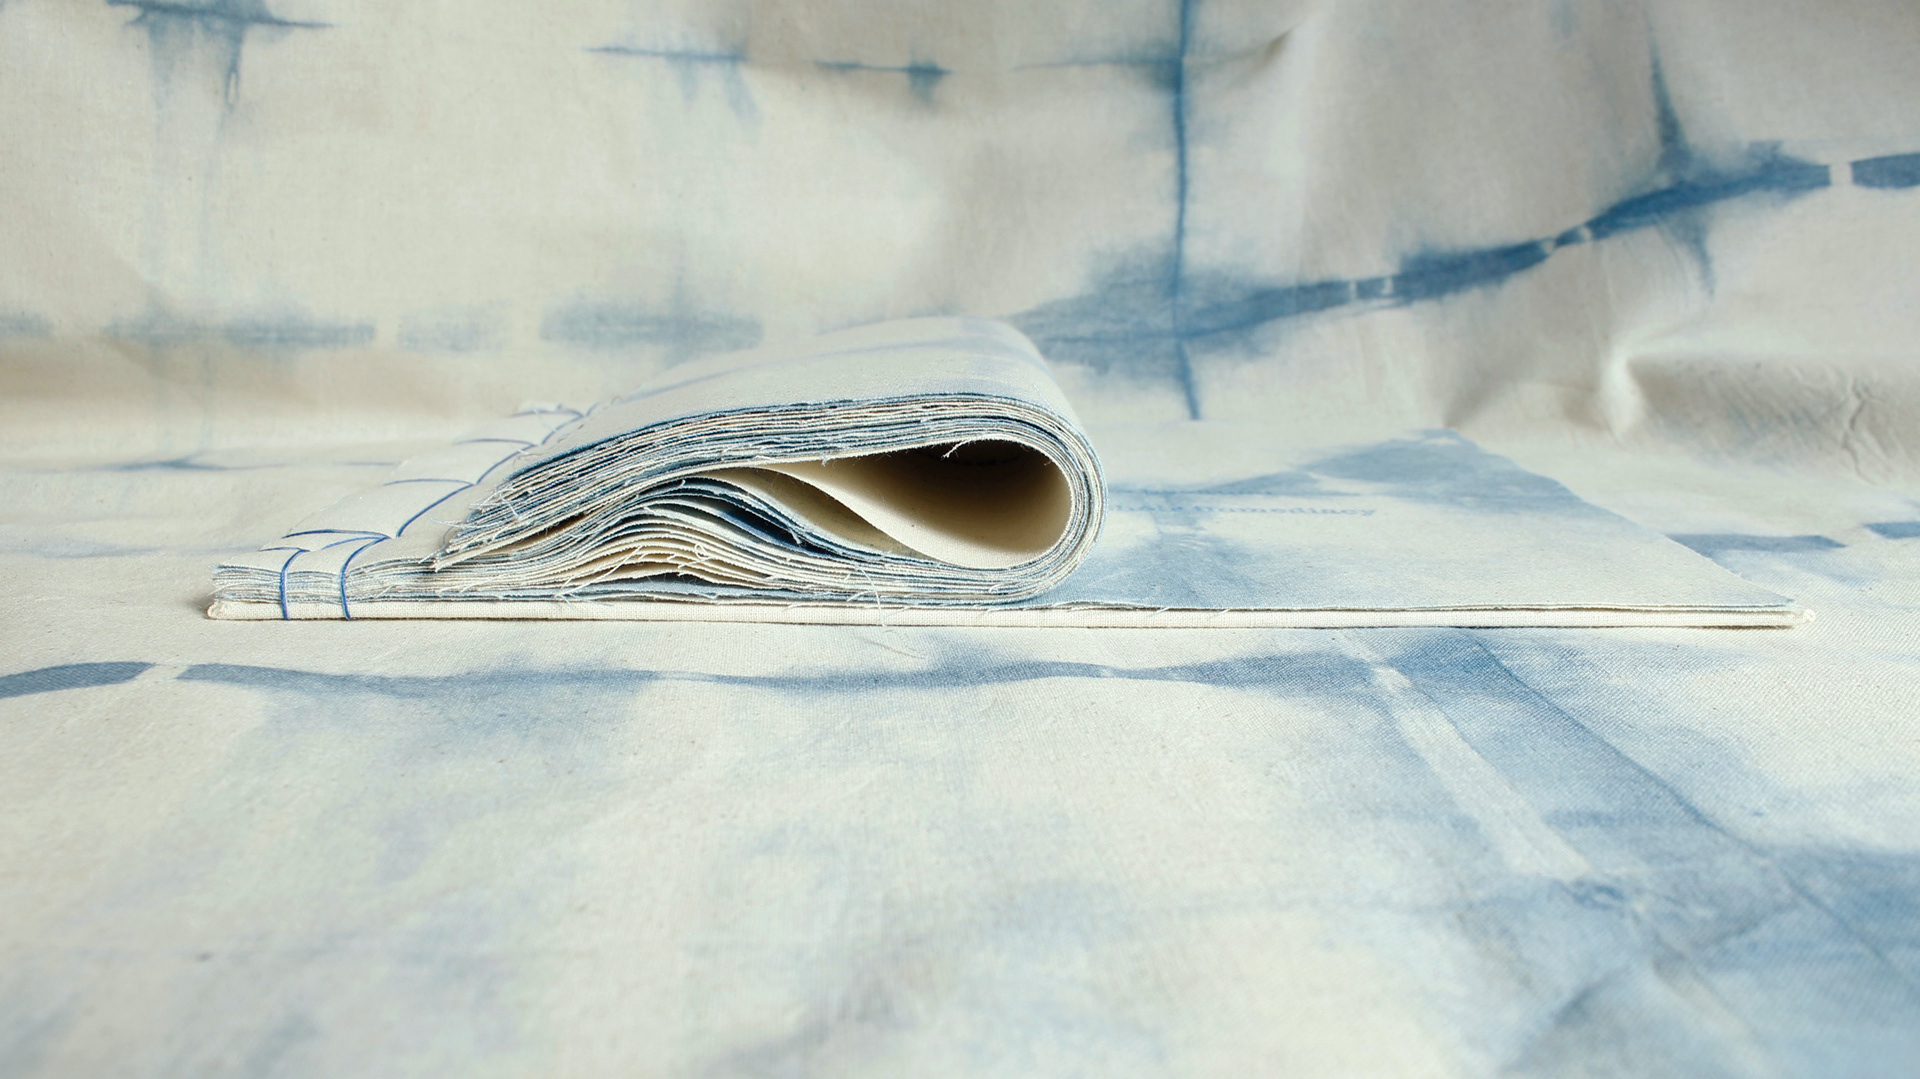
For the covers, I was not sure if I wanted to use hardcovers to give the book some structure or if I should just use plain fabric so the pages could move by themselves. So I decided to find a middle ground between the two.
I kept the front fabric as it is and placed the hardcover at the back, this way the cloths can flow by themselves but the book sill still have some structure. For the binding I used a 6 hole binding or also know as 'noble binding' so we see more of the thread going around the spine.

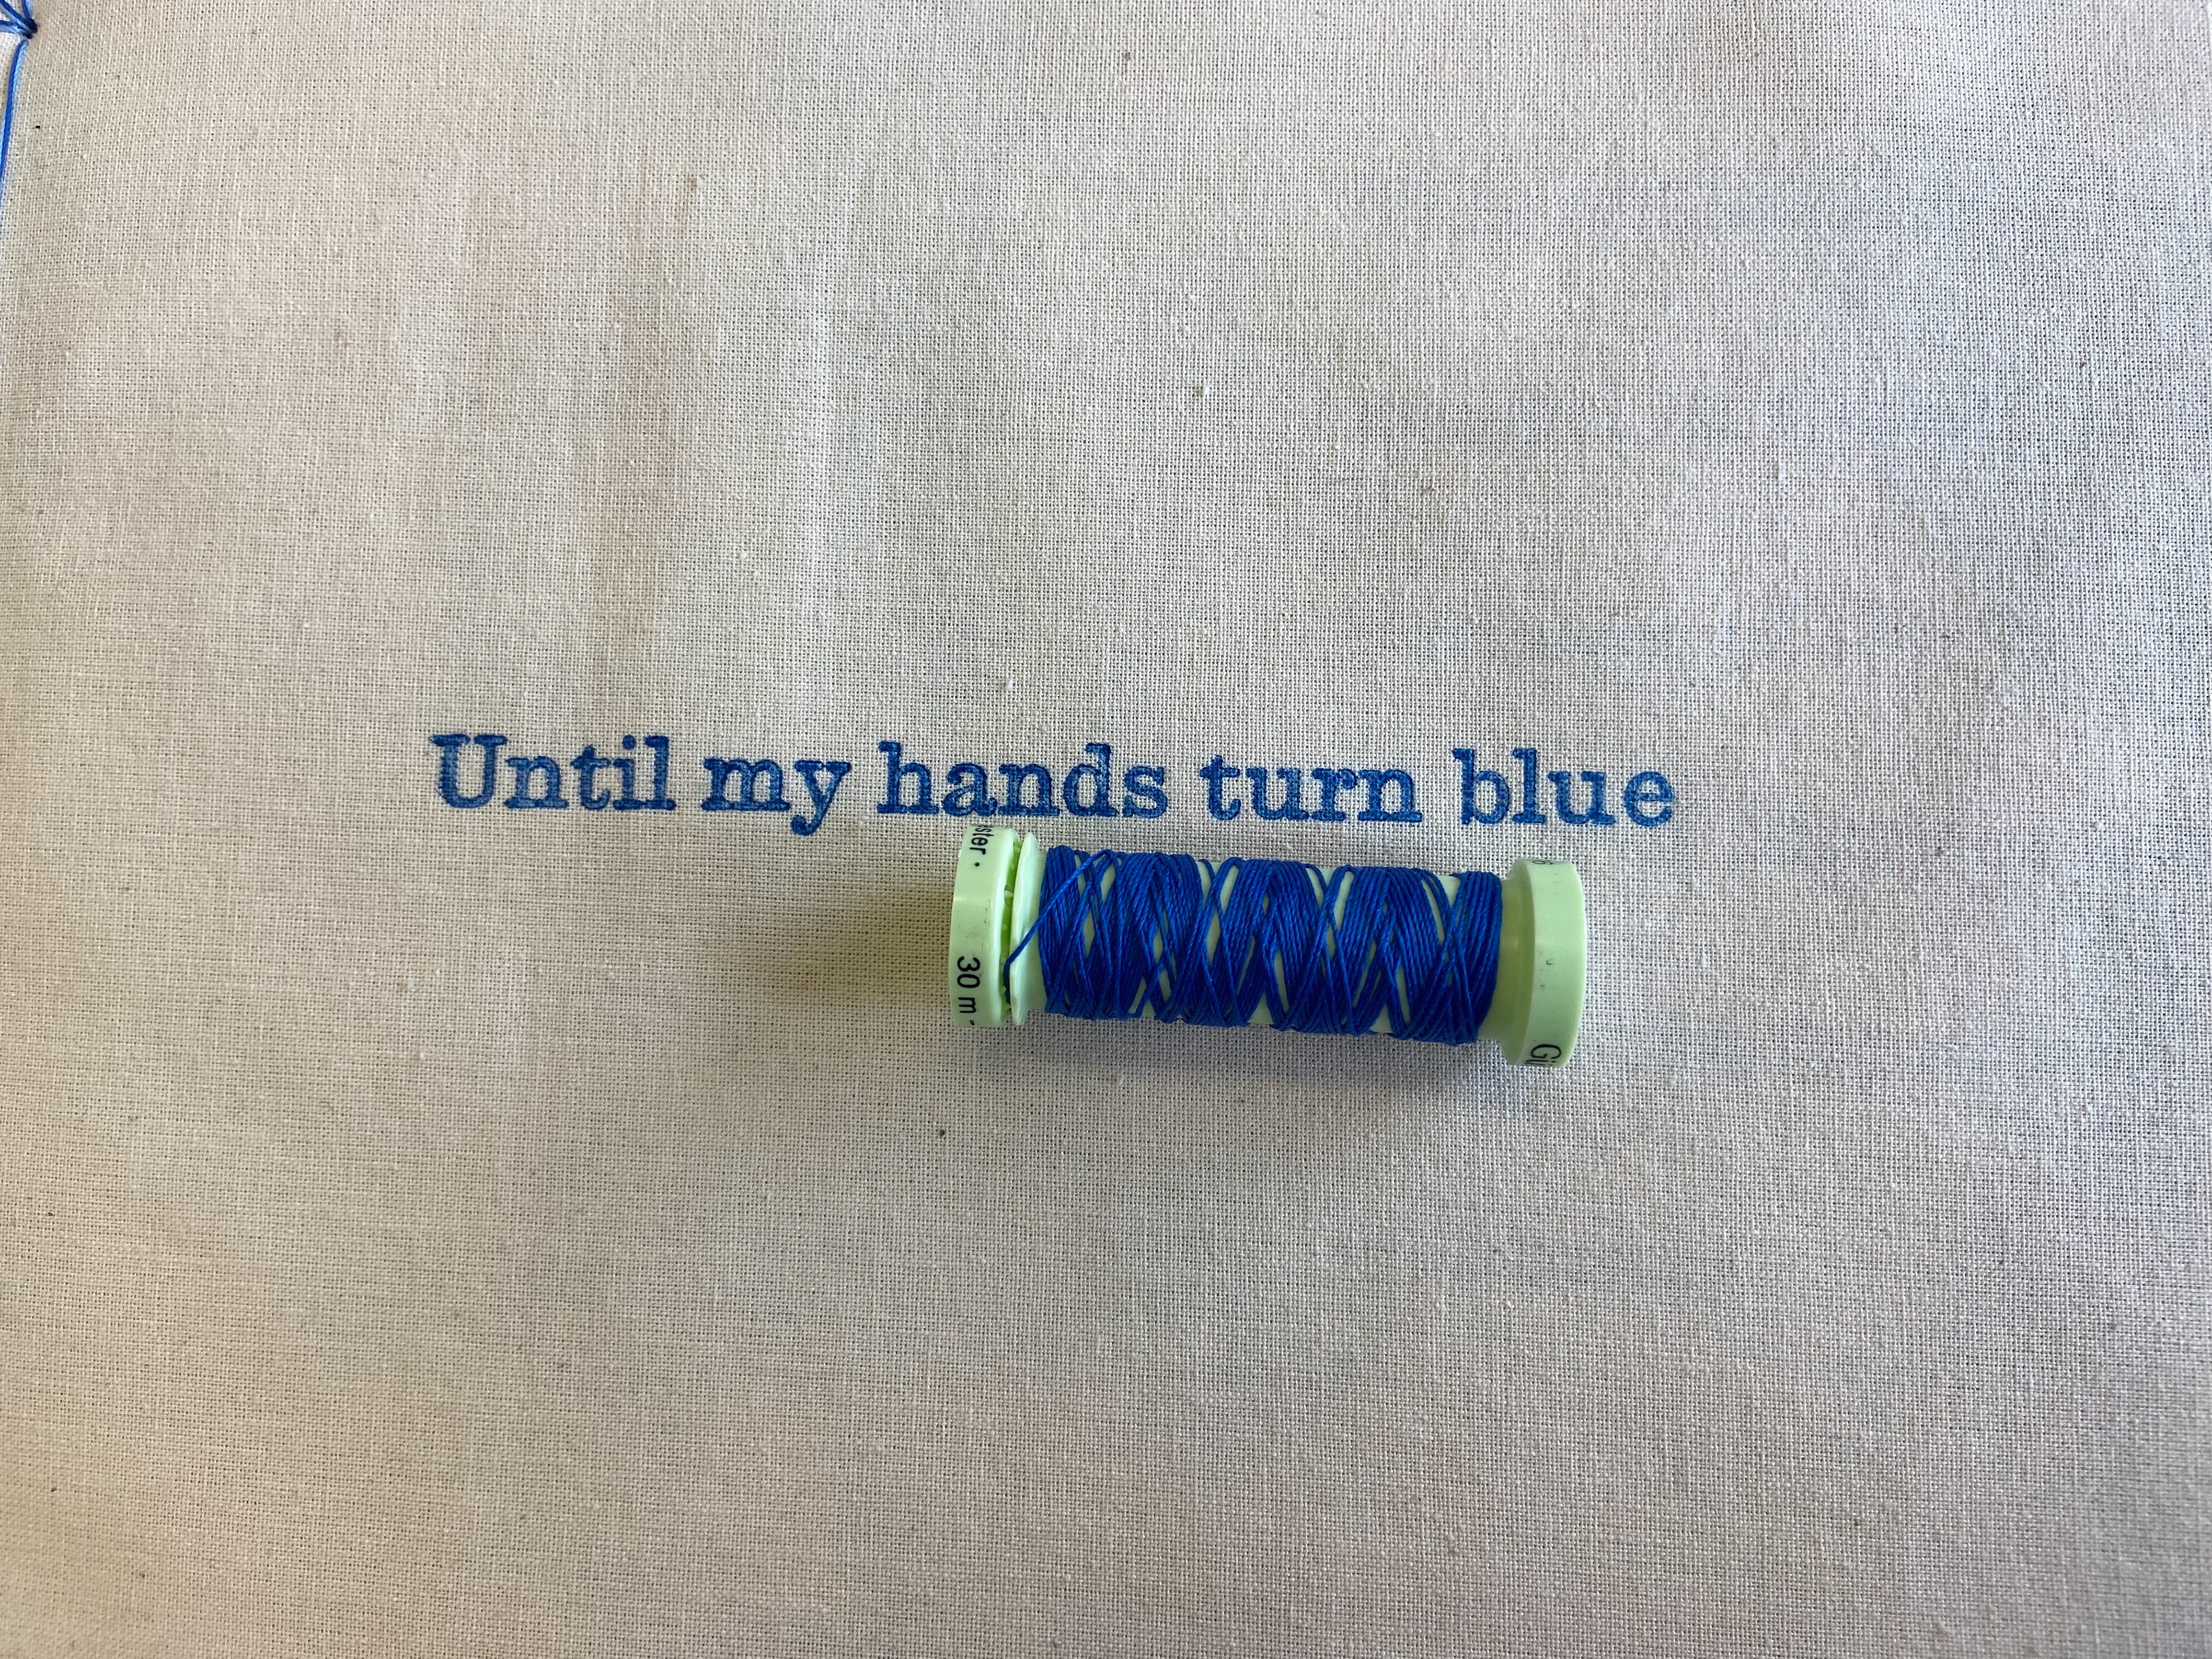
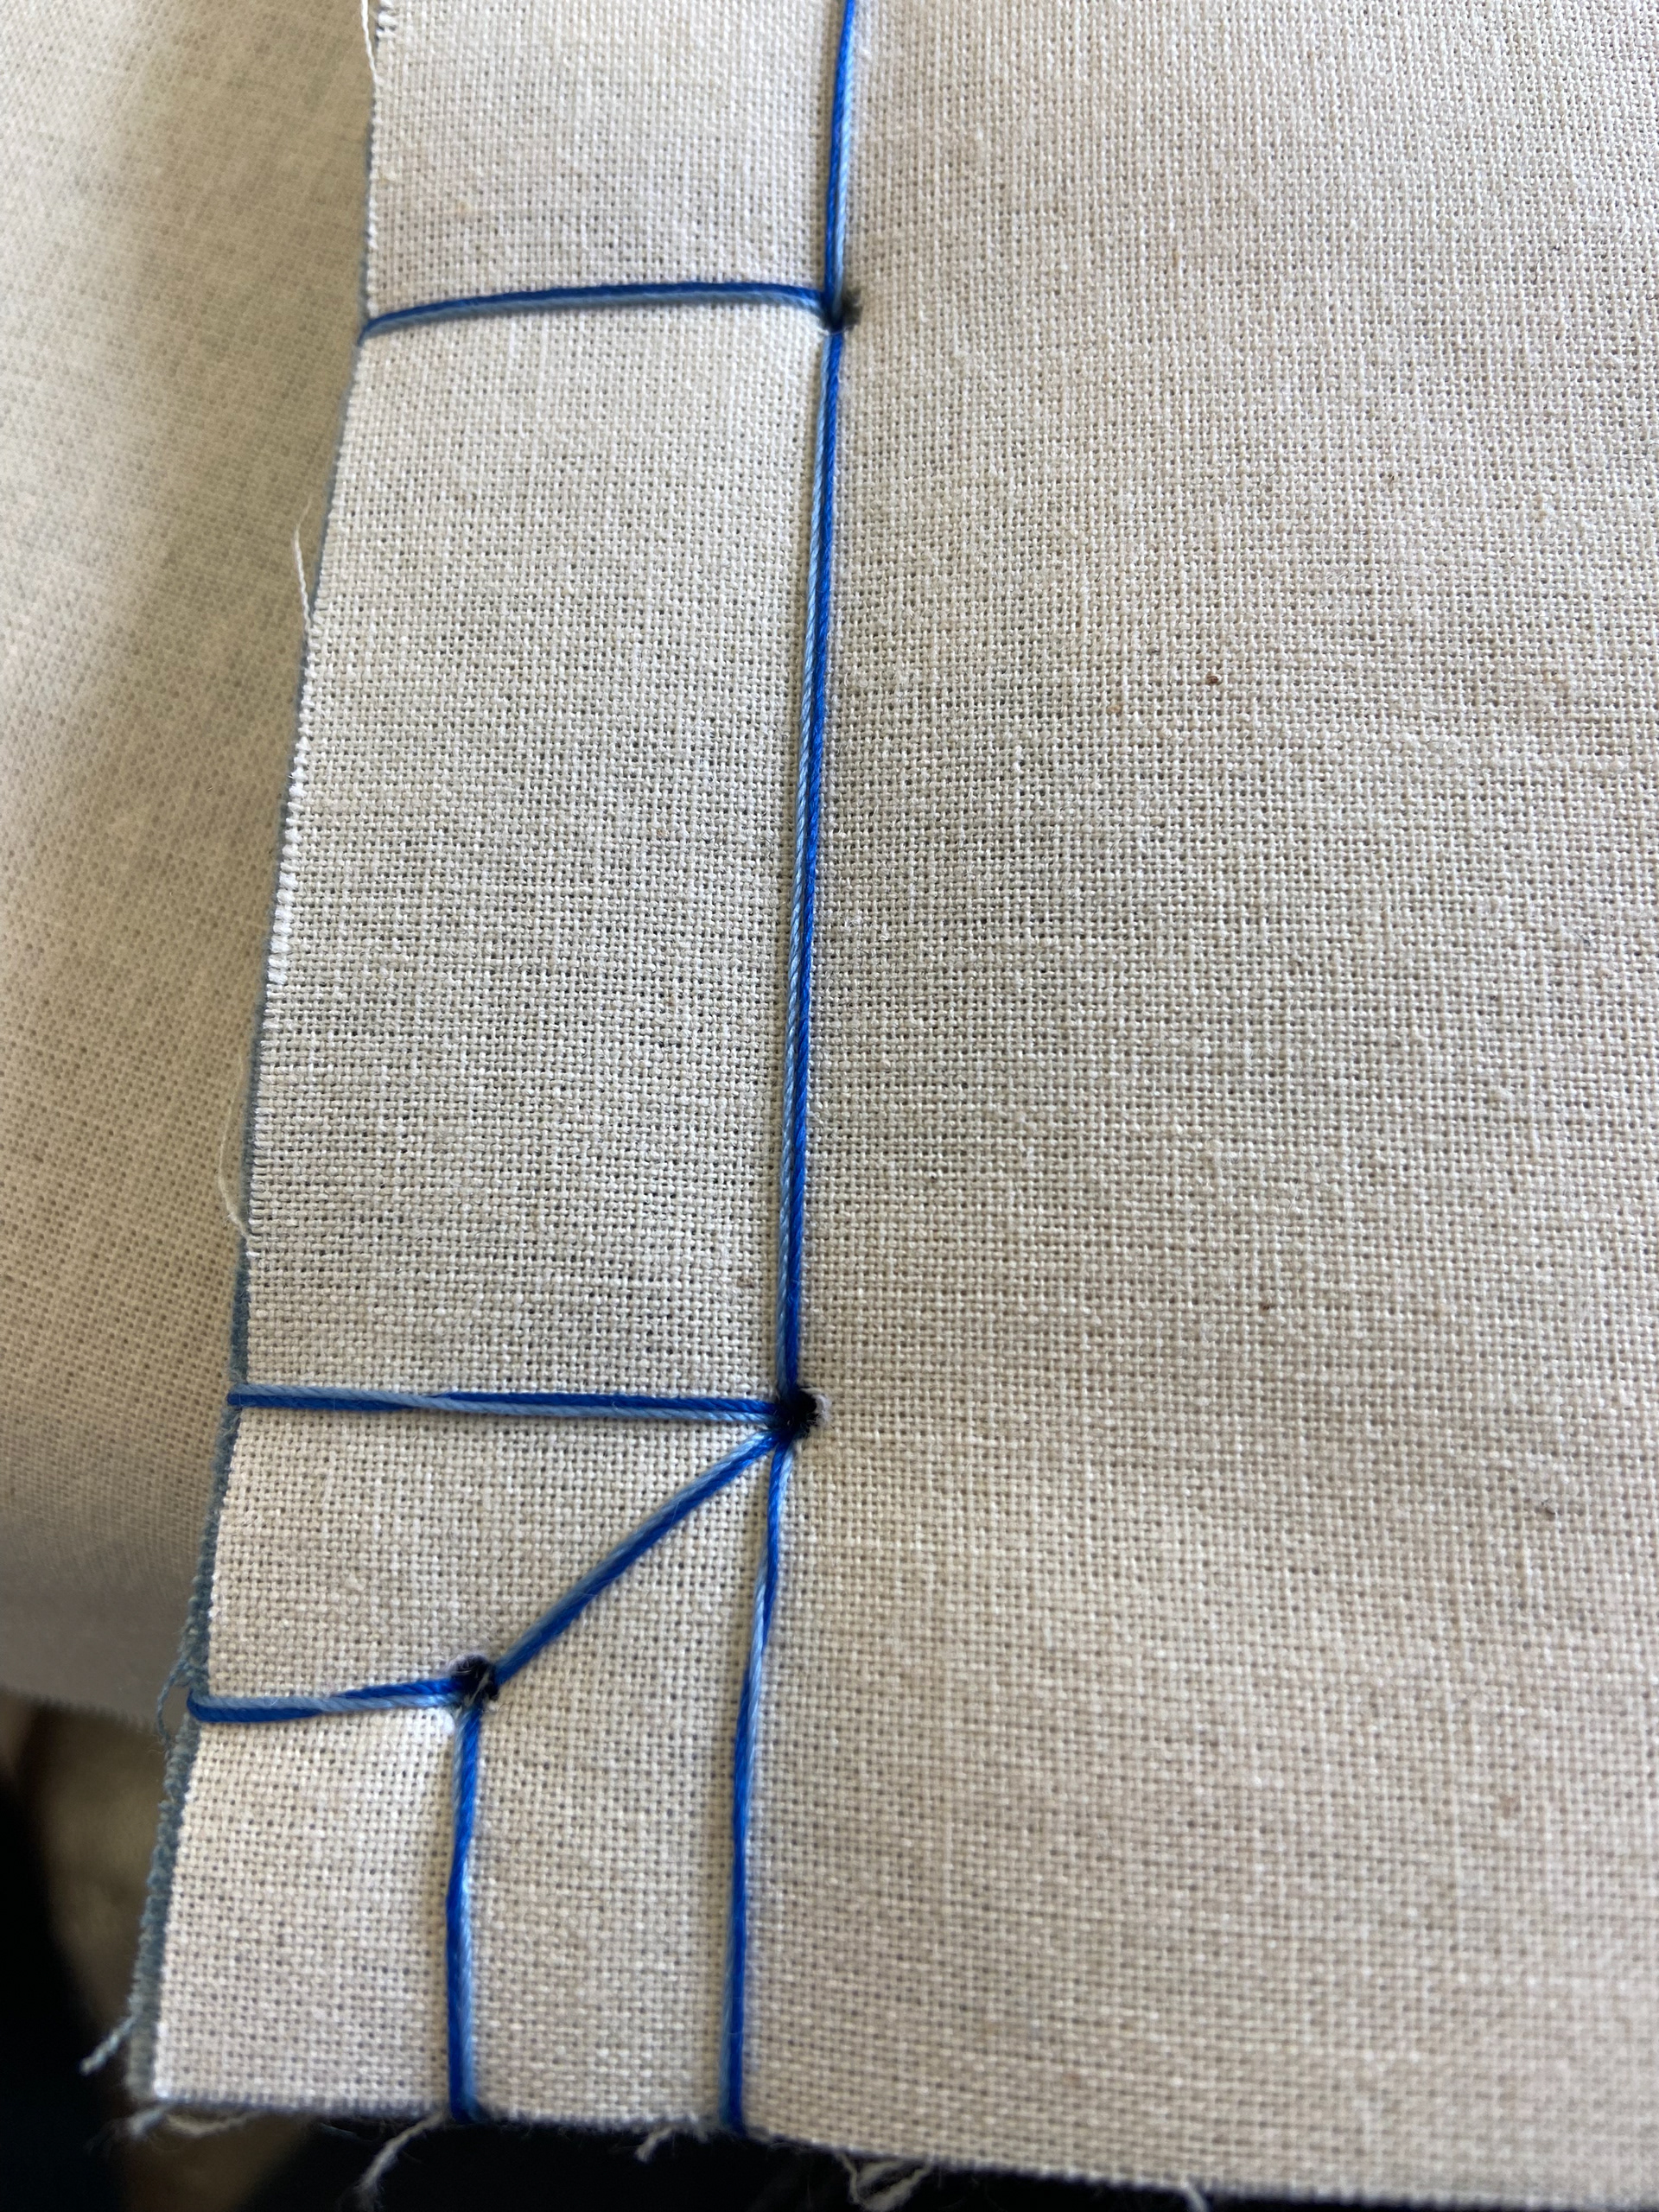
I used two colours for the thread, a dark one that matched with with the colour on the front cover and a lighter one that matched with some of the pages. I also used it as a way to show that indigo dyeing will not result in the same shades of blue.
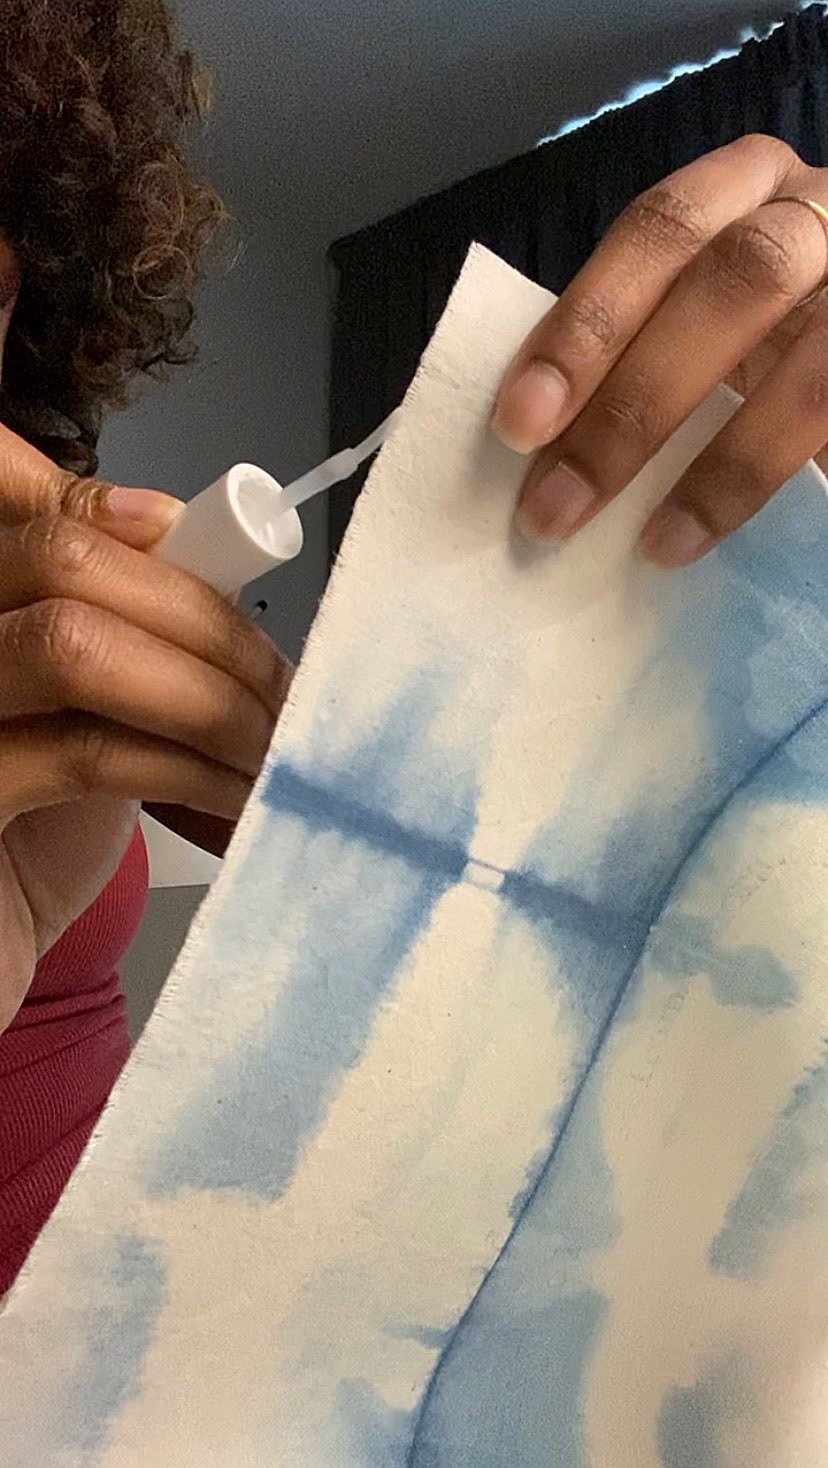
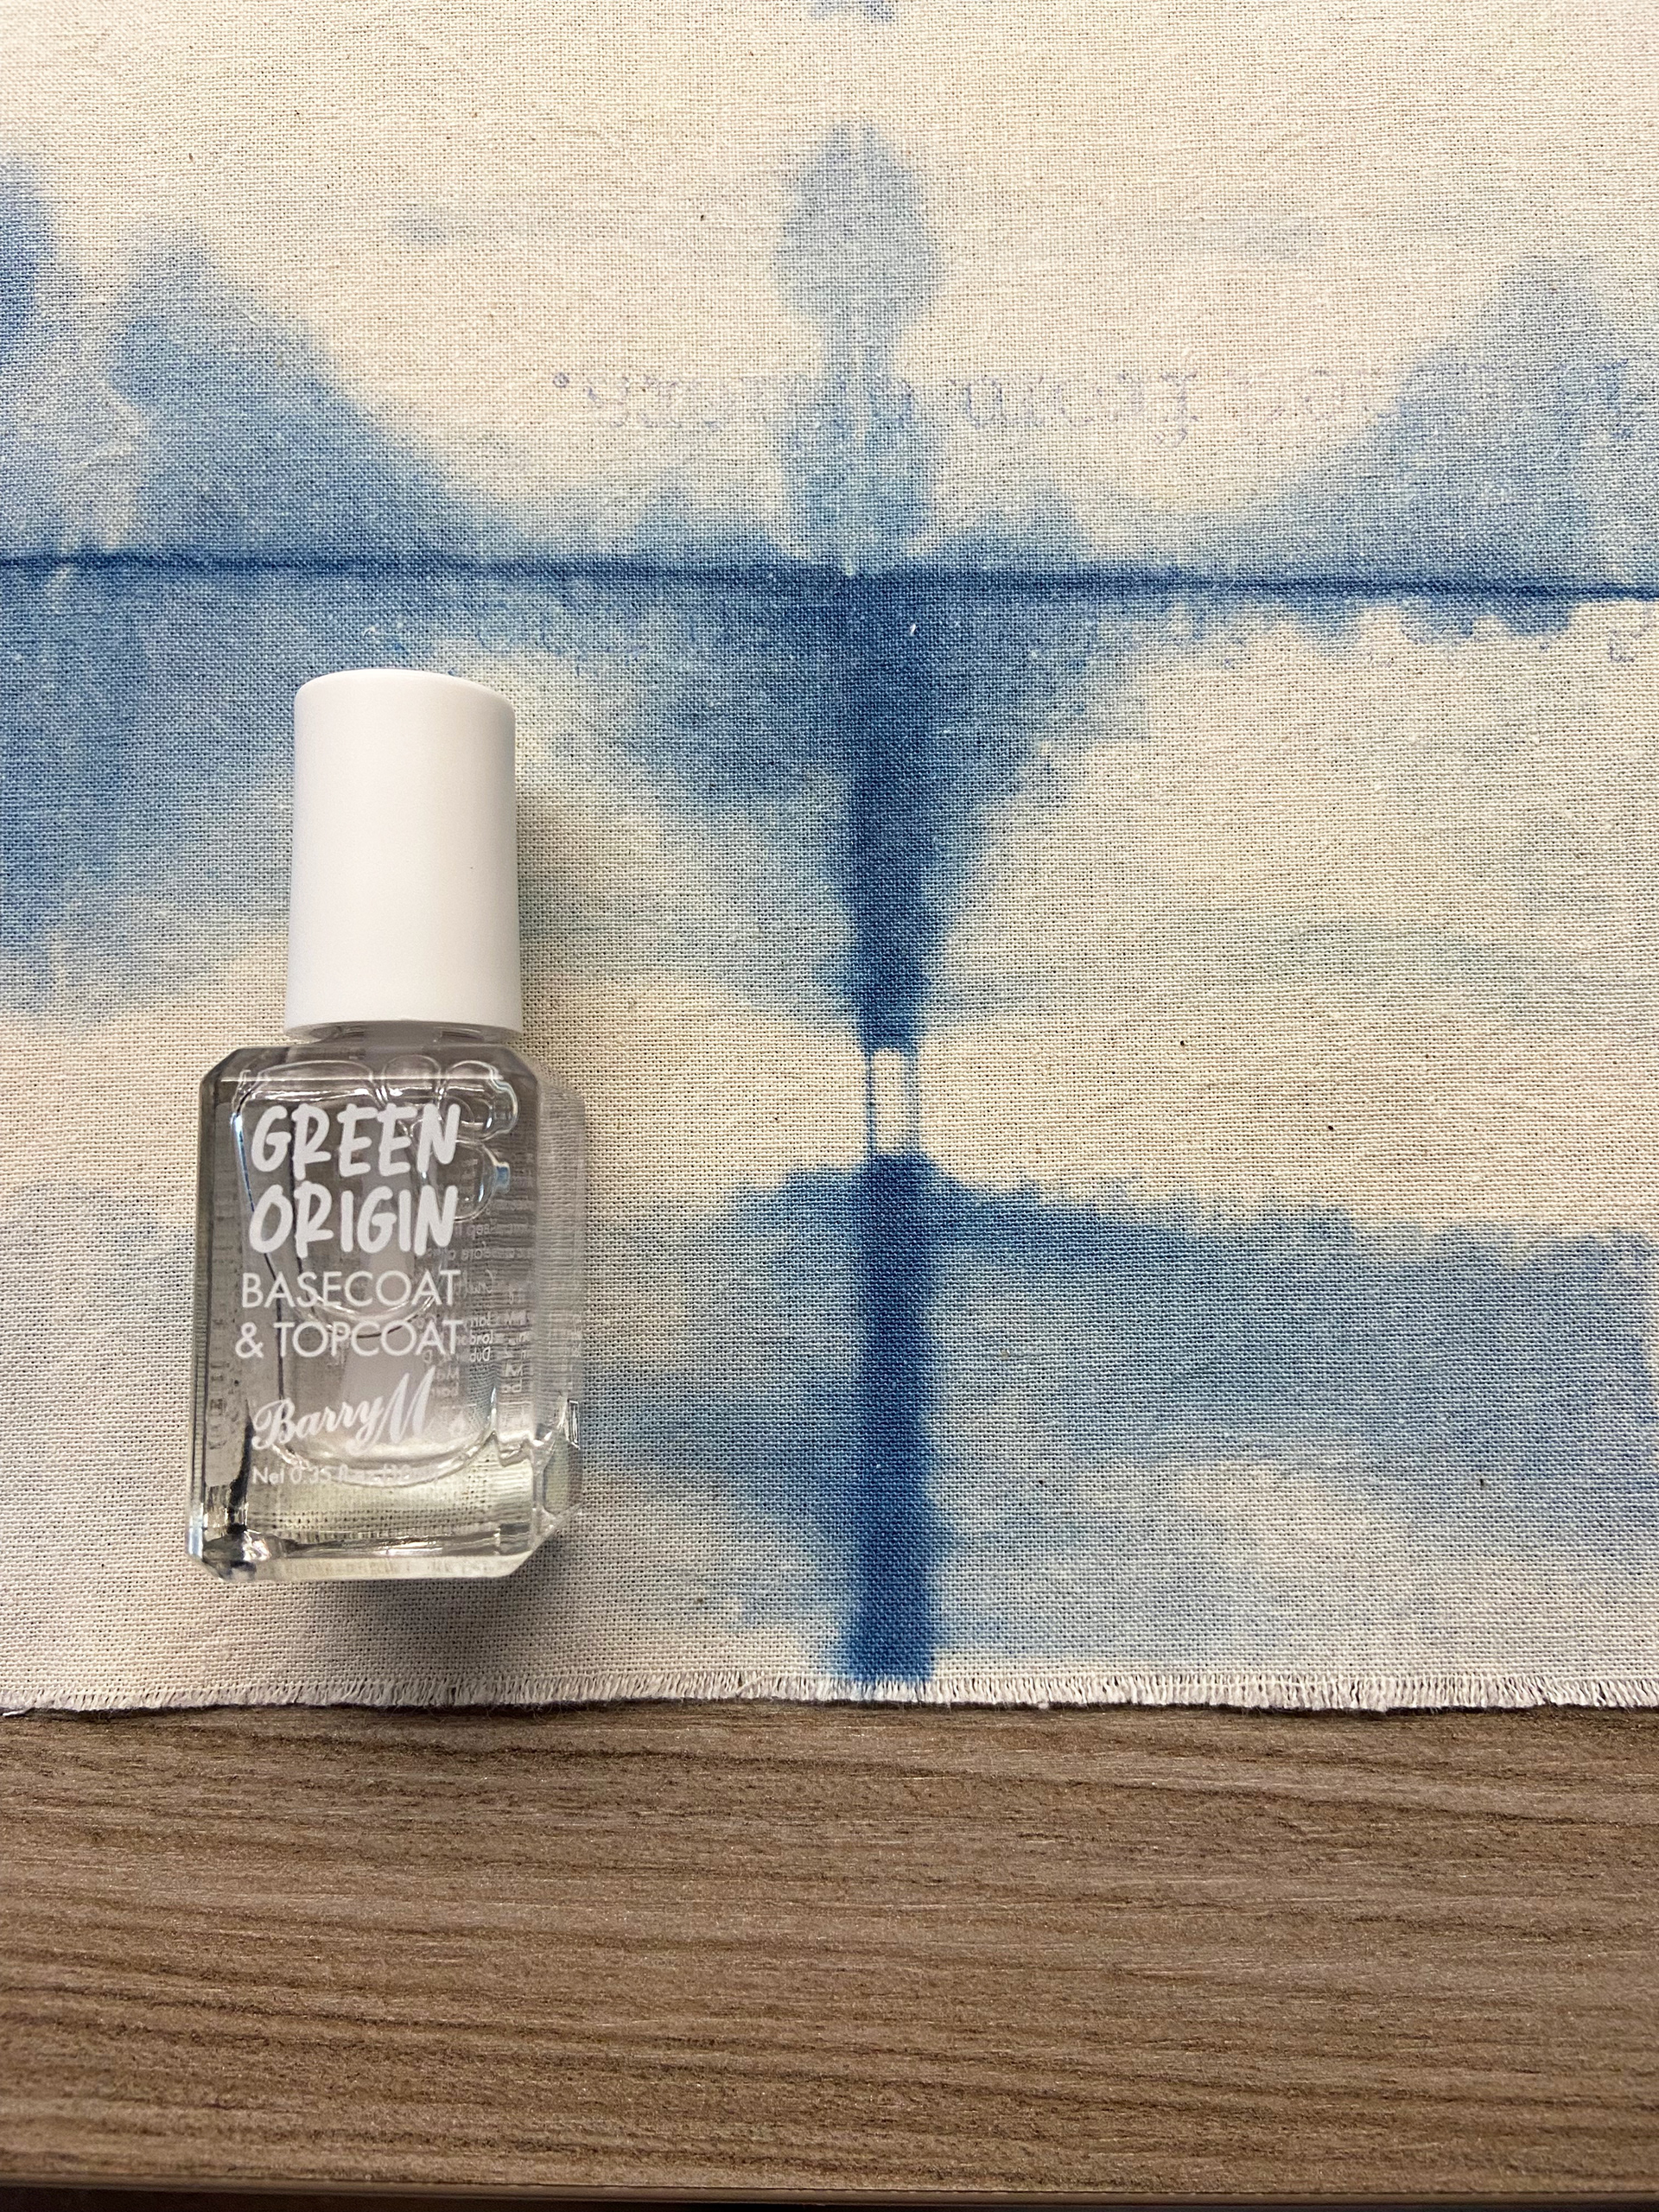
And as a final detail to stop the pages from fraying too much, I applied a little bit of nail polish to the edges.
Final outcome: